
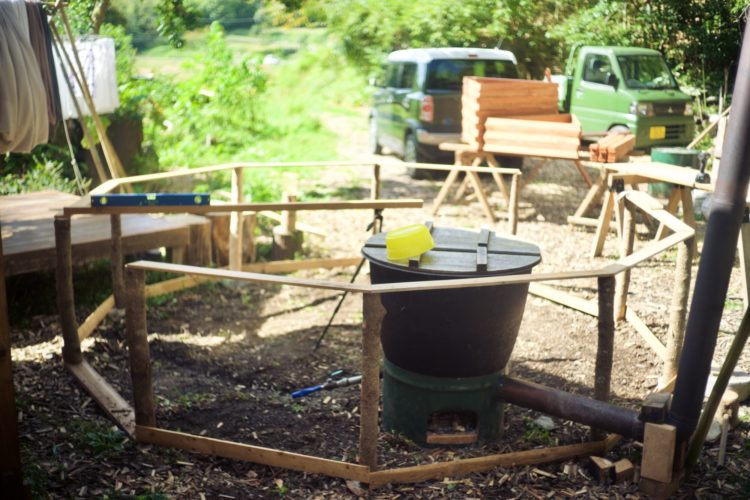
半径1.7mのドームには高さが必要なので土台部分を80cm上げて作る。余ってた樅の枝を石の上に乗せて全体を仮止めした。曲がってる材を正確に配置する技術はないのでドームを組んでから土台を固定する事にした。風呂は組んじゃうと入れにくいので先に移動と同時に窯を新しくした。
My dome is 1.7m radius and it need to rise with base for comfort(up 80cm). I had some fir branches with straight enough for the pillars. Set them on stones and fixed temporarily because I don’t have skills to set these logs in the right position. So I’d fix them afterwards. Also moved the bath inside. It’d be easier now.
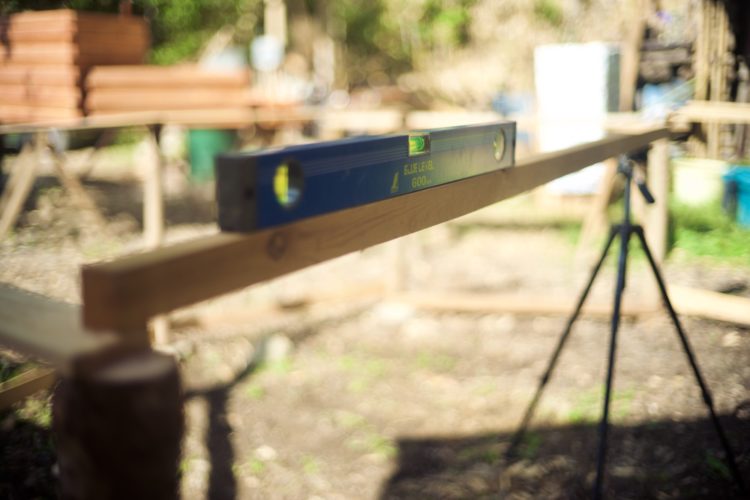
土台は仮止めだけど高さは正確に出しておく。中心付近を三脚で上げて角材を渡して水準器で水平を出す。
I leveled each pillars by a tripod and a pole.

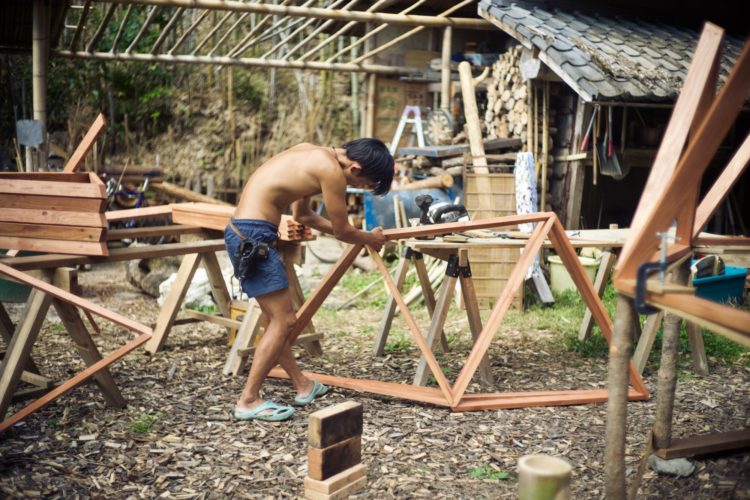
土台が正確なら直接ビス止めすれば良いけど出来ないので2つの三角を連結し頂点も繋いで留めていく。
You can fix the triangles right on the base if the base is in the right position. Instead I put two triangles together and connect with one strut. Place them on the base and connect another set.
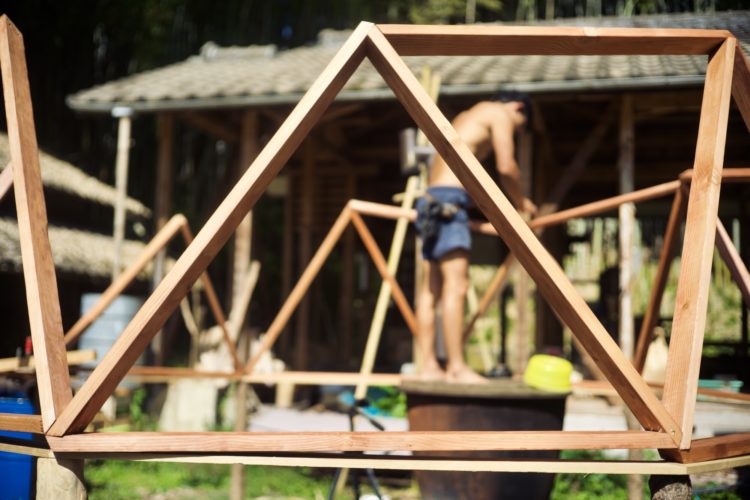
連結したものは自立するので土台に置いて隣同士をまた連結、テラと二段目についてミーティング中。
A single triangle can’t stand itself but combined one can.
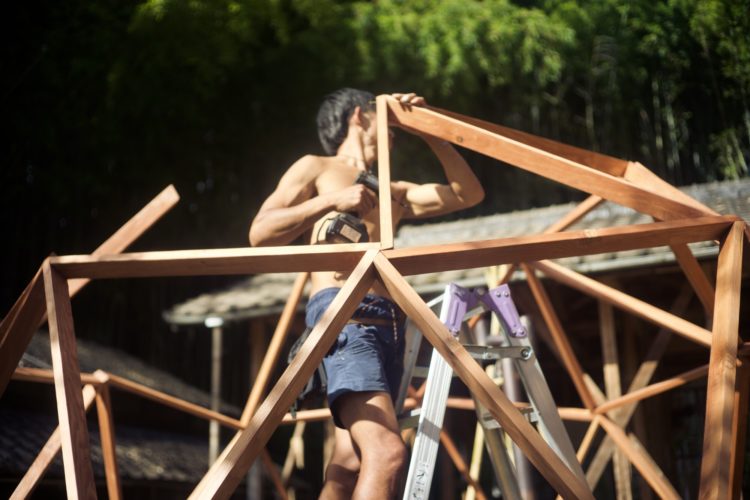
二段目は星型の頂上の材を単体で止めて、画像右上の三角を頂点を下にして連結、これを繰り返すと後はドーム頂点部分を嵌めるのみ。
The second layer was tricky. Needed to connect the triangles upside down meaning the apex facing down. I figured to fix a single strut first then connect the triangle.
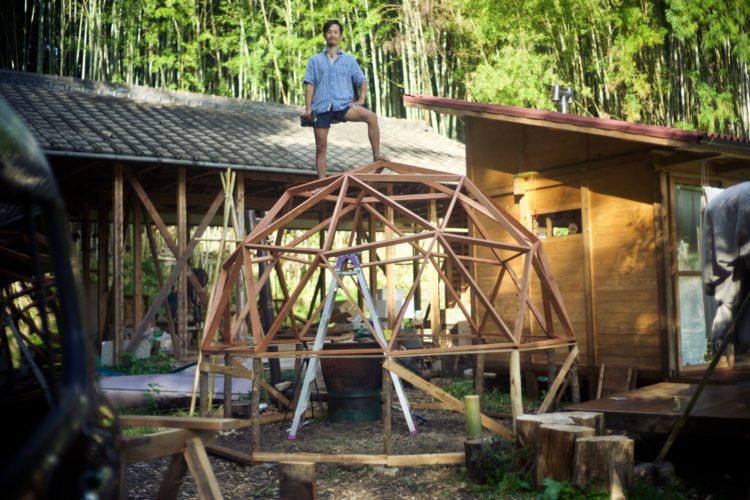
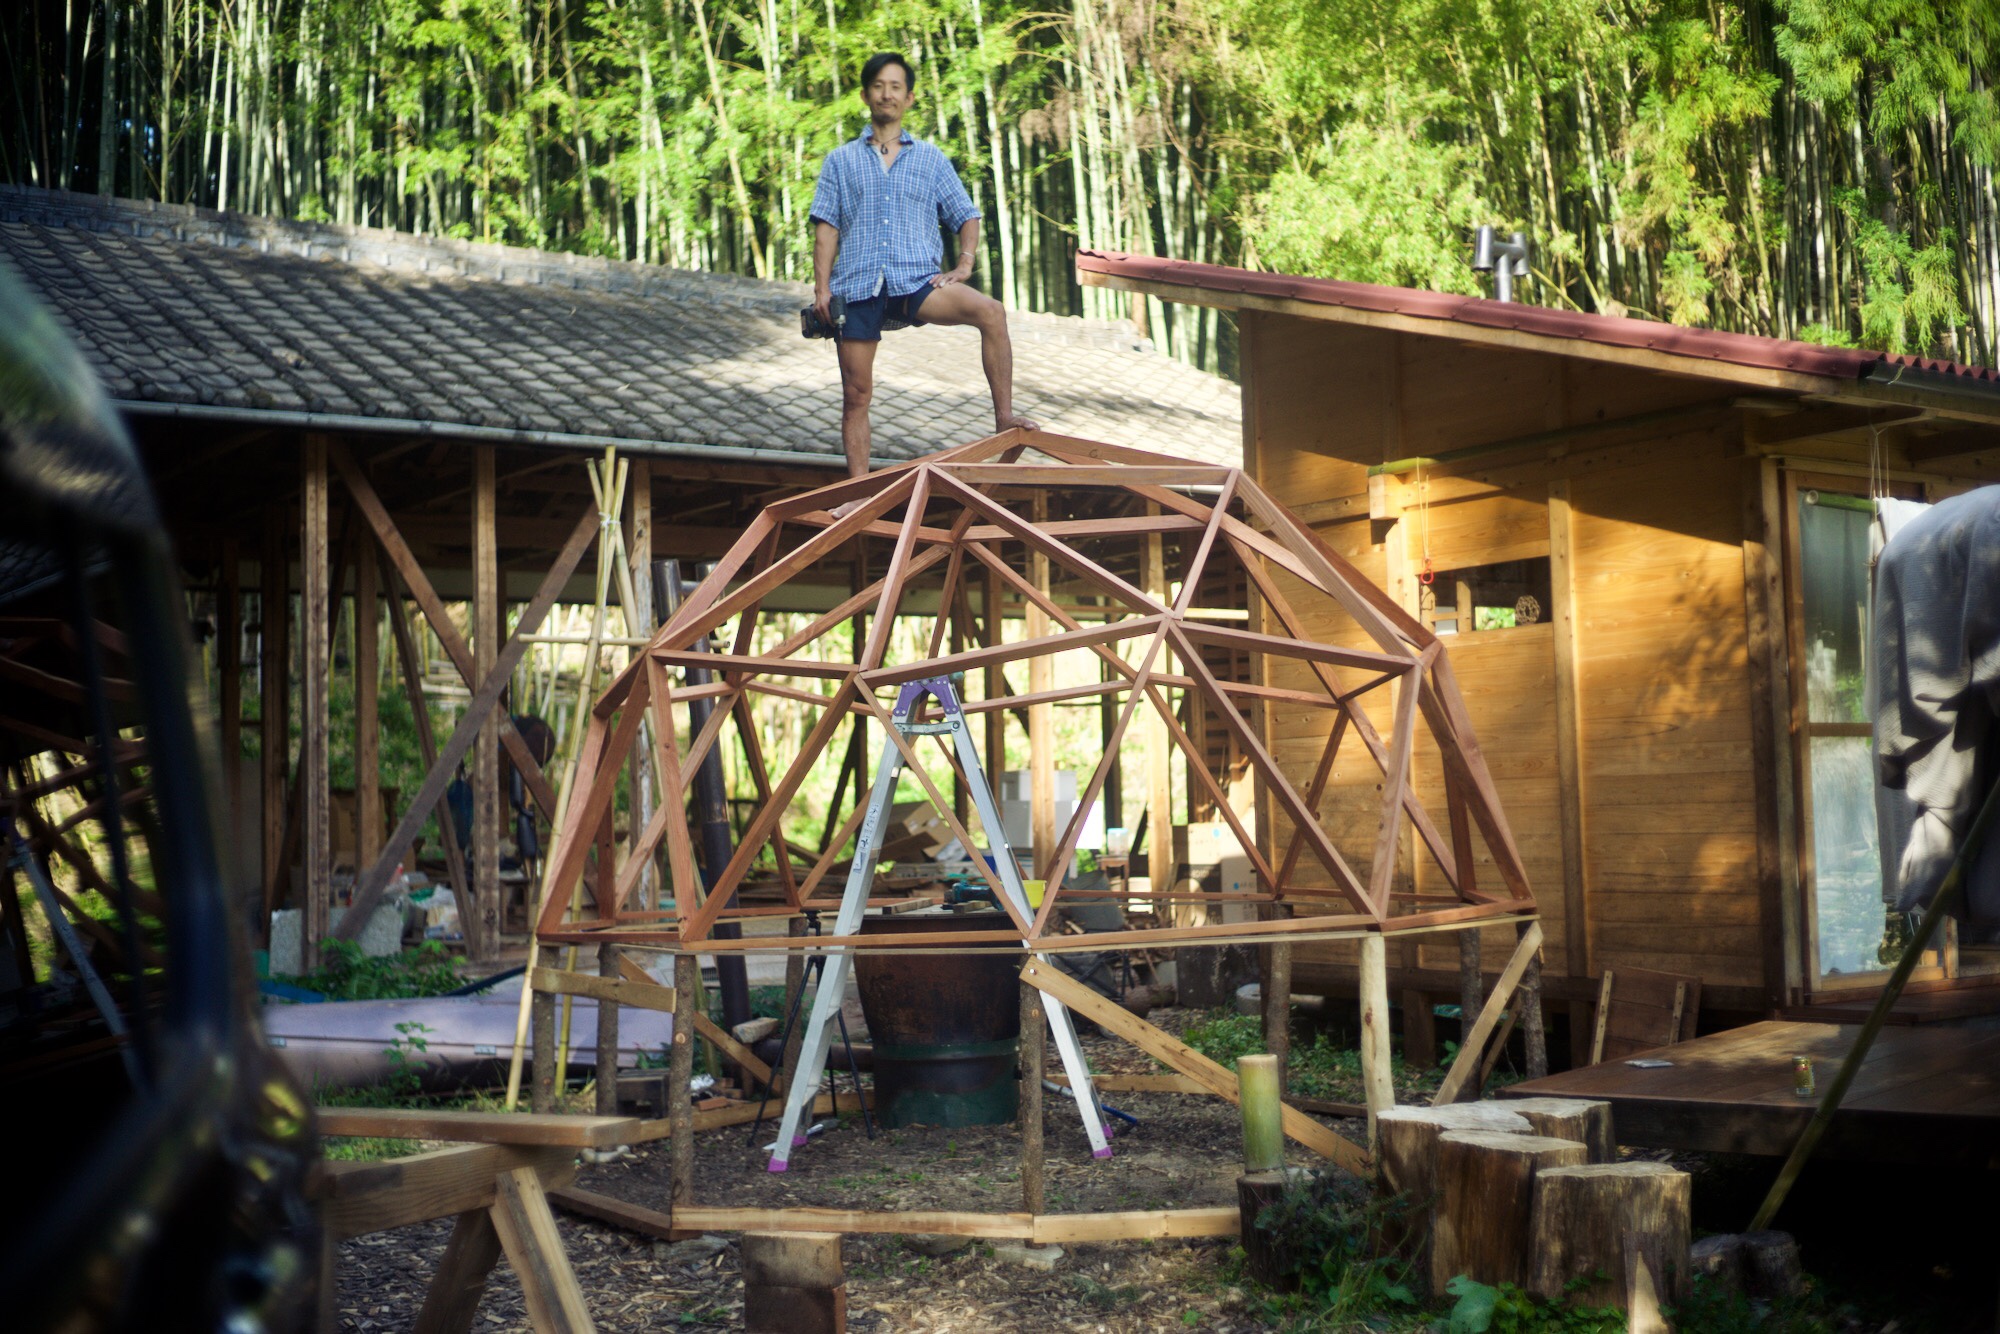
組み上げはのんびり1日作業、まだ骨組みだけだけどこんな簡単に作れるんだ~と素直に思った。空間の広さに比べての木材や作業の少なさは他の構造体には真似できないかも。組んでてドームに最適な物も思いついた、もう一段下を足してボルダリングルームに!垂壁の無限トラバースにルーフも出来ちゃう、新たな夢の計画が増えました~
Took me about a day to built up this dome. I’ve been thinking about it too long. I should’ve built one right away. It definitely lesser work and materials than any other wooden buildings. Yes it’s just a frame and need a lot work after this but I love it’s simplicity. While I was building I got a perfect idea for a dome, a bouldering dome! Both inside and outside, endless loop traverse, hanging roof.
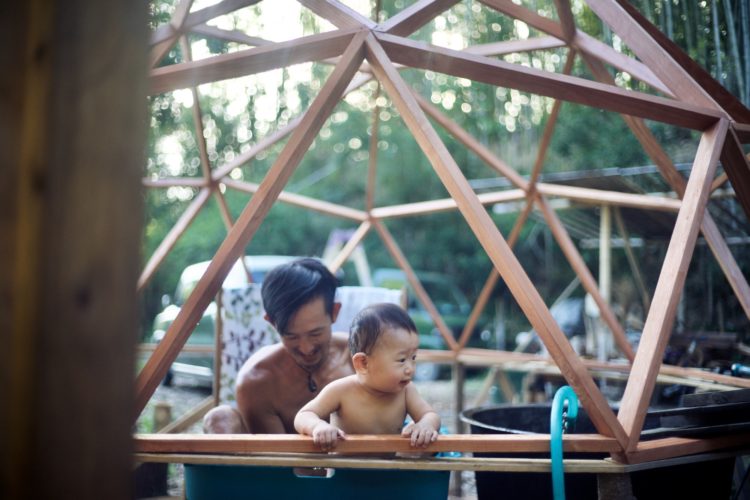
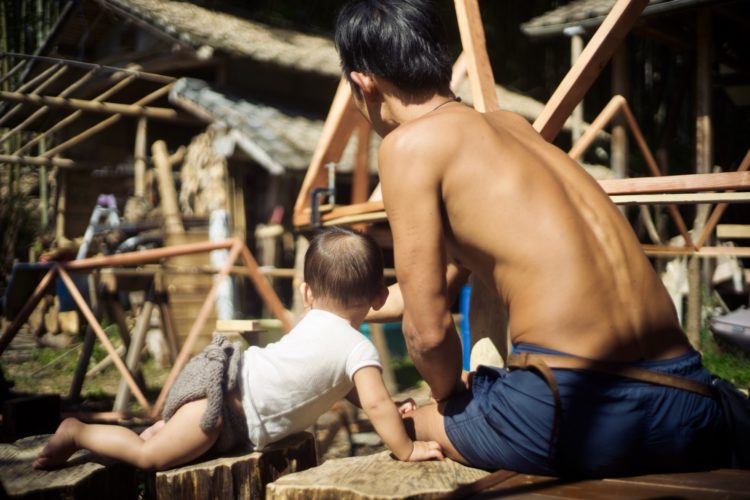
残った仕事は仮置きした風呂を焚いて洗い場も設置、明るい時間にテラとお風呂に入れて良かった。次回は燃焼効率を上げた新たなドラム缶窯と風呂の断熱の様子をどうぞ!
The one last job for the day was set the bath working. Terra looks happy with the bath in the dome.
コメントを残す