
今回の小屋には一畳の土間を設ける。小屋を建ててから施工の予定だったけど電気容量の関係で一日にできる作業に制限があるので空いた時間に土間を作る事に。
The hut has a small dirt floor. I was planning to make it later but I needed some times for charging the battery. So I decided to make it.
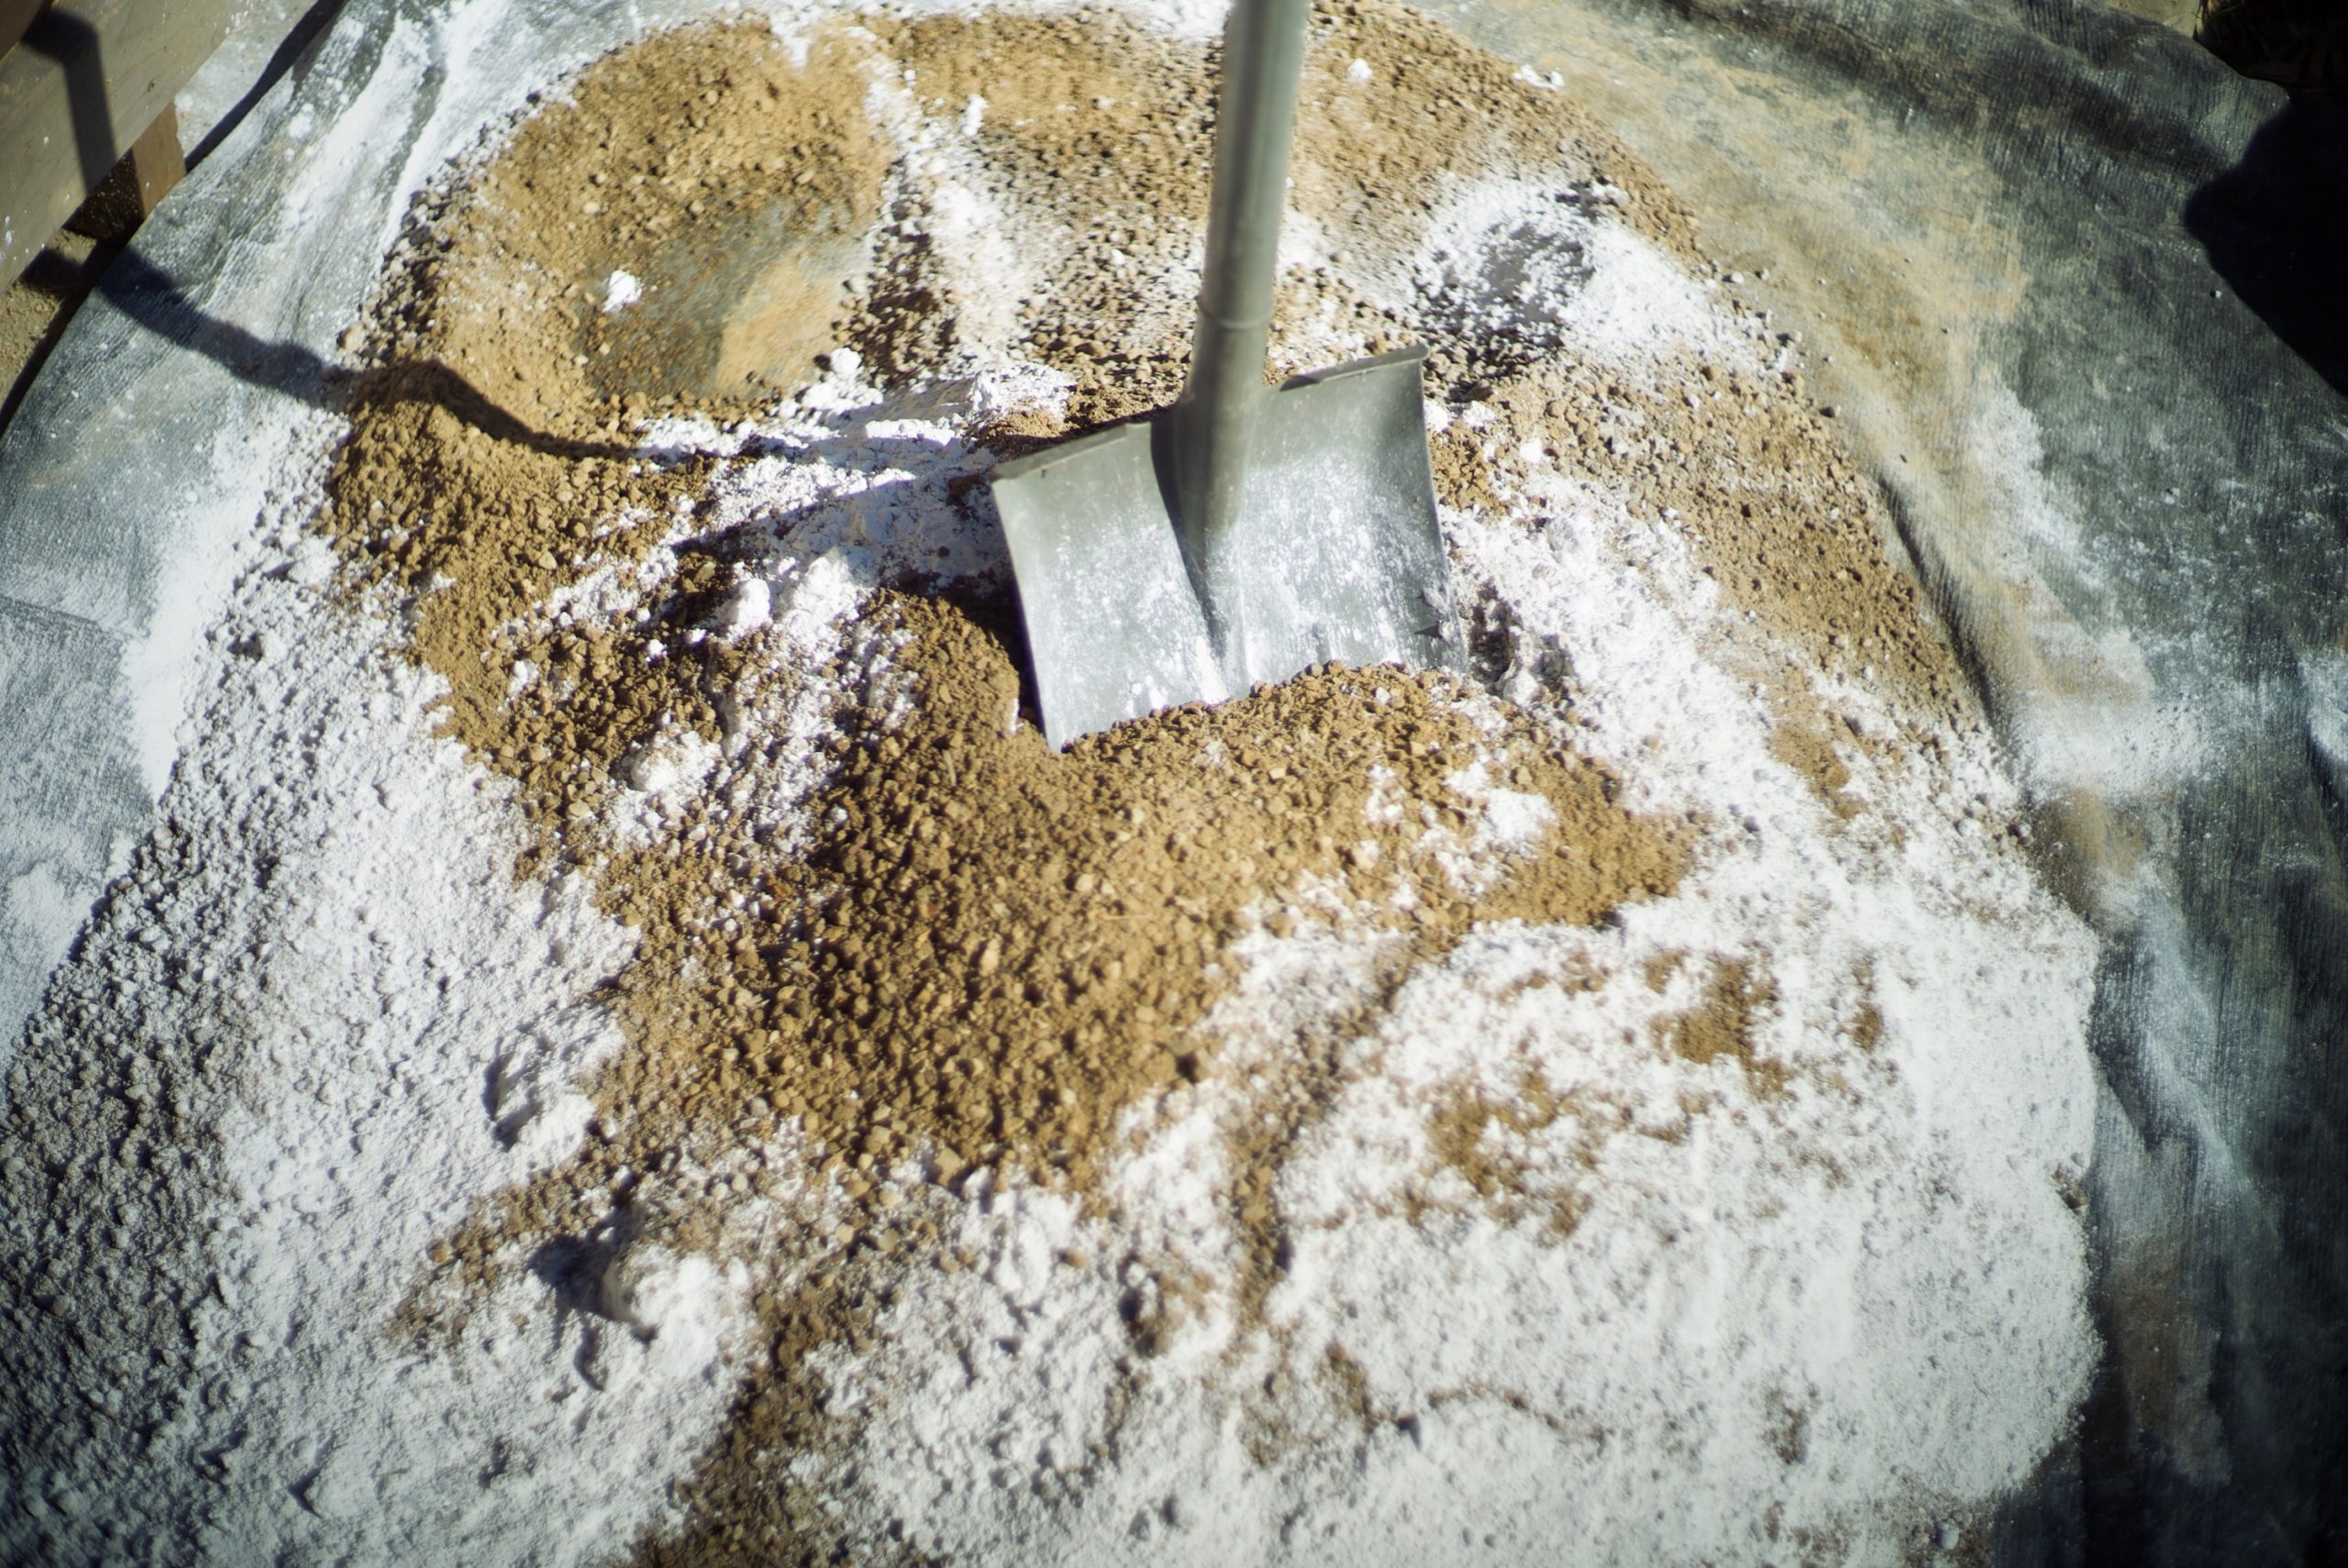
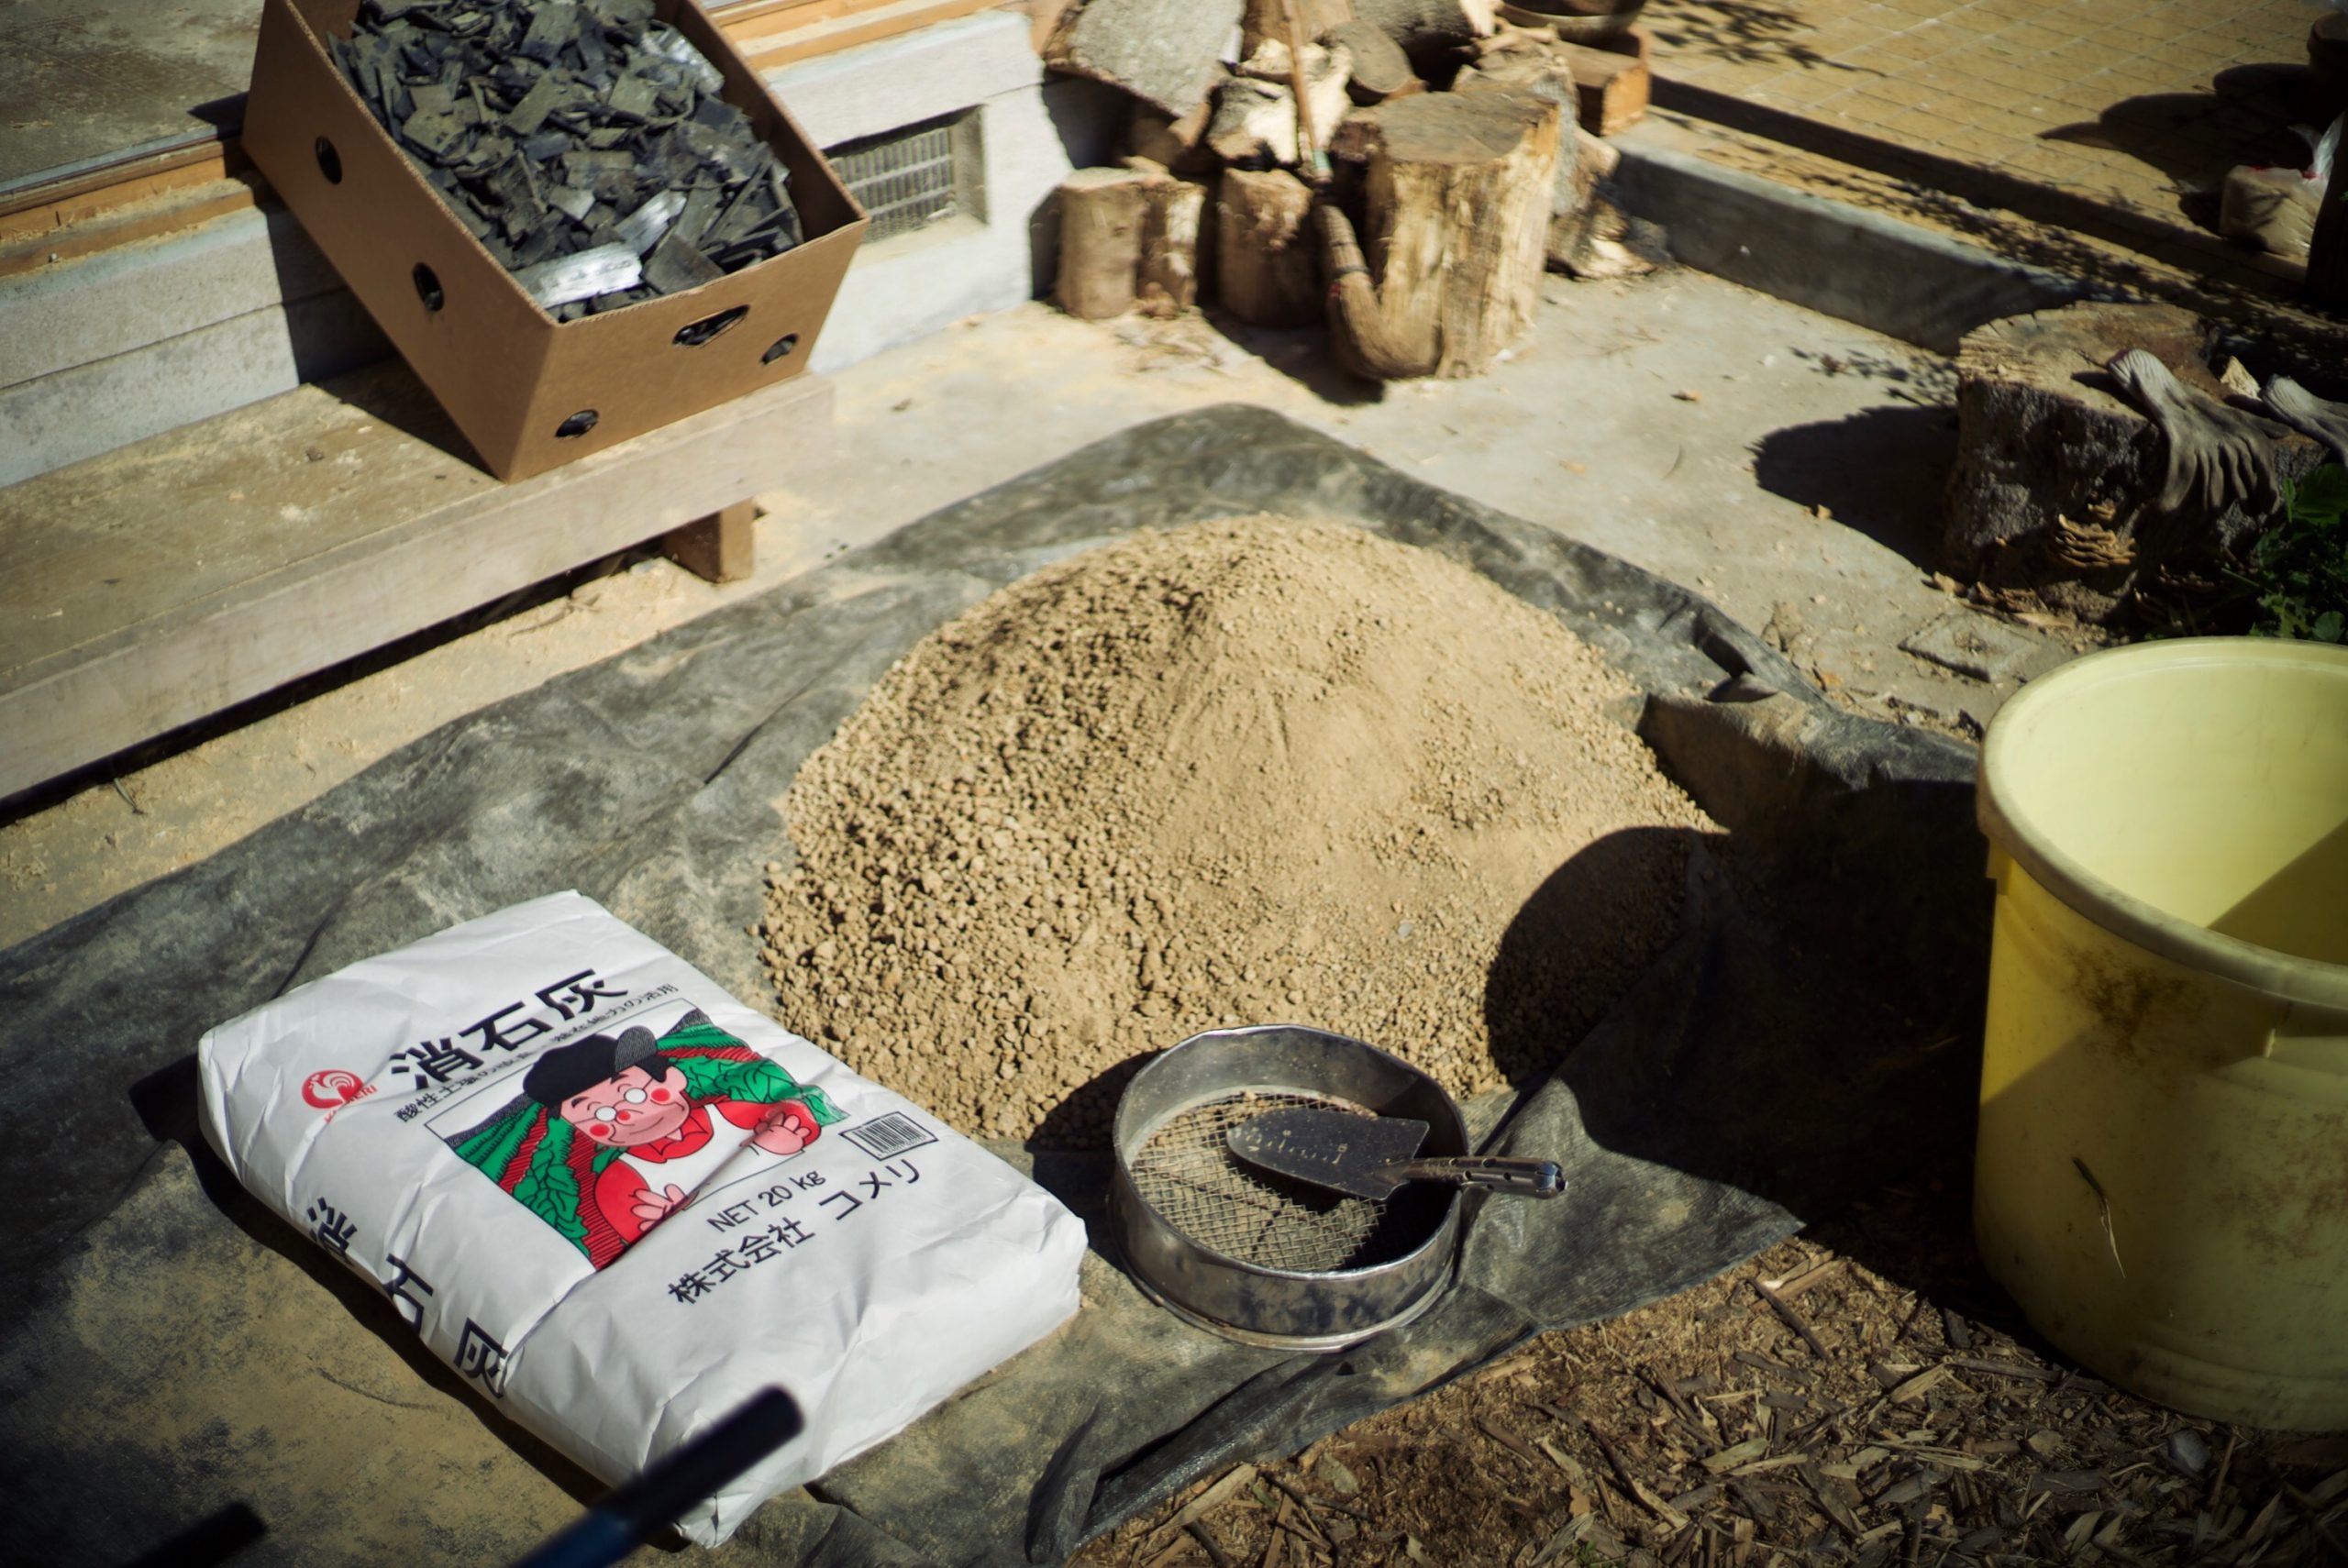
篩にかけた土に消石灰を混ぜ合わせ、全体的に馴染んできたら水を少しづつ加えていく。水加減は握ると形を保てる程度らしい、少しボソボソした状態だと整える時にコテにくっつかなくて良かった。
Only two things are required, simply dirt and lime. Sieve the dirt first then mix it with lime, adding some water little by little.
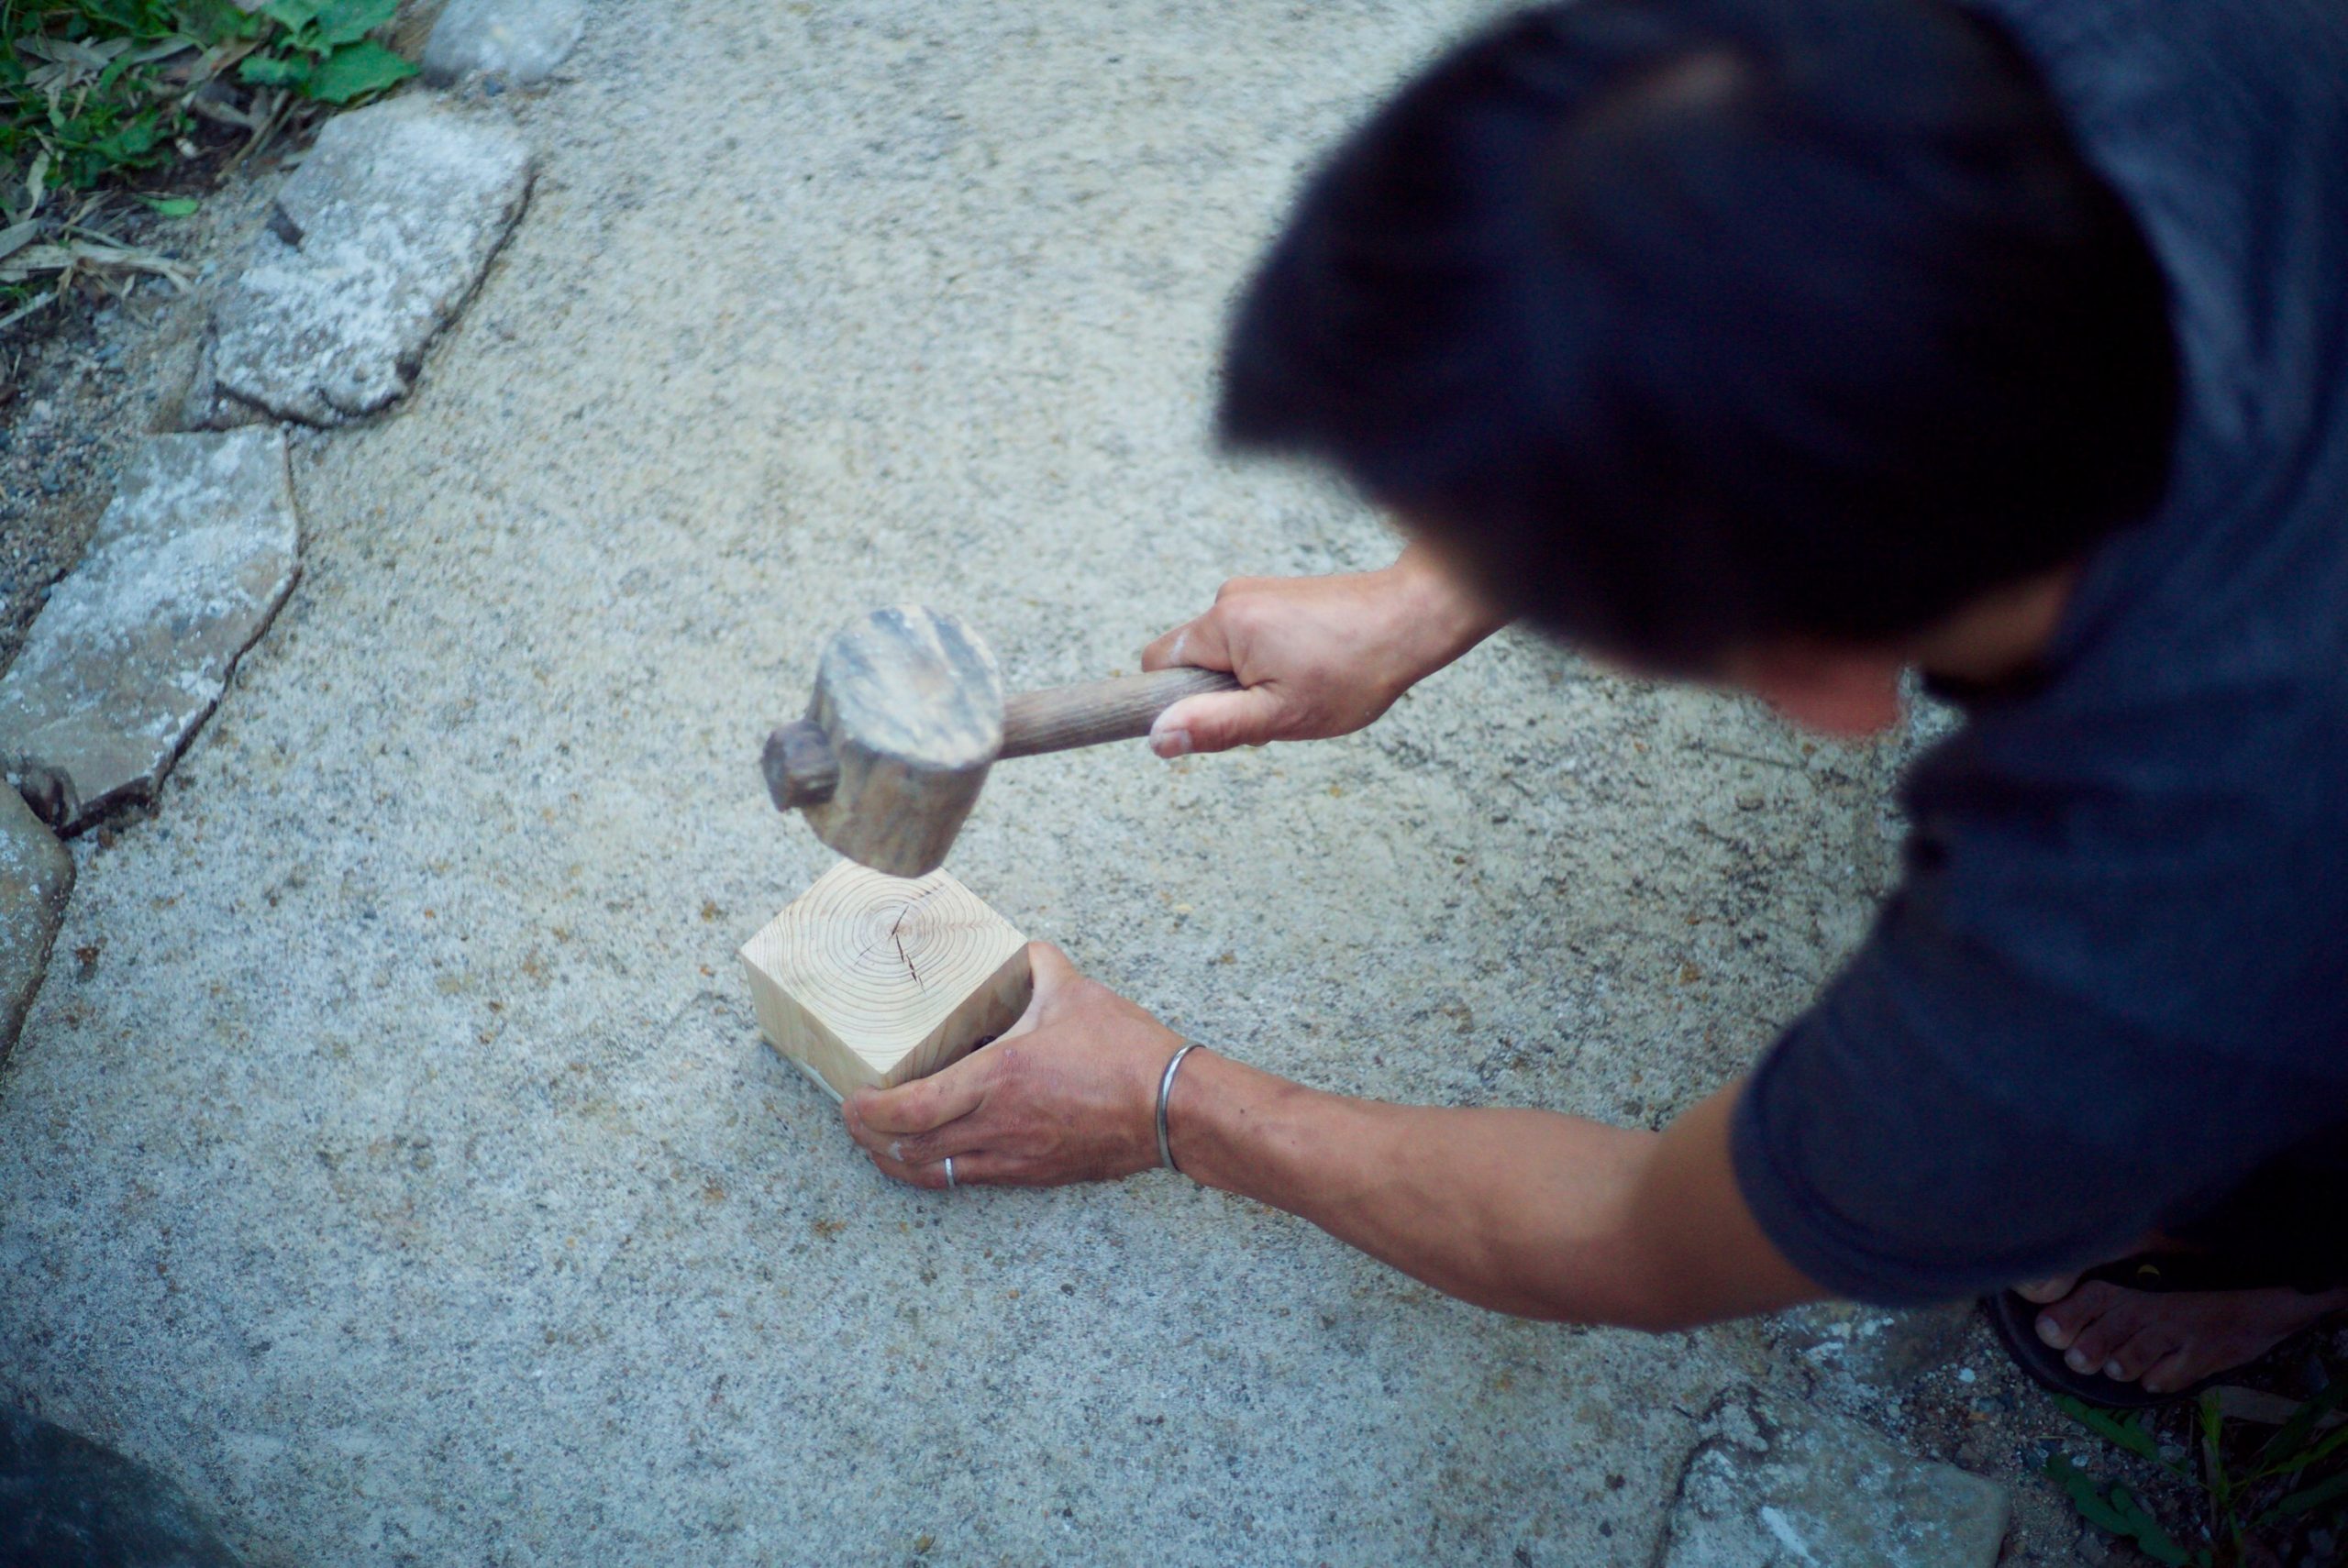
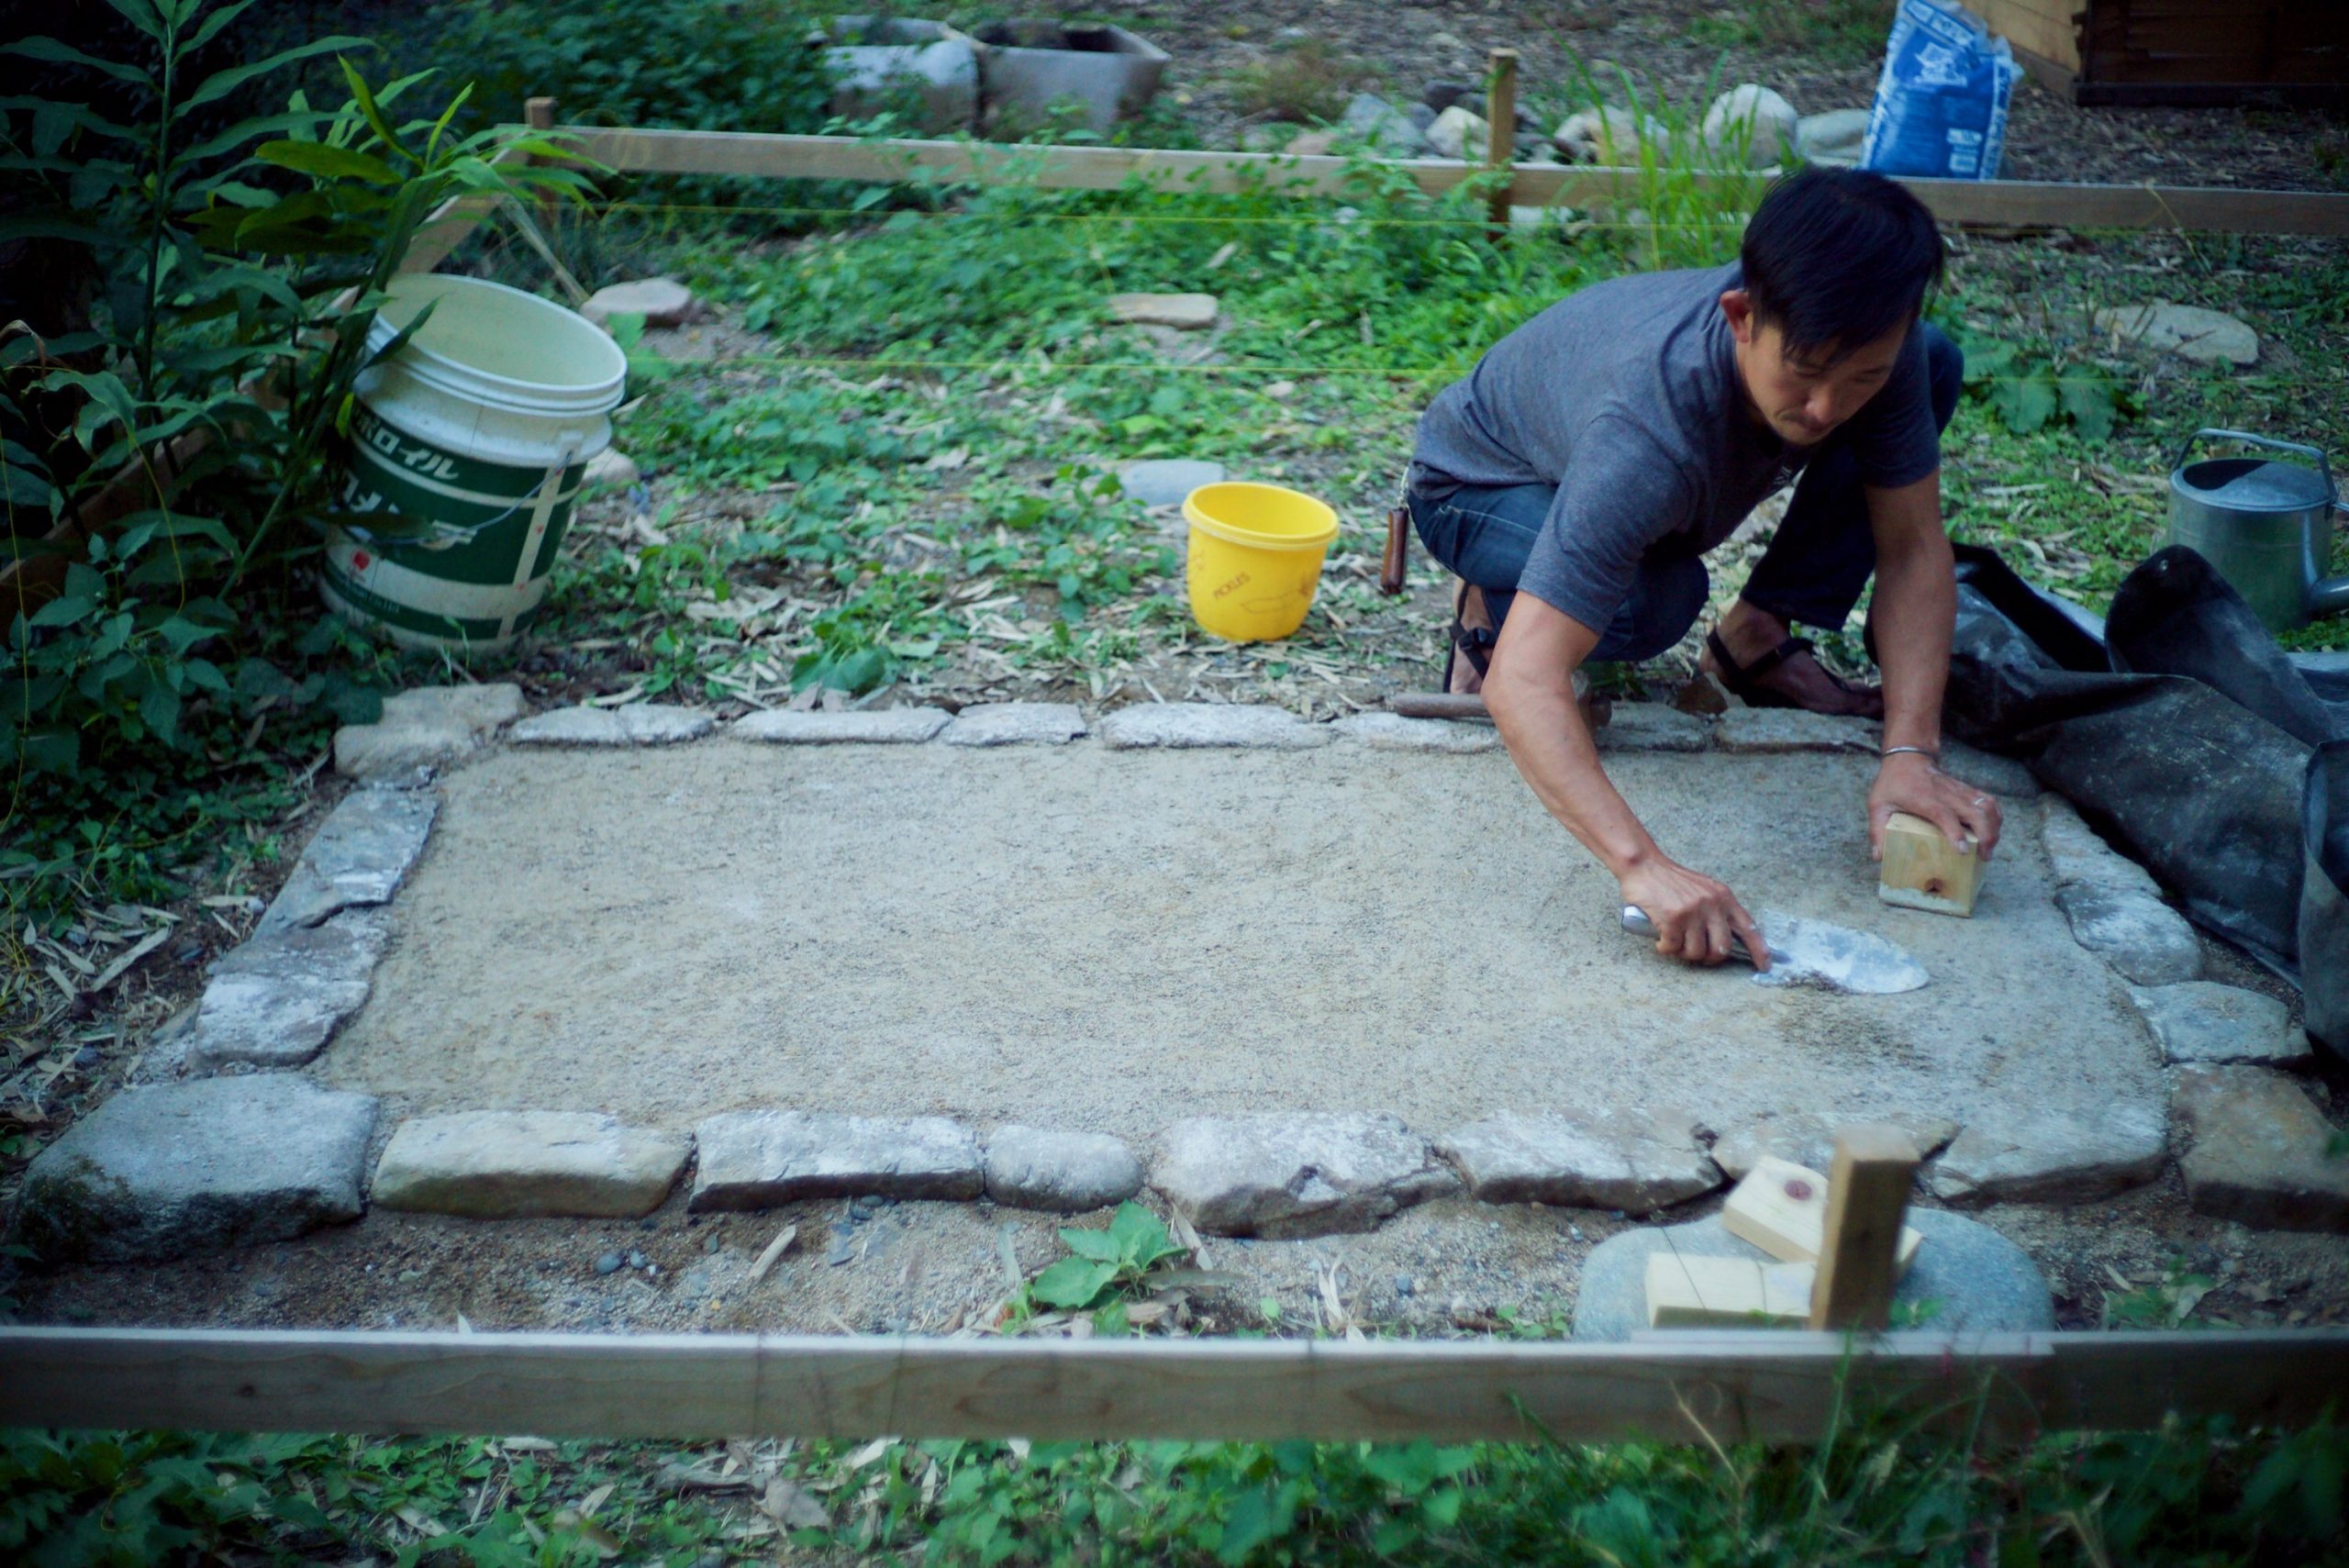
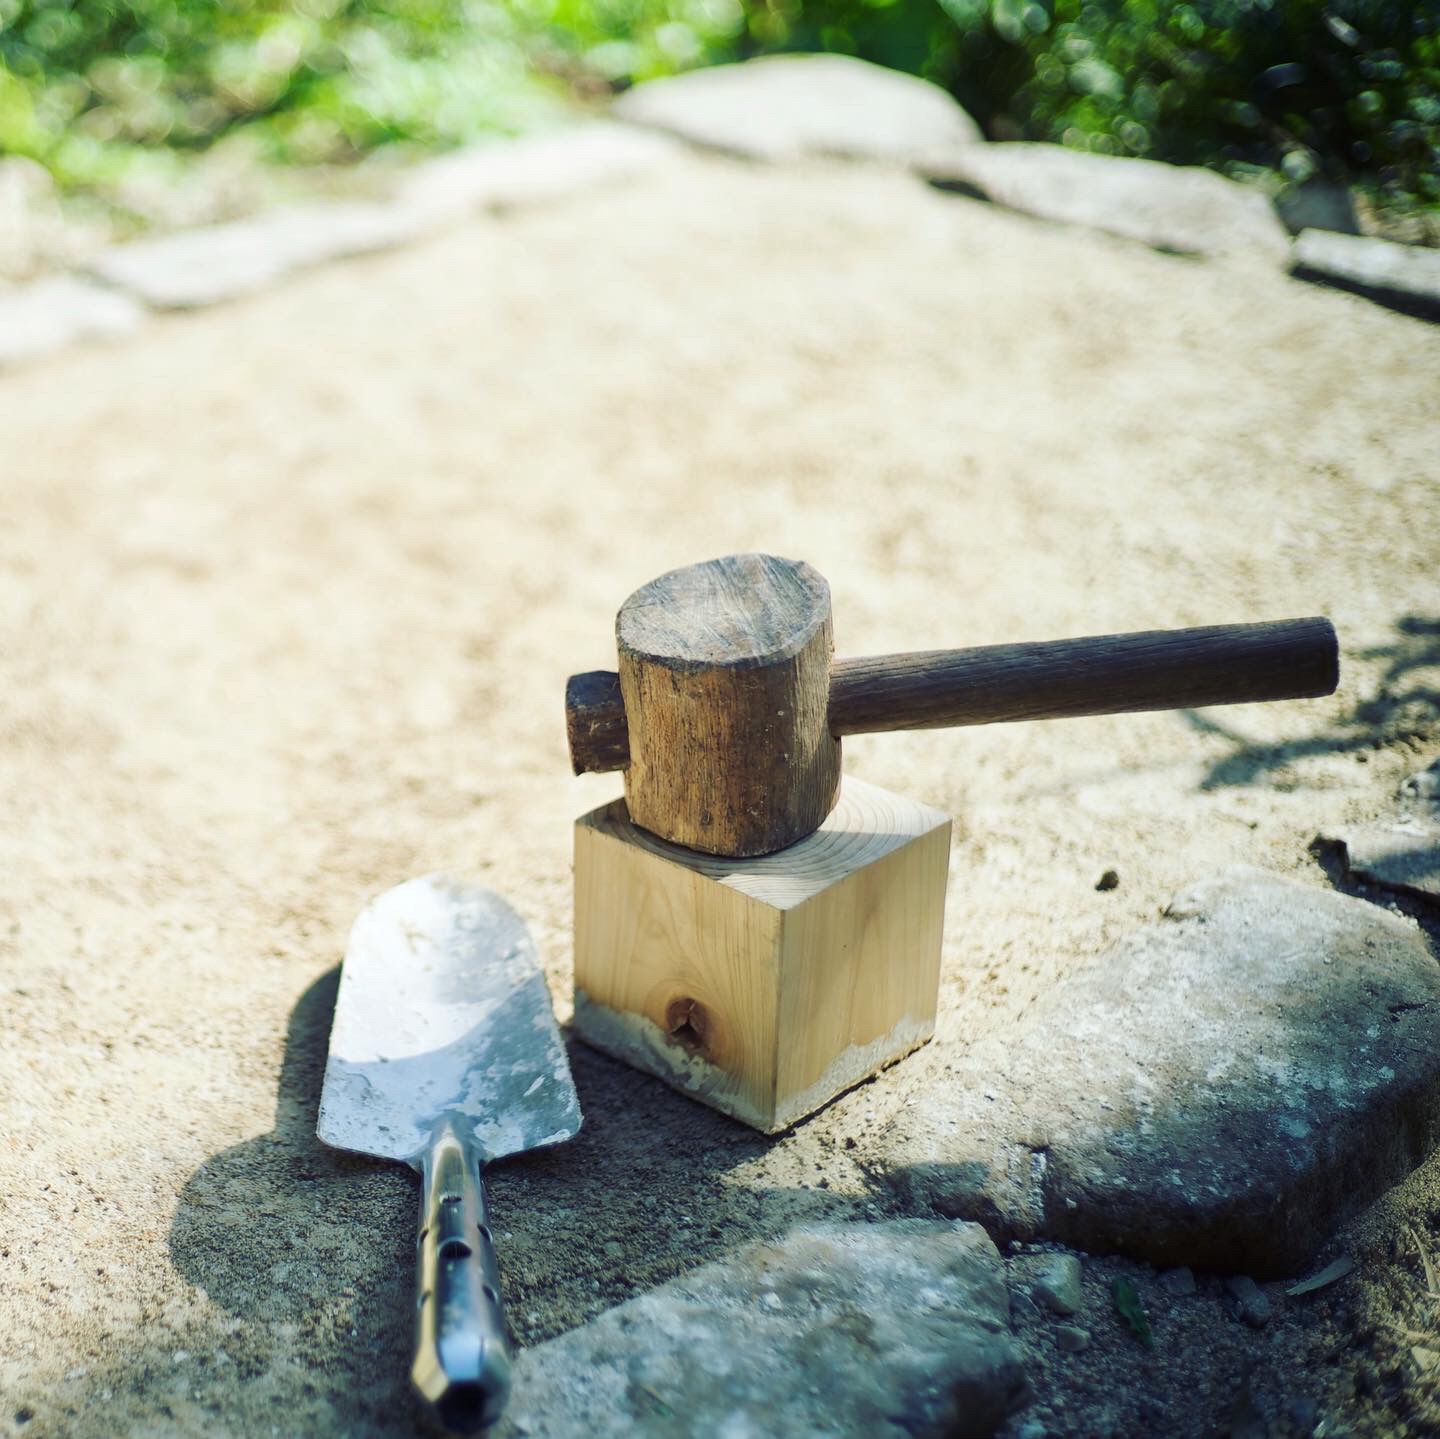
叩いて移植ゴテで均しての繰り返しで少しづつ整えていく。
Pounding and leveling.
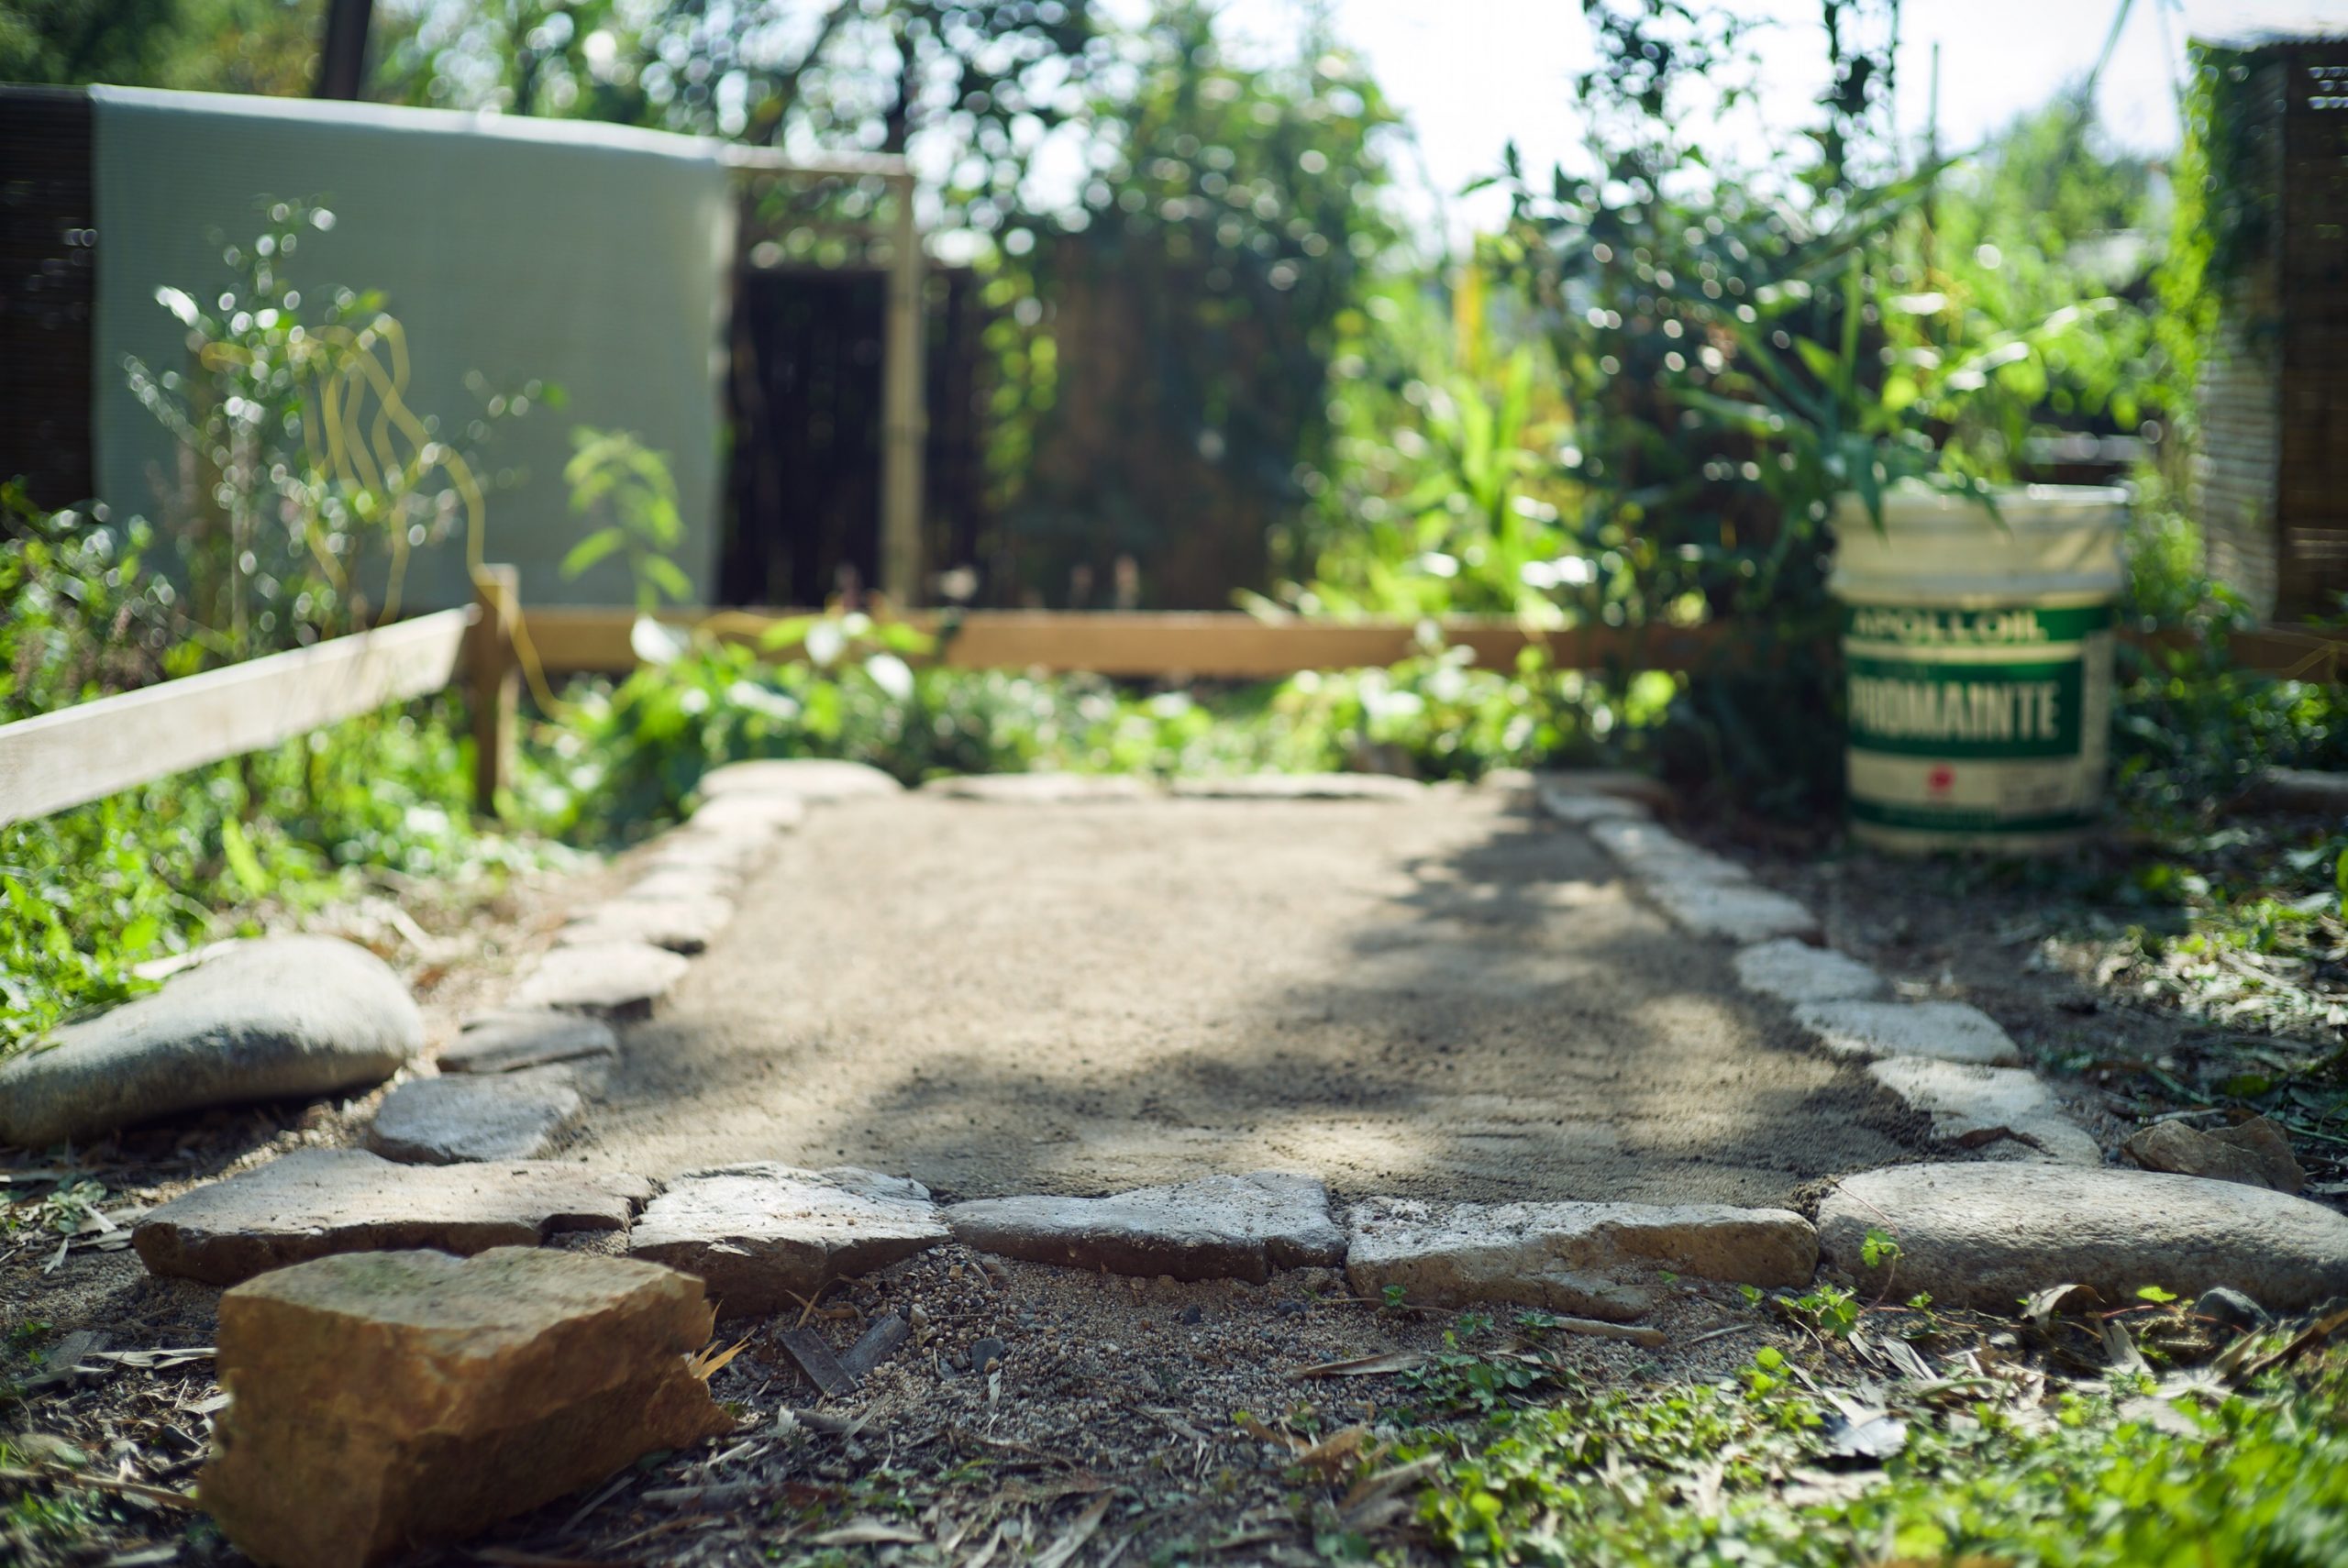
最後に表面に砂を撒き更に叩いて三和土完成、養生して様子を見る事に~。母屋では六畳の土間を設ける予定、こりゃ結構な量の粘土を用意してく必要があるね、まあ少しづつ集めておこう。
次回は塗装、地面から立ち上がっている部分に柿渋を塗り、その上から蜜蝋とオイルで作ったワックスでコーティングします。
Spread sands on the surface then pound it again. And that’s TATAKI the dirt floor. It was a lot clay and I’ll need much more for the main house. Better start collecting now.
Next is about a coating, persimmon tannin and beewax, natural paint used for long time.
コメントを残す