
 これ良かったんだけどね~如何せん短命だった、芯が腐った木を見つけたらまた作ろう。
情報を探しているときに良き出会いがあった。出会ったと言ってもブログを読んだだけなのだが、自然農をメインに色々実践されている夫婦で2009年にカミーノ・デ・サンティアゴを歩いているスルーハイカーだ。今回はそこで紹介されているロケットストーブを参考にして作る事に。我らの生活にとても役立つブログだったので渓にも教えたら既に灰汁の作り方を調べた時にみてたらしい。
自然農ガットポンポコ
I liked this log rocket stove but it didn’t last much. I’d make another one with an old log having a hole in center.
It’s funny but I check the internet often to get ideas for making sth or permaculture and sometime I meet thru-hikers. There is one couple who walked Camino de Santiago and now doing natural farming. I really like their blog. Because it’s full of useful and detailed info. Yes I got an idea for a new rocket stove.
 スルーハイカーなんて滅多に出会うものでは無いし、スルーハイクが何なのかを知らない人が殆どだから。不思議な事にこういう暮らしをしていて参考になる情報を調べていると、お遍路や熊野古道を歩いた方のブログに出会う。面白いね~
Meeting a thru-hiker is really rare. Well usually people don’t know about thru-hike. But since we started this life style we see some people are doing similar stuff. Interesting right?
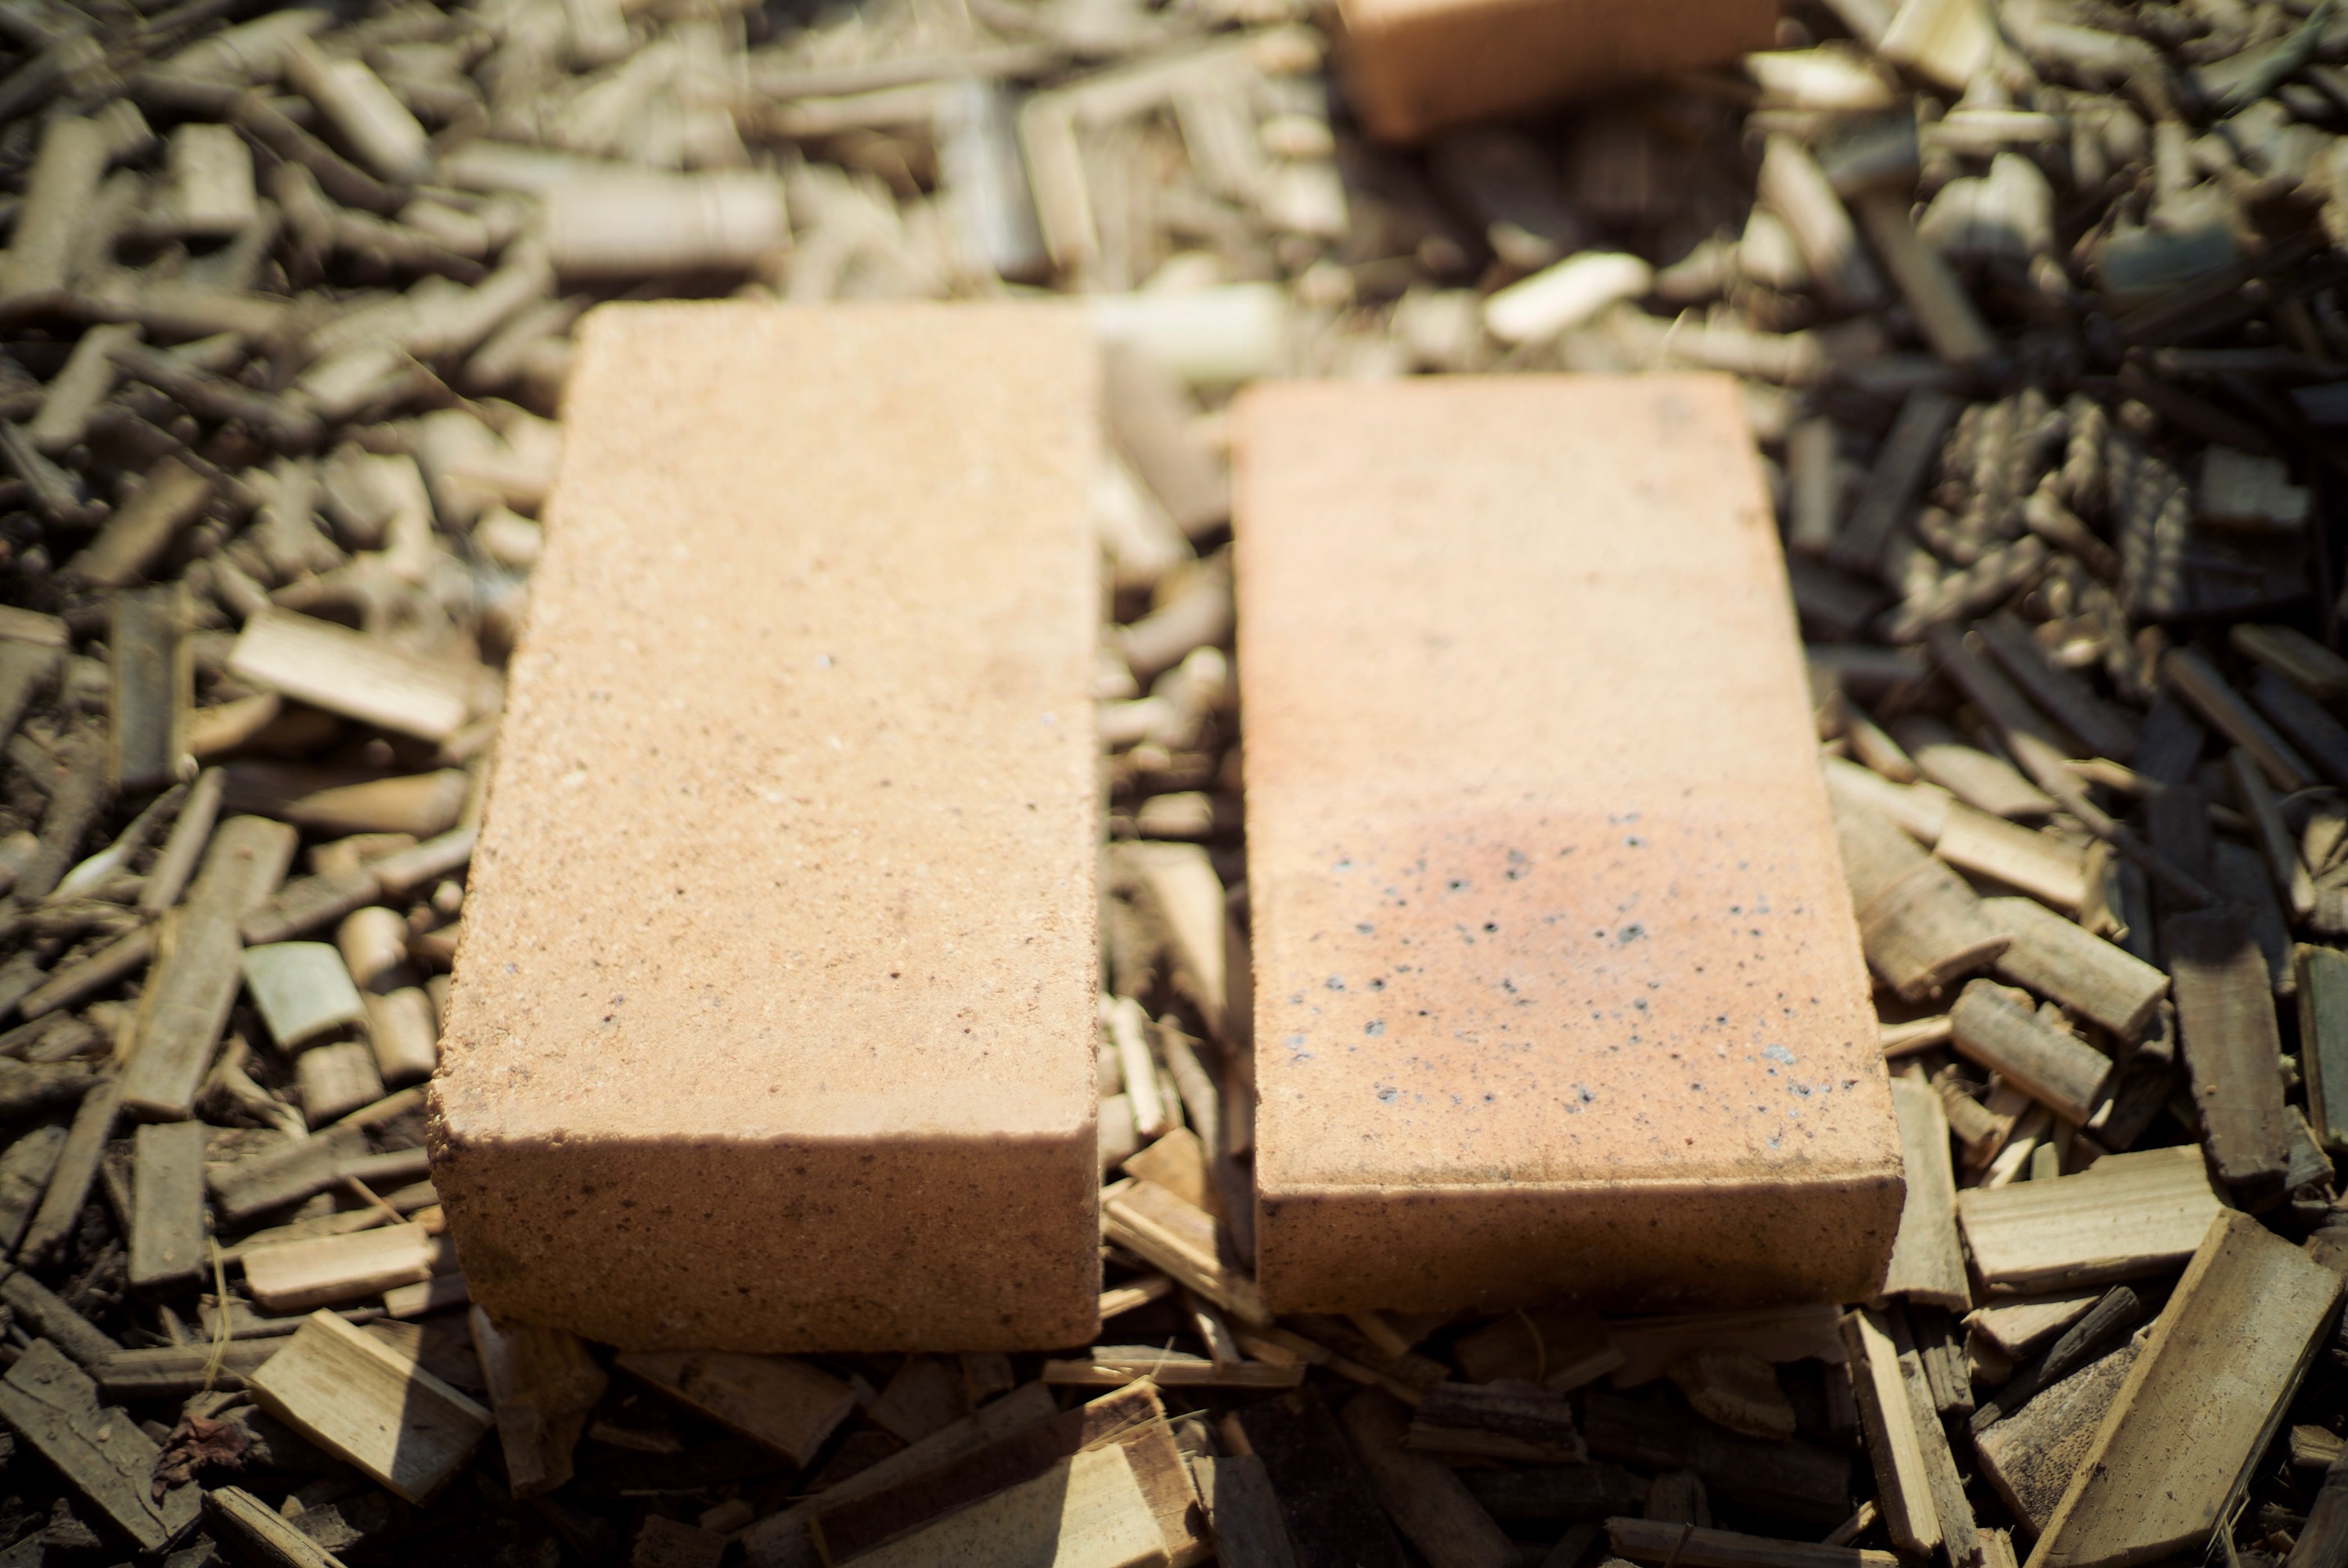 で、ガットポンポコさんのお勧めは珪藻土レンガ、珪藻土は七輪の材料。蓄熱する耐火レンガと違い断熱するのでロケットストーブには最適な素材、納得です。近所で売ってないのでネットで買おうかと迷ったが、レンガについて調べていると岡山は耐火レンガの産地って事を初めて知る。珪藻土レンガはガットポイントさんがいる能登が産地、ならこちらは耐火レンガで!写真の左が耐火煉瓦で右は薄い敷きレンガ。
Back to the story. Diatomite bricks is the one they recommend. It’s fireproof and heat isolating. That’s what you want to use for rocket stove they explain and I agree. One problem is I can only get it online shopping. I was going to buy some then found out that Okayama, where I live, dose create half of fireproof bricks selling in Japan. Well then I decided to use sth from here! I used fireproof one on the left and normal thin bricks on the right.
 そんな訳で今回はRMHと一緒で焚口とバーントンネルに耐火煉瓦、ヒートライザーは耐火モルタルにパーライトを混ぜたもので耐火断熱にして作る事に。ただ構造はガットポンポコさんが作ってたこちらを参考に鍋を三つ温める形に。
http://kobapan.com/blog/2015/10/22/rocket.html
The system is like the one Gatto-san made. And I used perlite-mortar for the heat-riser. The same one I made RMH with. It has three heating spots with one sauce.
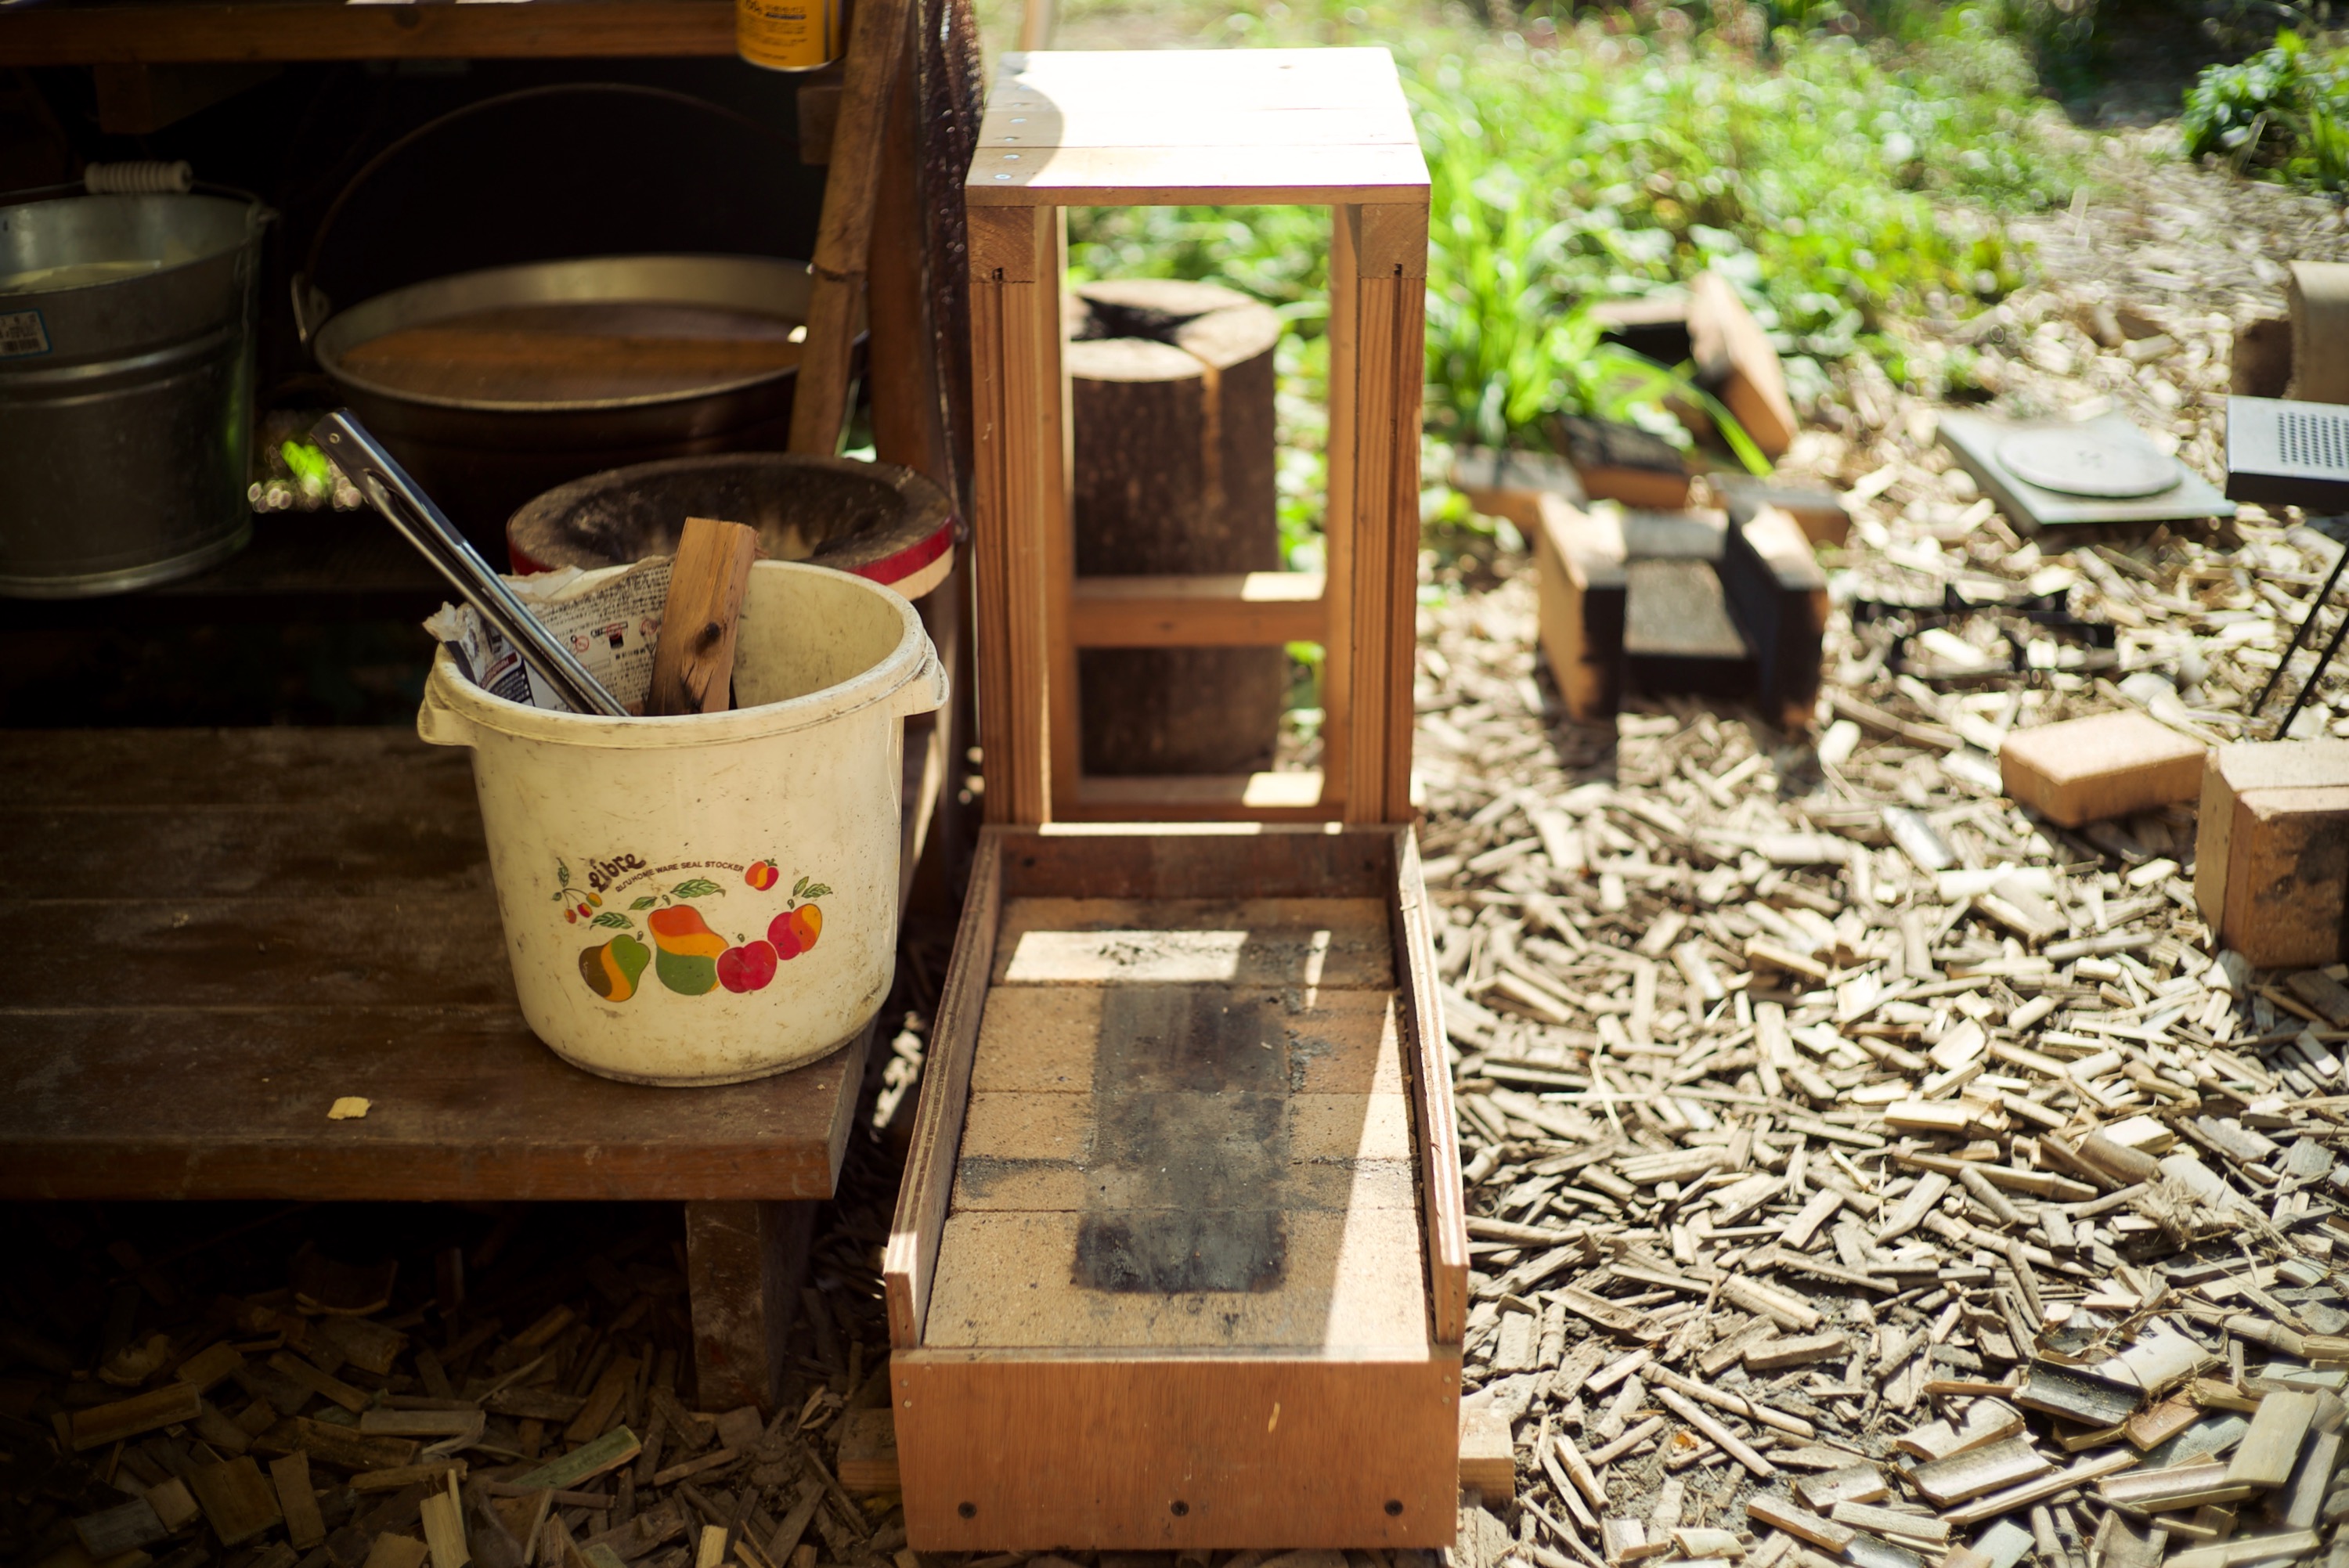 先ず廃材端材で箱を作って後方に棚を組む、そこに底部になる耐火煉瓦を敷き、焚き口、バーントンネルも耐火煉瓦で構成。
Made a box with scrap wood and put a shelf on the back. Then laid bricks to create a fire path.
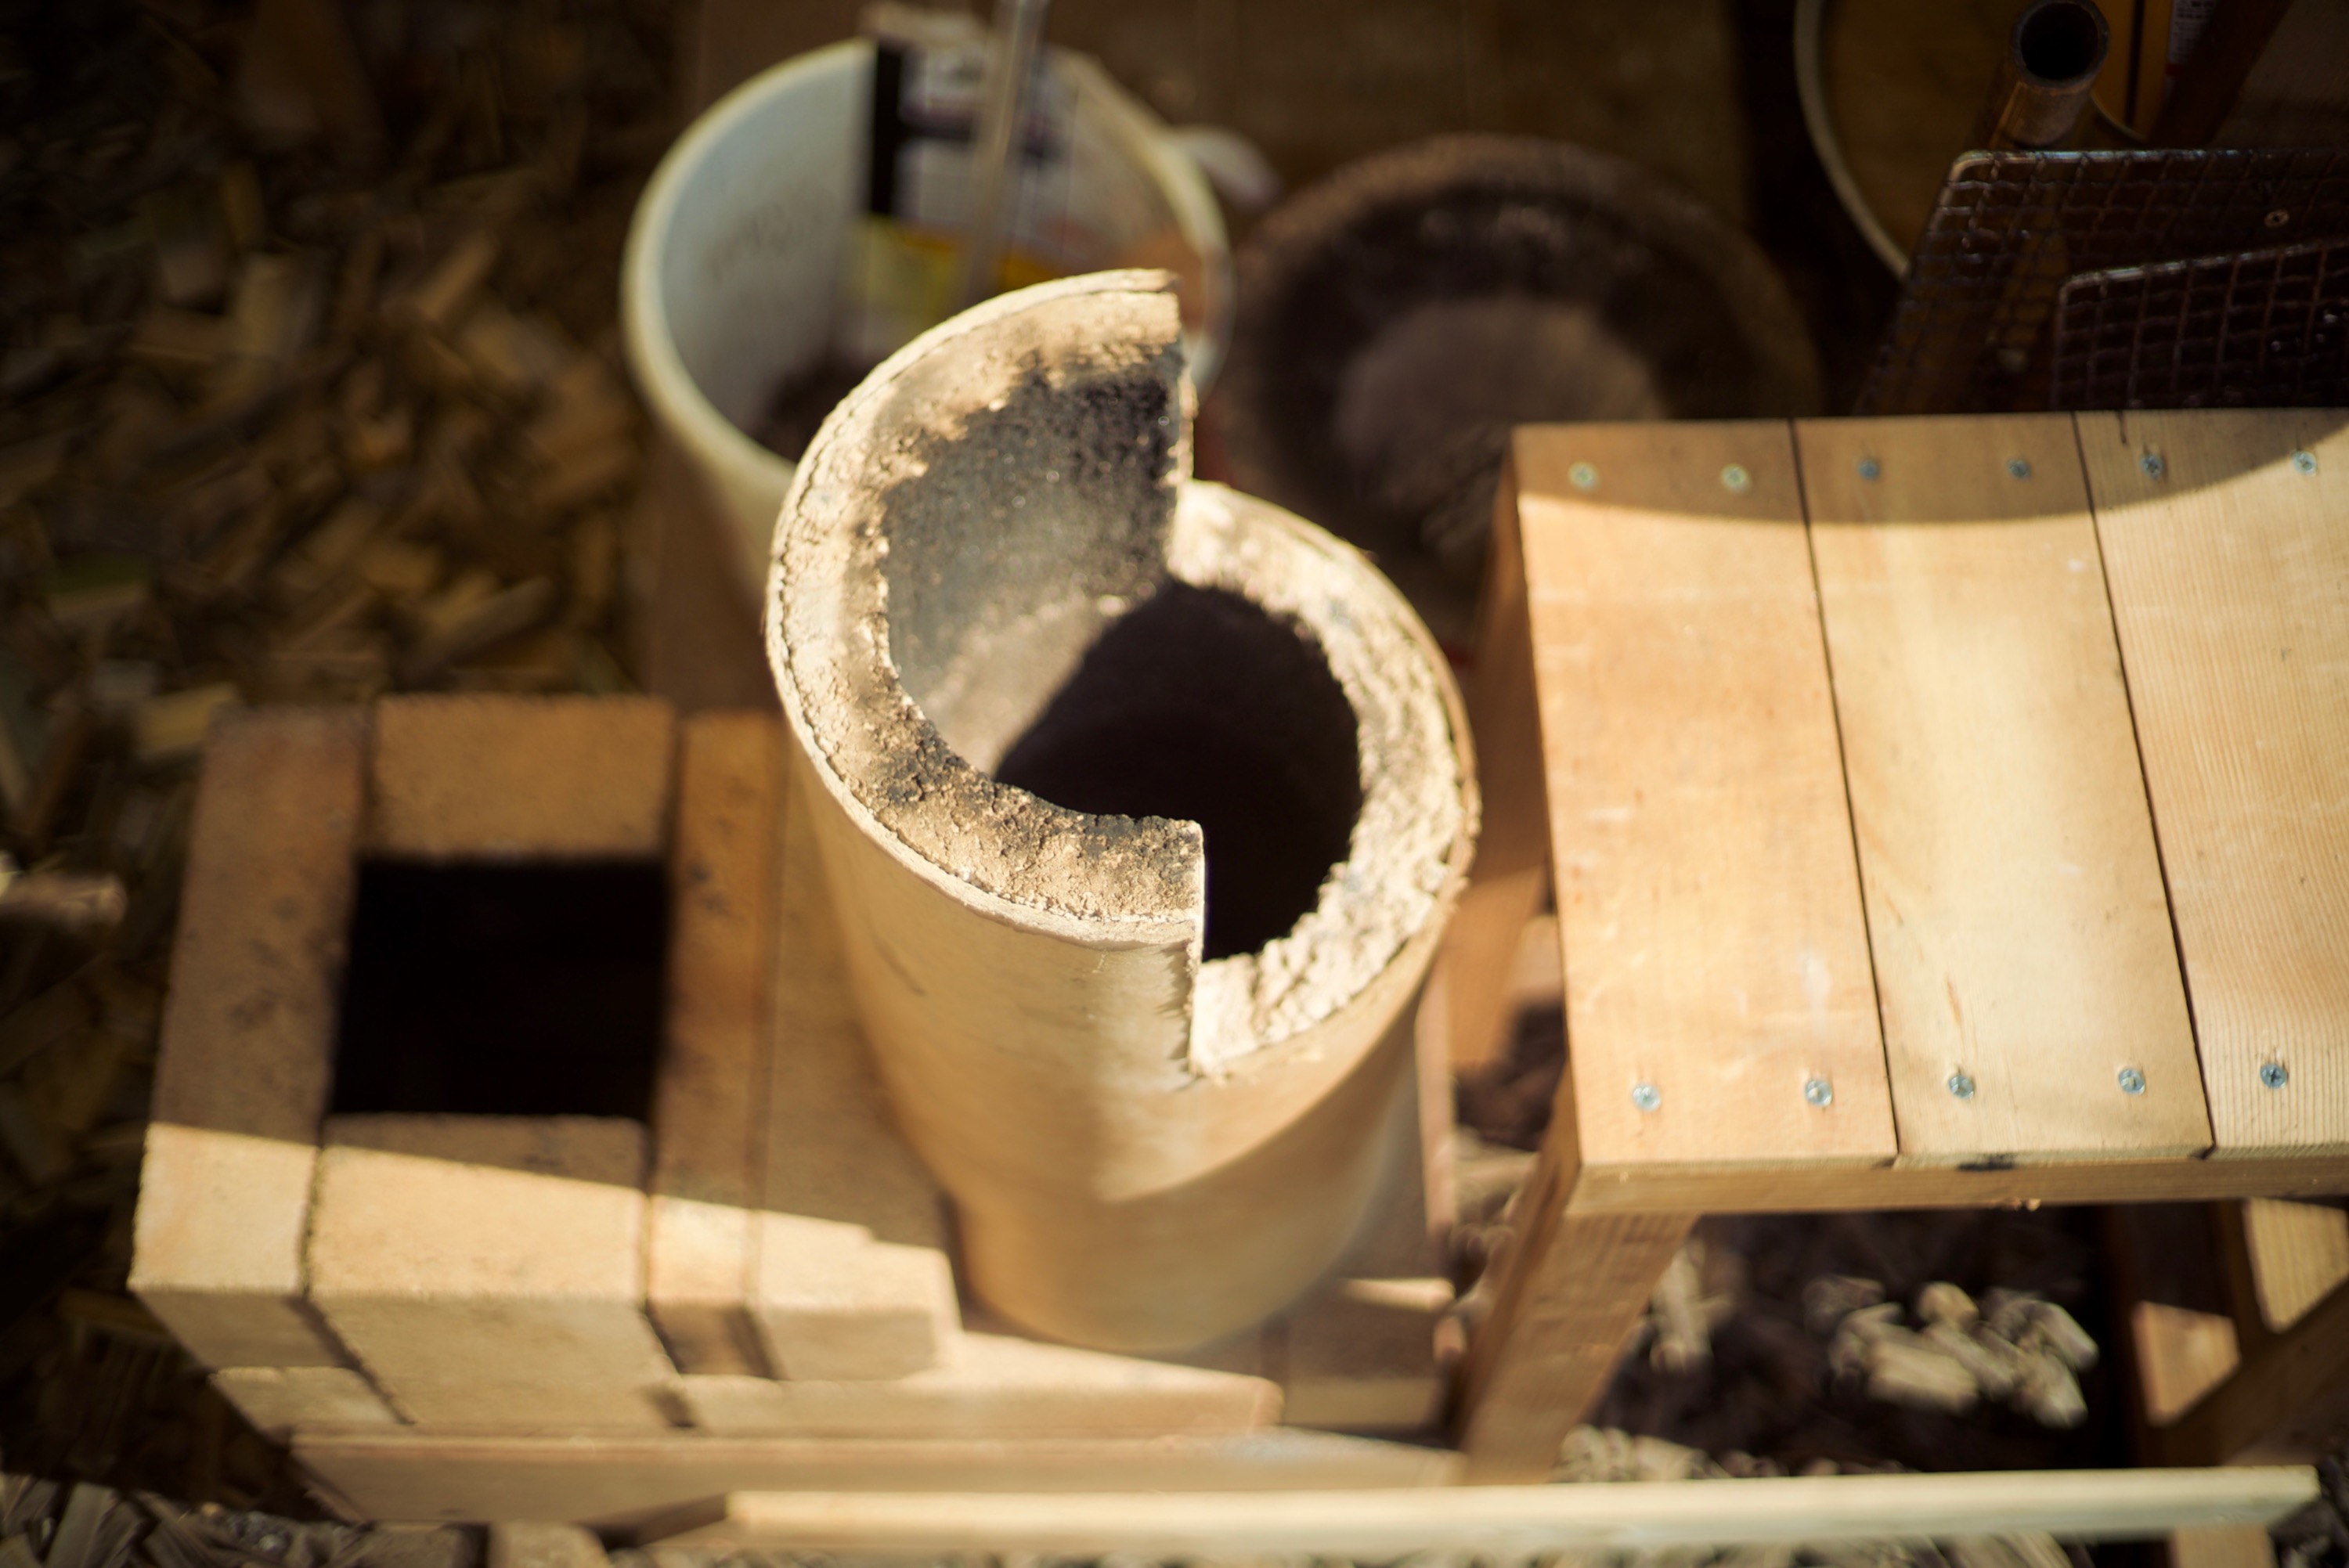
 125mmのスパイラルダクト にダンボールを巻いたものを芯にして、余ってたボイド菅と合わせて型に。そこへパーライトと耐火モルタルを同量練ったものを流し込む。それを載せて
Mixed fireproof-mortar with same amount of perlite in paper tube. That’s the heat-riser.
 上部の煙道は敷き煉瓦を底部と横に並べて最後に立ち上げる、母屋の庇に使われていたトタンを切って曲げて煙道に載せたら完成。全体的に隙間だらけだけど十分な働きをしてるのでこのまま使う事に、これならいつでも再利用できるね~
Connect it with thin bricks and a little chimney at the end. The tin plate on top was one of eaves from the house. Everything is not glued so there’re some gaps all the way but it works good enough. And this way I can modify and rebuild easily.
 杉の葉と枯れ竹を焚付けに、火力を上げたい時は枯れ竹を詰める。点火後はクリーンバーン!
Cedar leaf and bamboo are the best combination for starting fire. And we can get them around us.
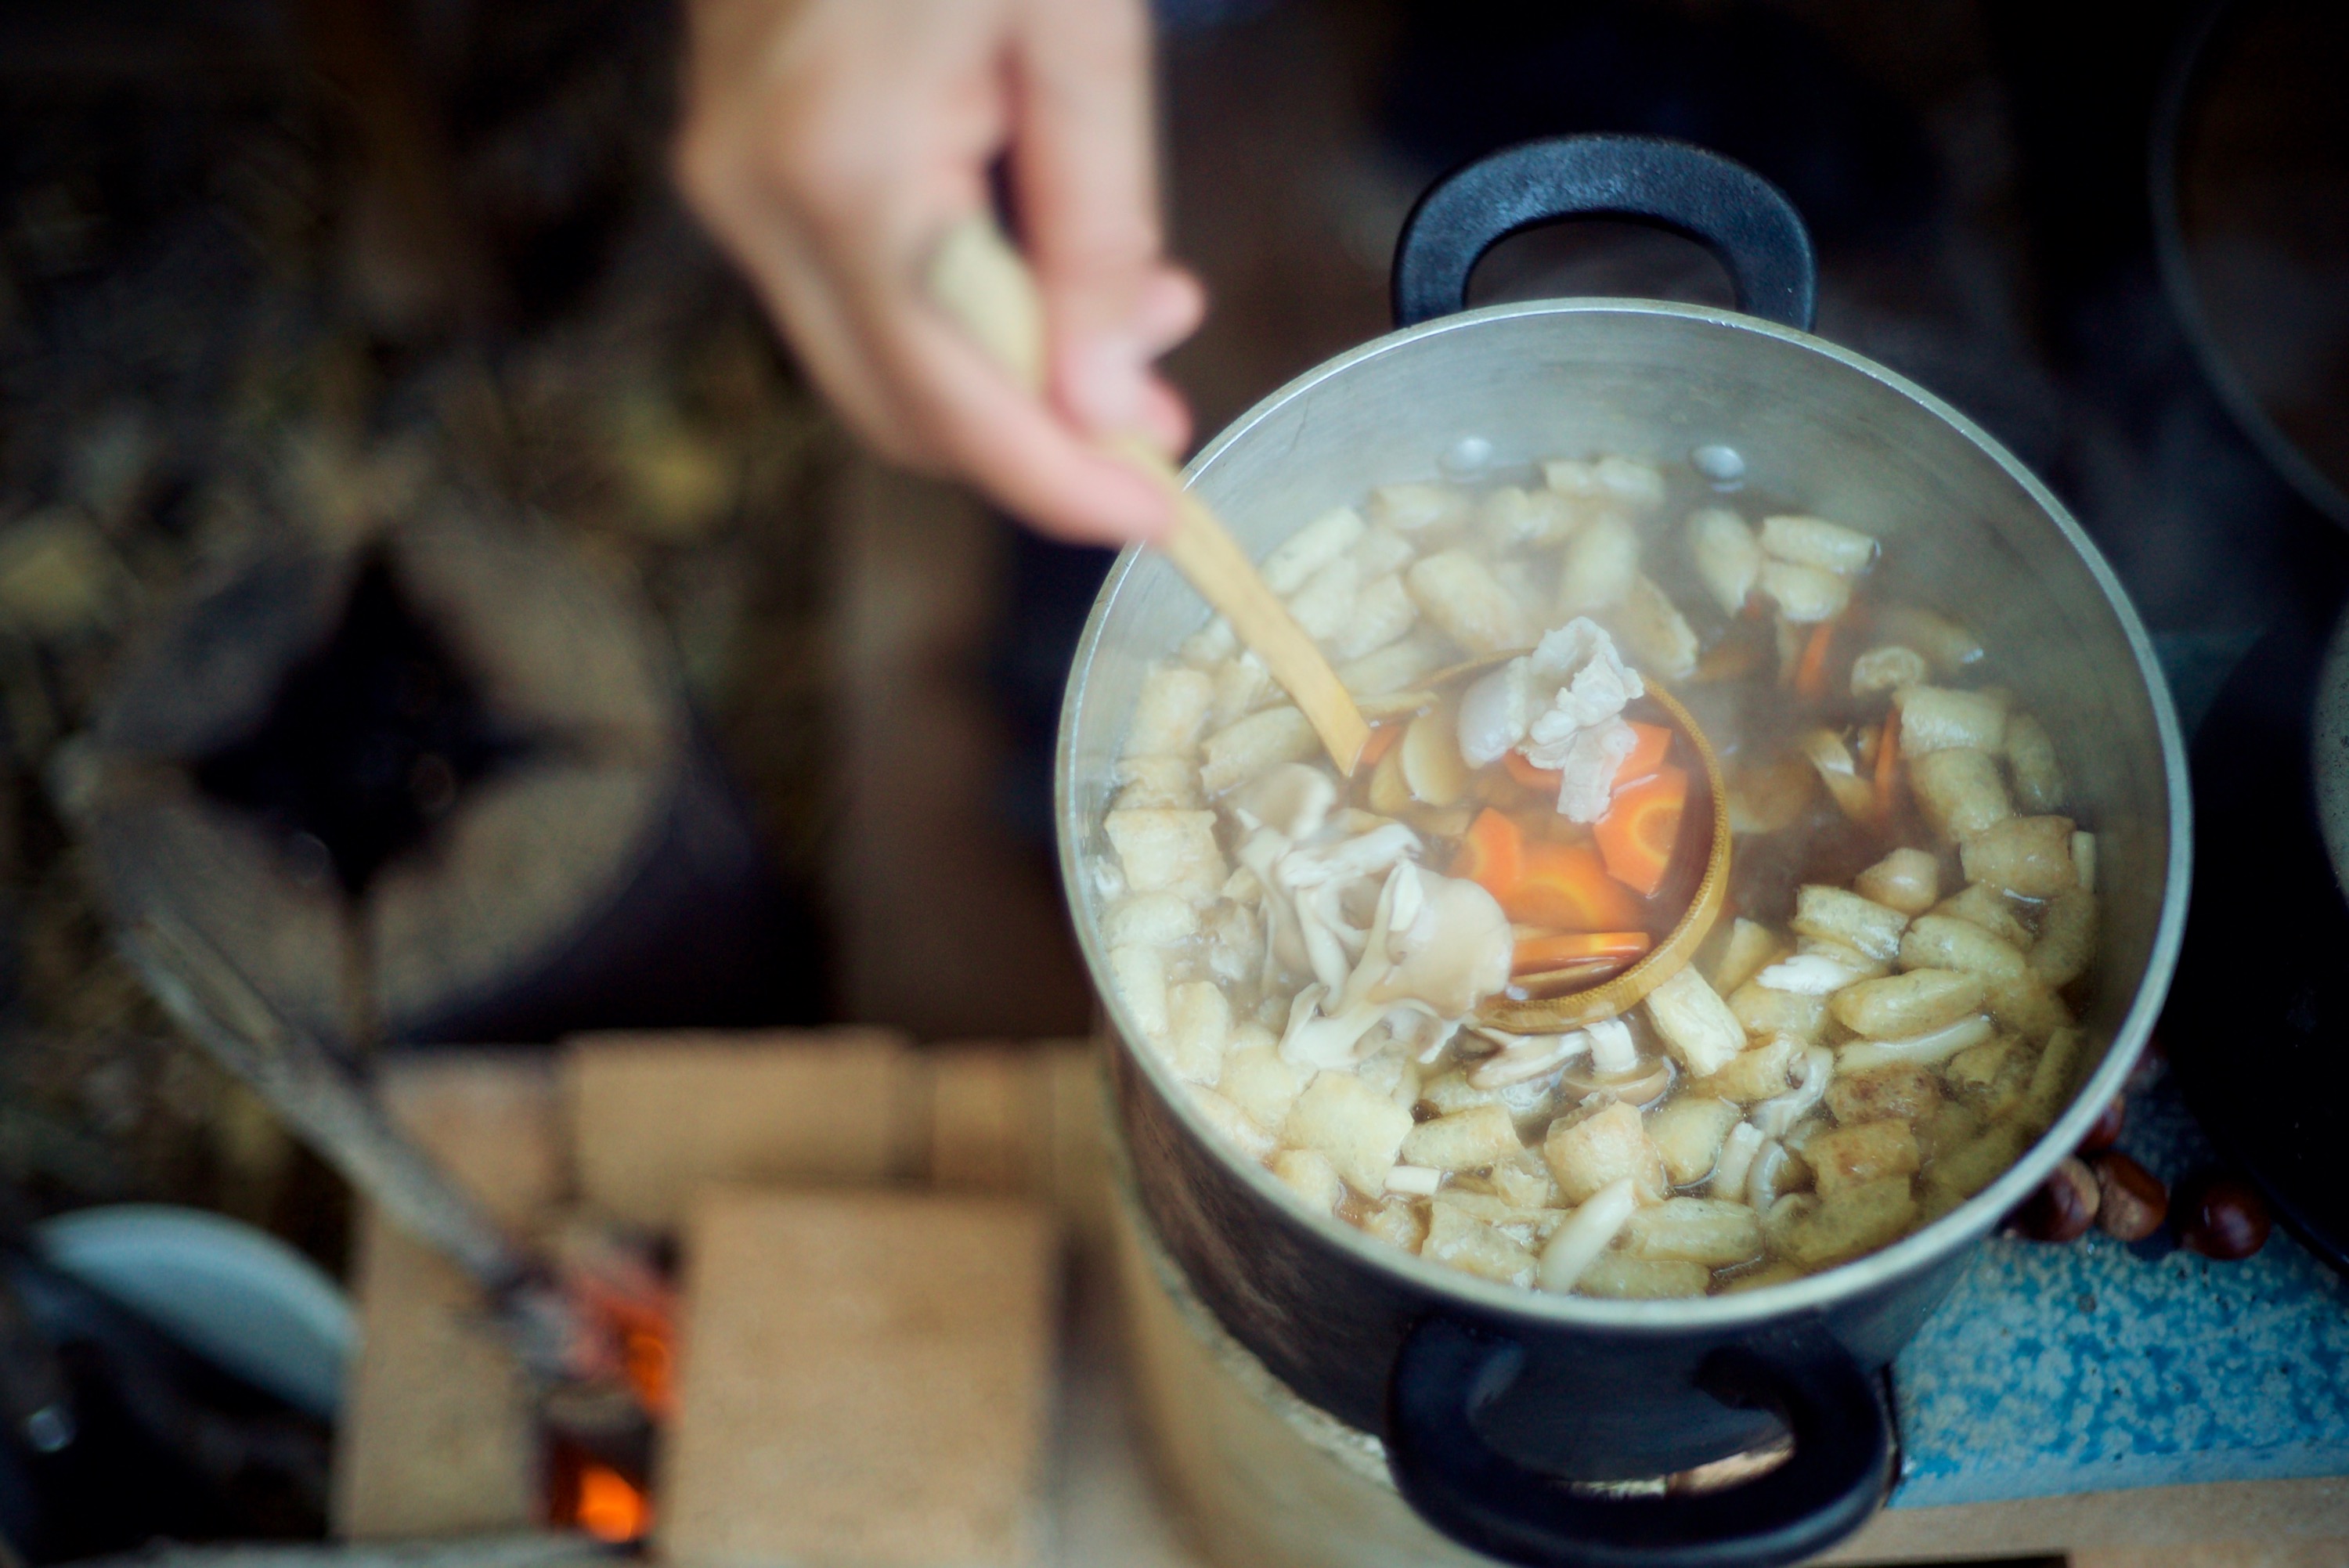
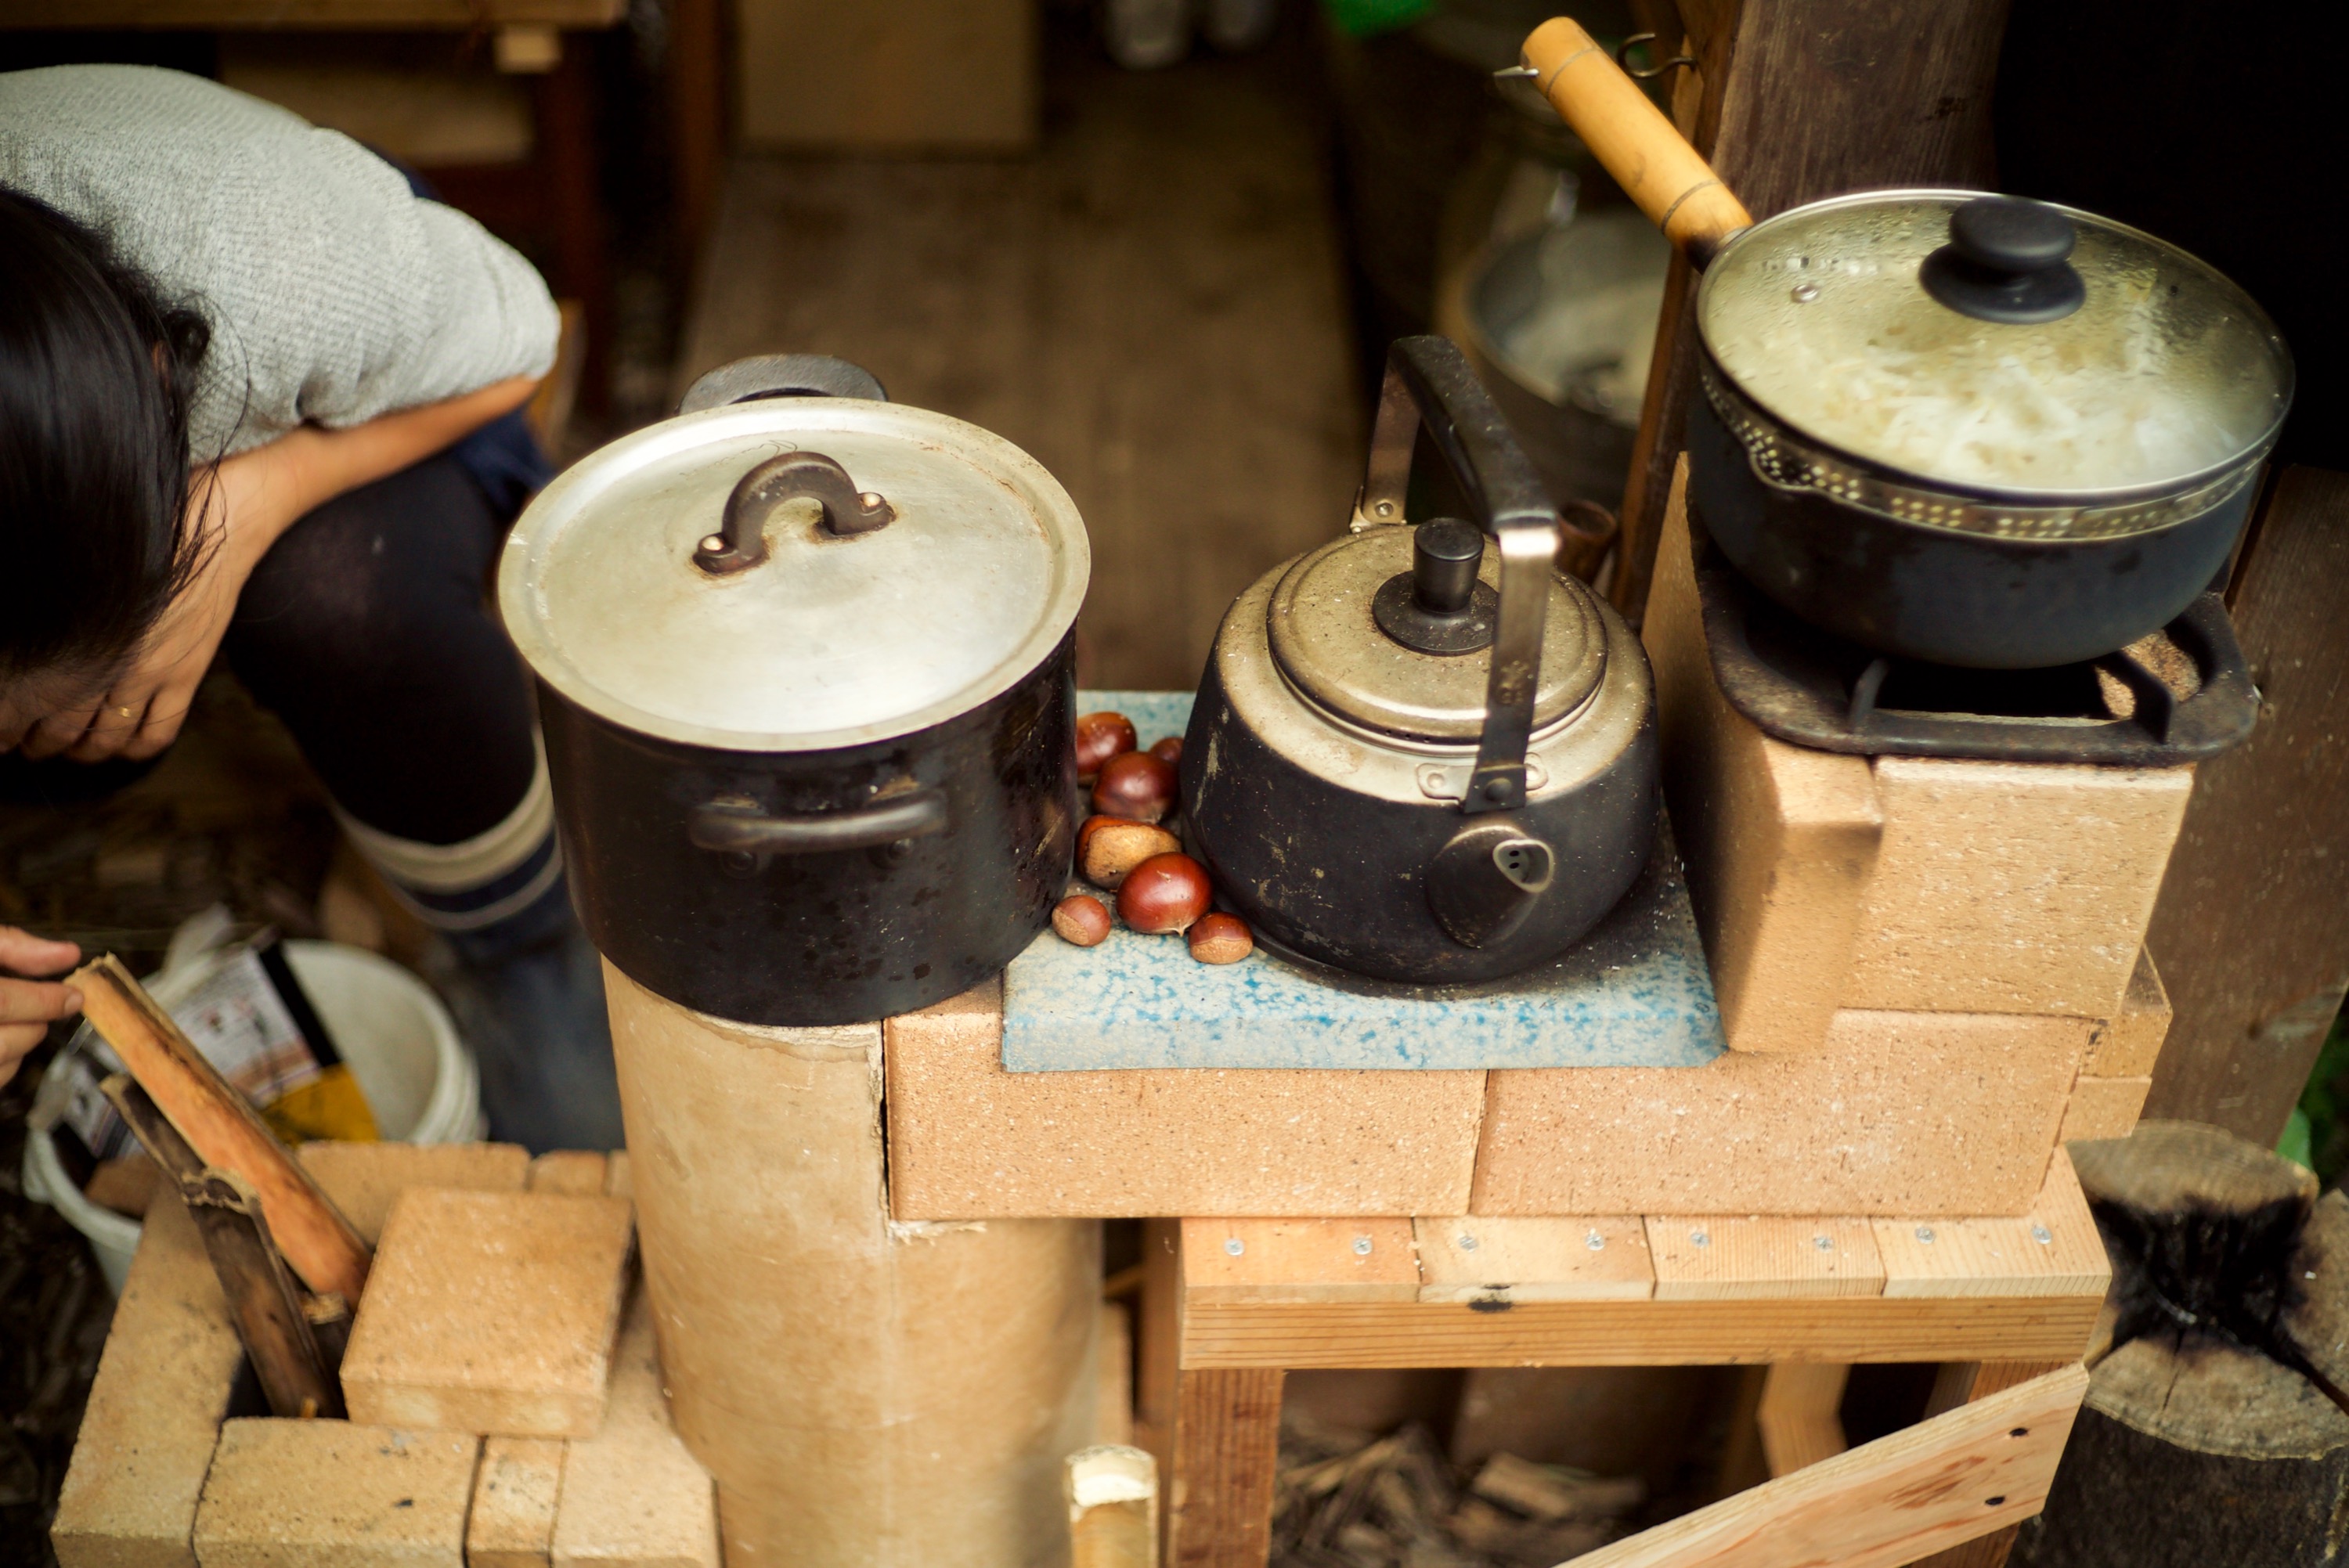 ひとつの焚き口で鍋三つと空いてる部分で栗も焼けちゃう~
Three pods are cooked at the same time. Also we bake chestnuts on free spot.
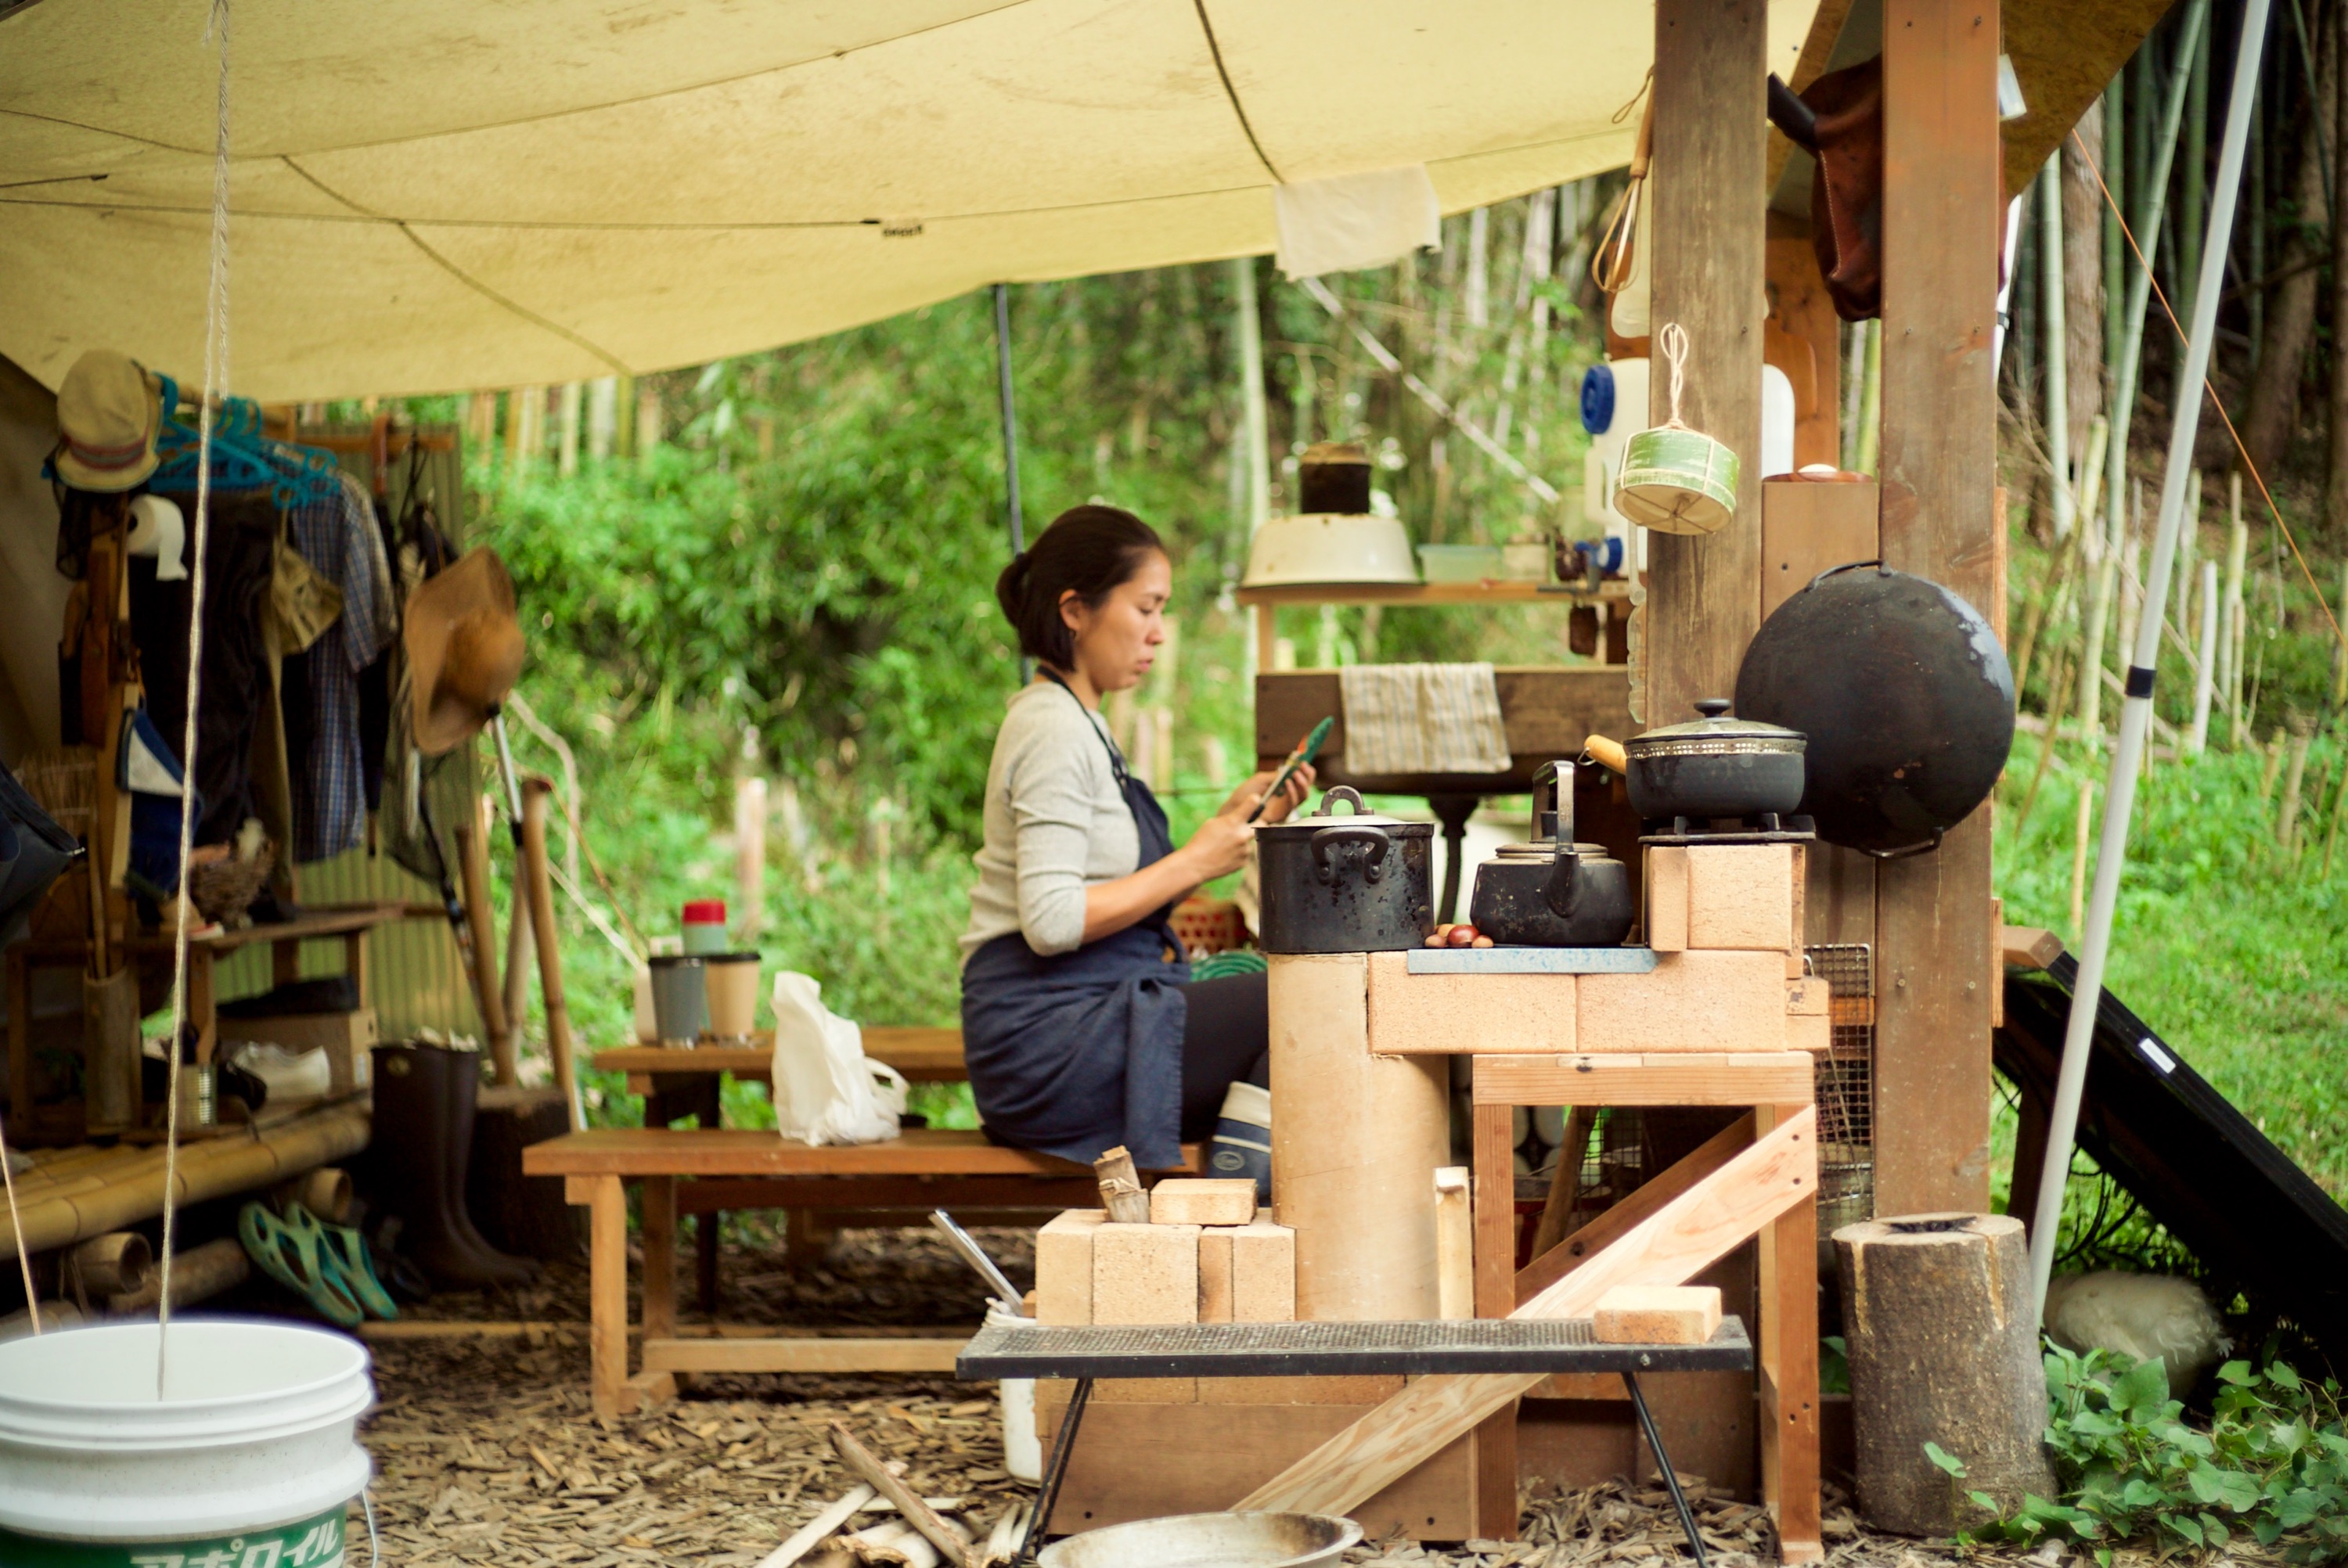 やっとまともなキッチンになった~これで渓の料理にますます磨きがかかること間違いなし!
The sink, faucet and rocket stove, finally we have a proper kitchen. Now Kei can cook even better!
nobu
コメントを残す