長く間が空いてしまったけどRMH第二弾!
ローカルホームセンターのナンバで見つけた雑穀缶をヒートライザーのカバーに採用して、この形が最終形。
It’s been a while but RMH is back!
I got this can(grain keeper) in a local hardware store. Finally I got the last piece for RMH.
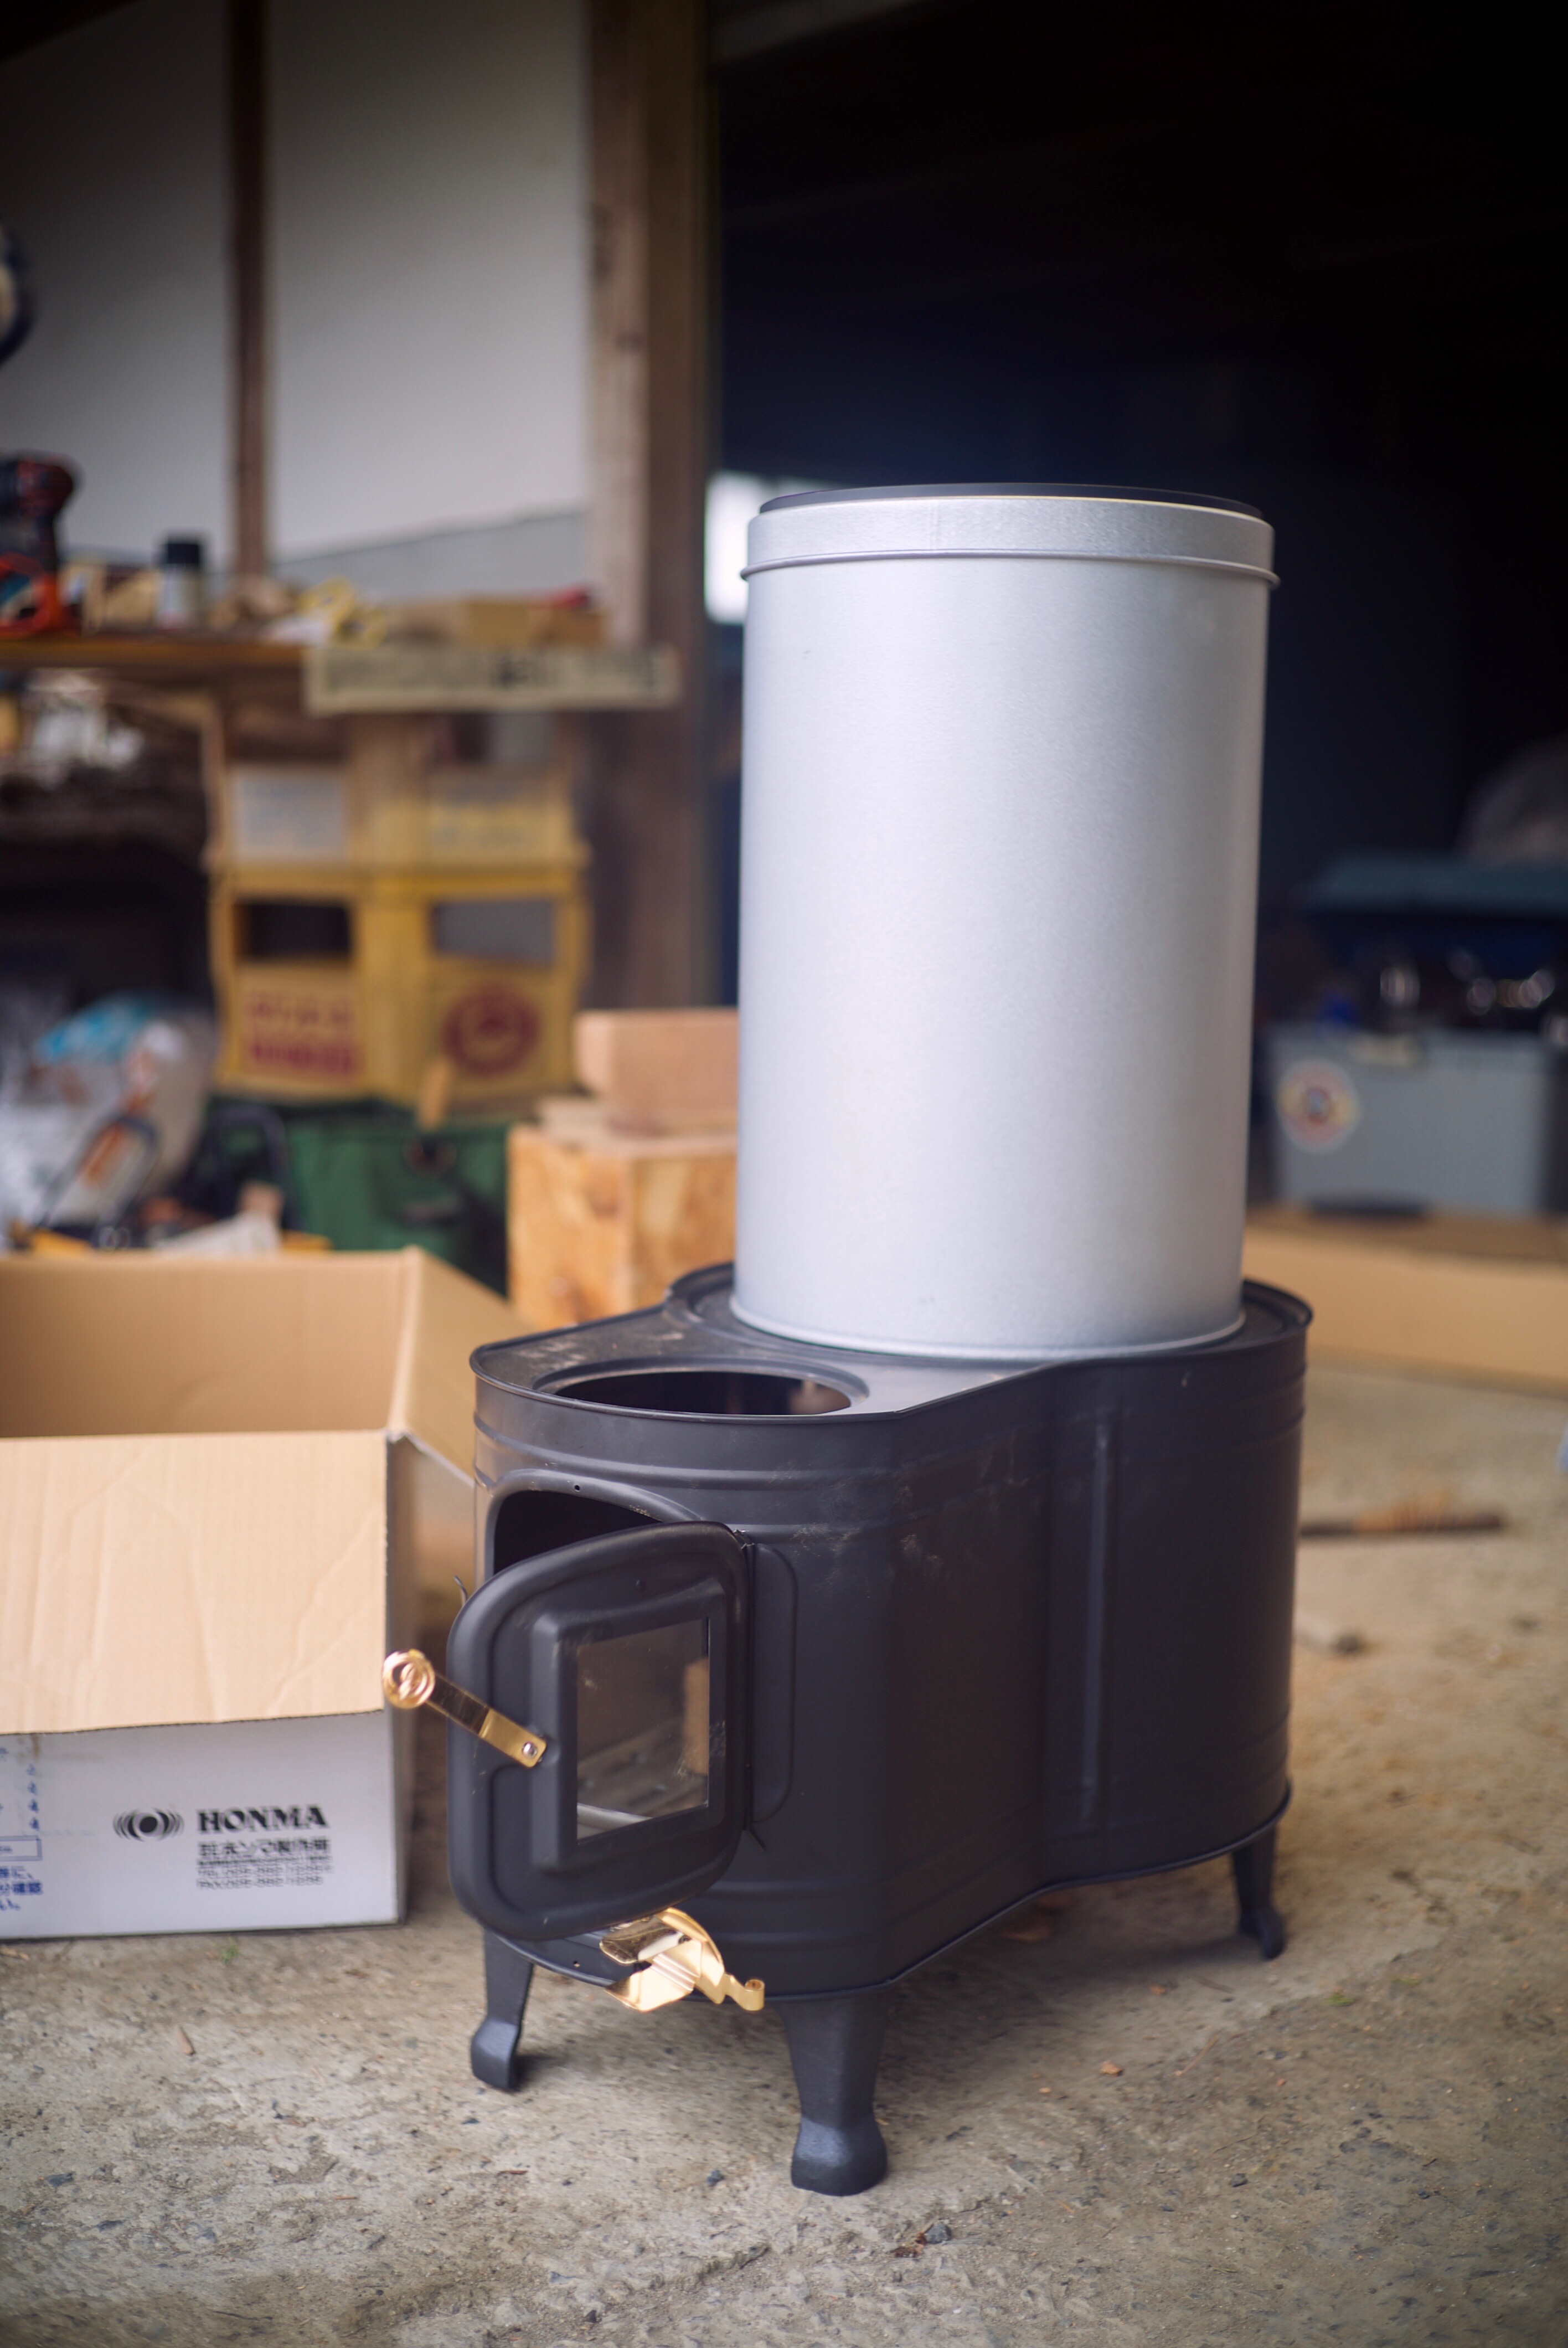
希望のサイズより一回り小さいこの雑穀缶は直径30cmで高さ45cm。焚口は基本的に手前上の穴、正面のドアは掃除用と炎鑑賞用に。火が見えるのは薪ストーブ的で良いけど焚口の断熱性が落ちちゃうのは諦める。
This can was a little smaller than I wanted to get. But it’s good enough. The fire hole in front top. The door is to clean up ash. The heat leaks from the door because of no isolation. But I wanna watch fire so I kept it to be.
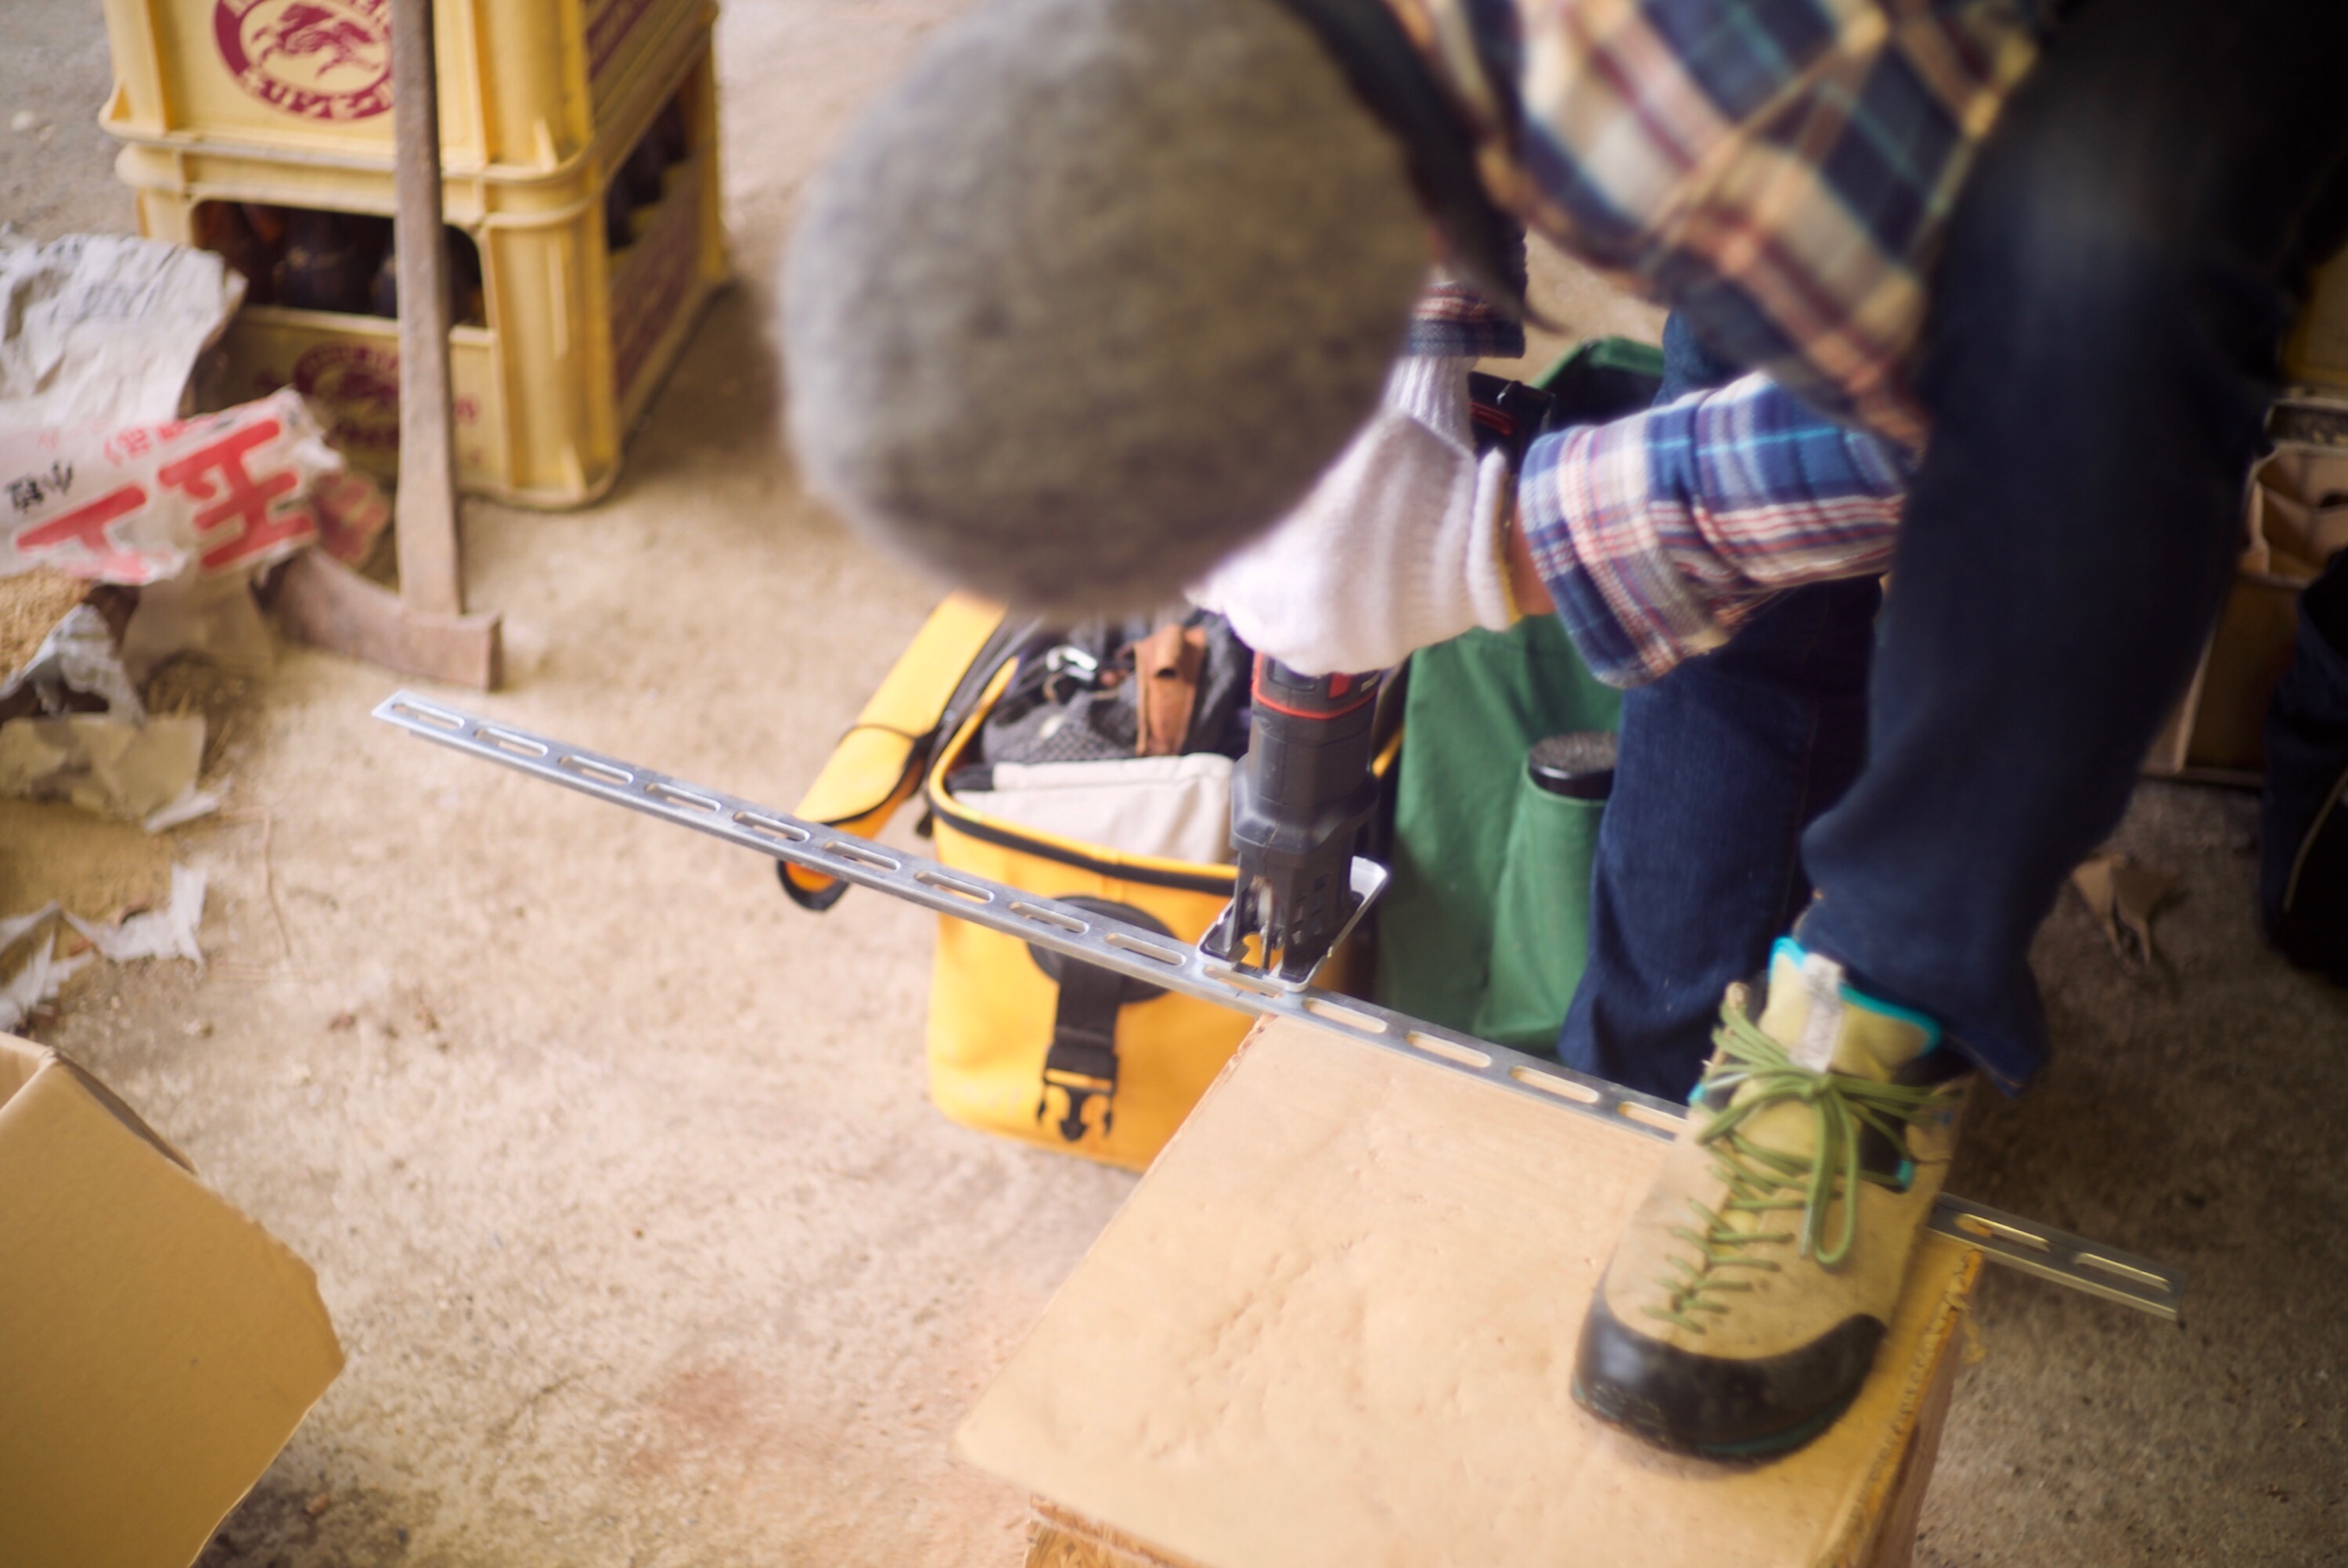
元の時計型薪ストーブは薄いステンレス板製なので、補強のためにステンレスのアングルを底面の長さに二本切って内部を支える。
The main body of my RMH is a cheap wood stove. Very thin stainless steel is the material. To hold the weight I cut two l-angles for fortifying the bottom.
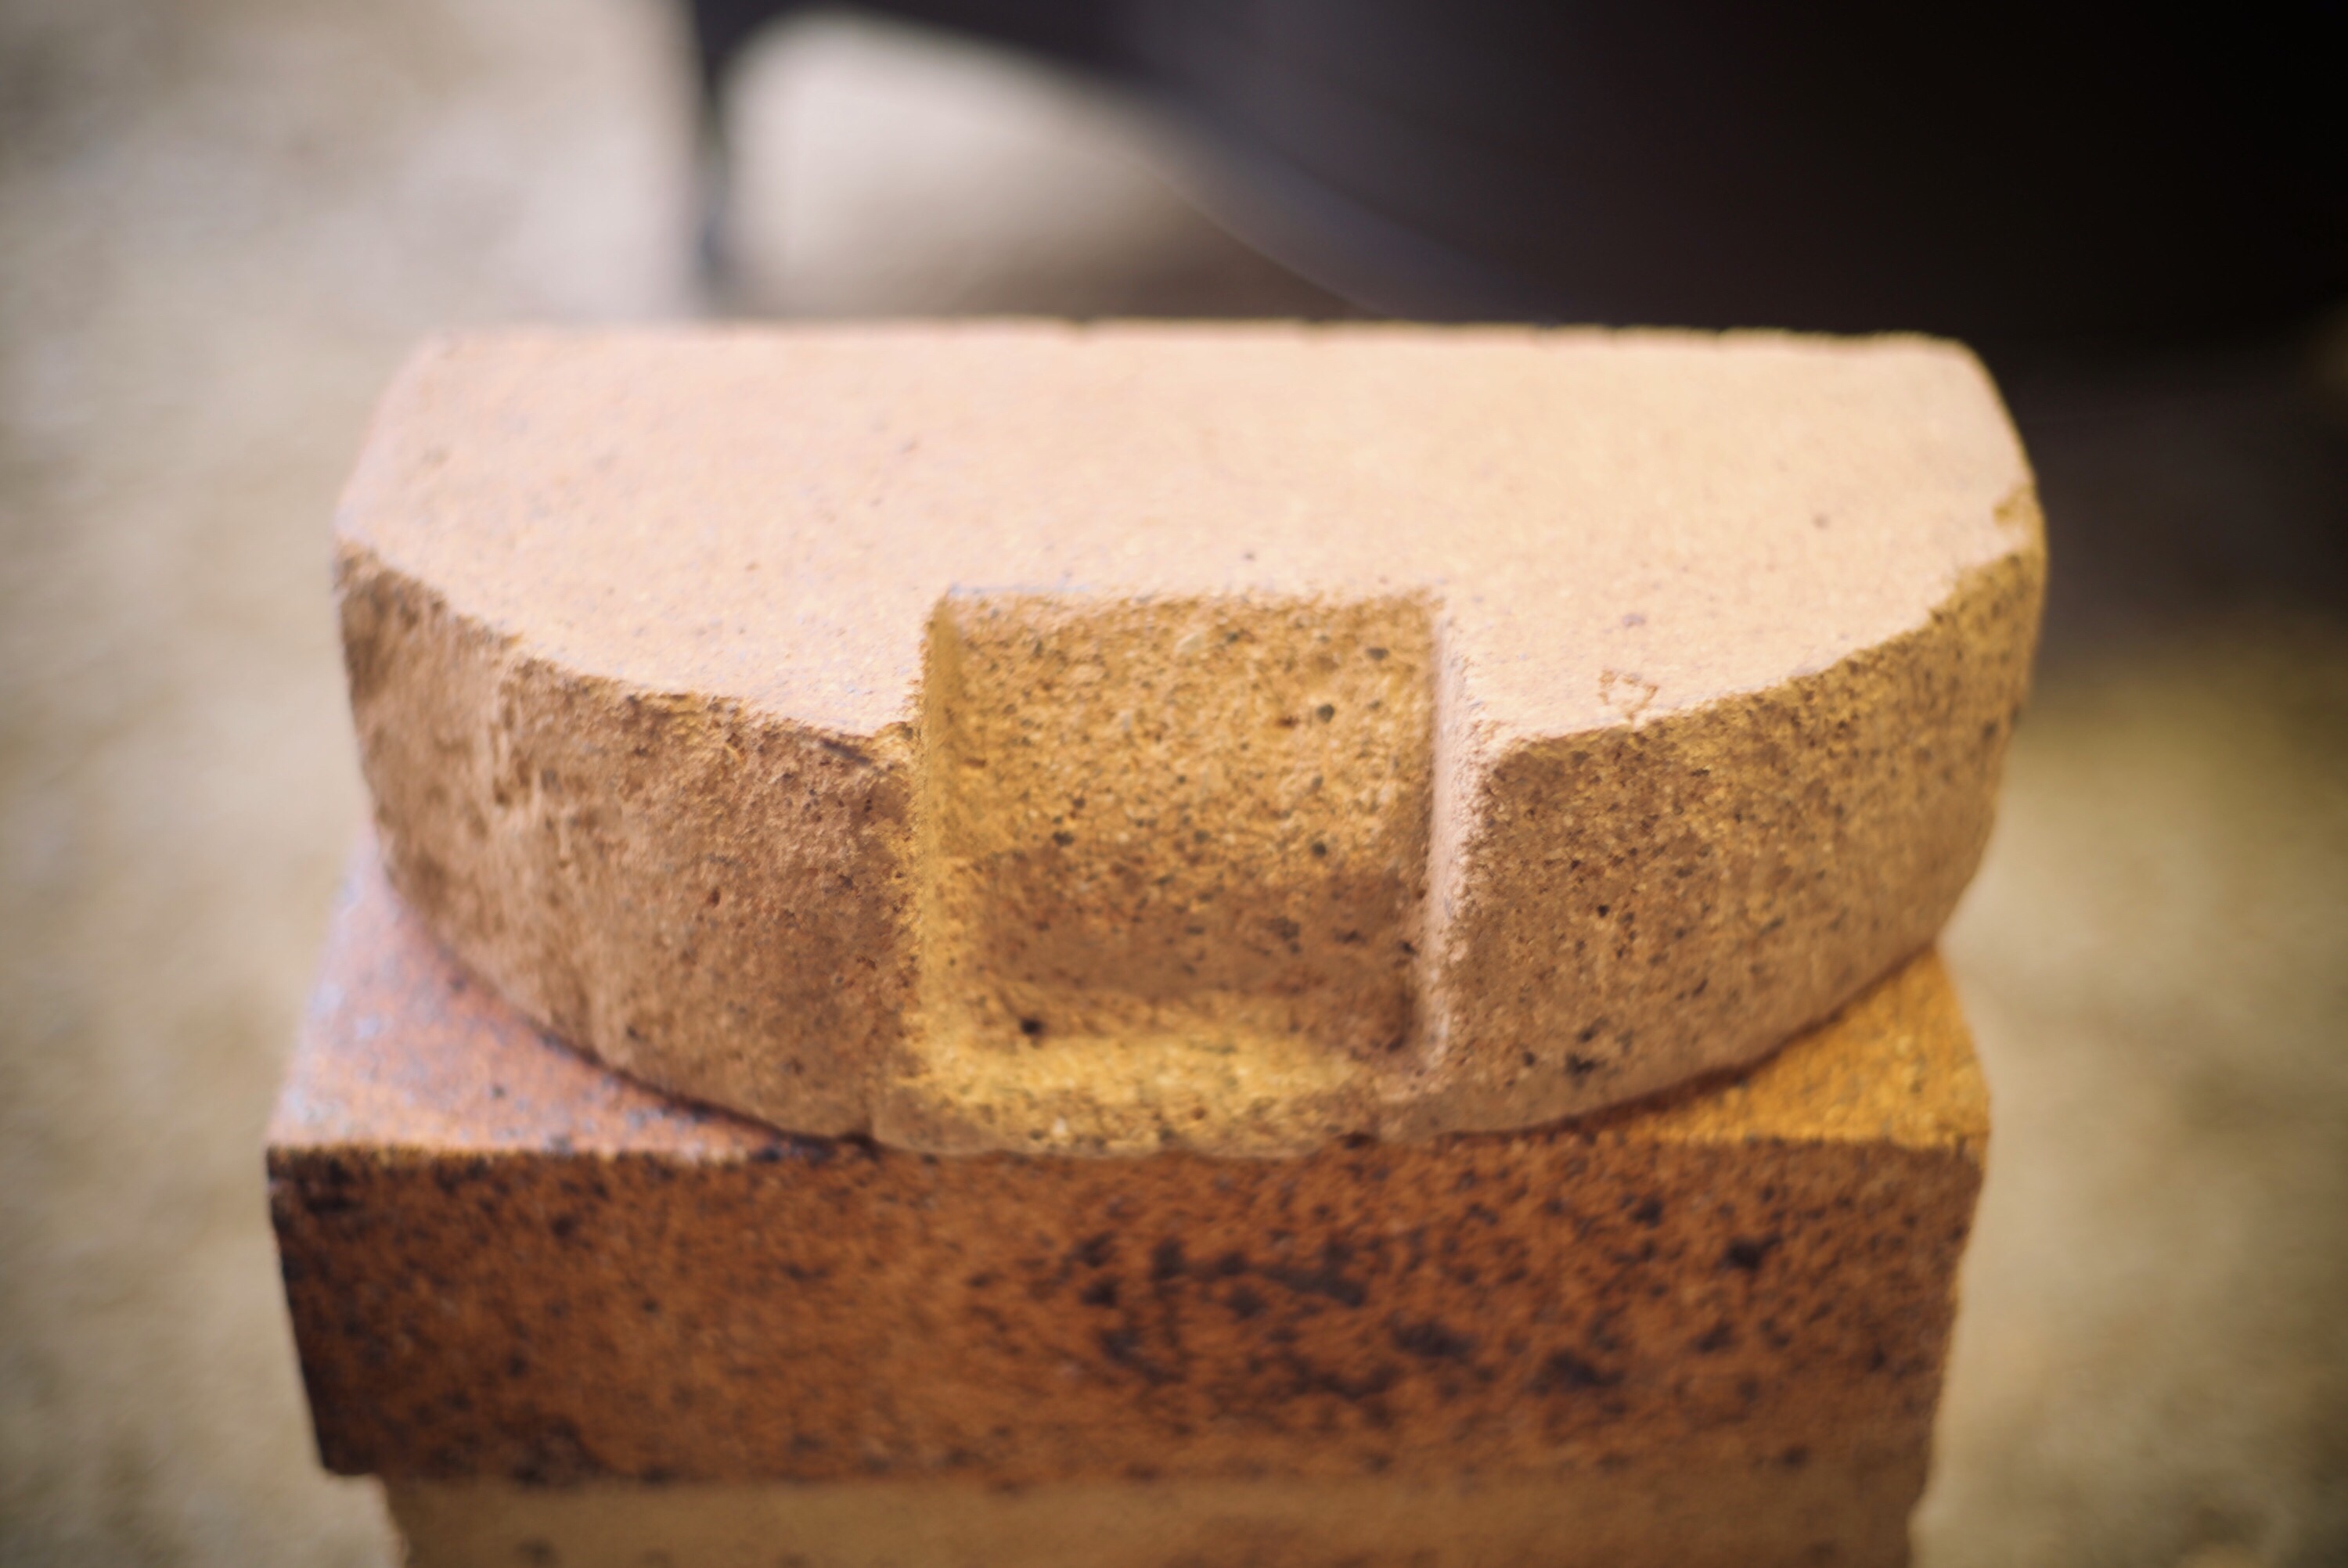
底面には耐火レンガを五つ並べるとして密閉性を上げるために前方のものを薪ストーブに合わせて写真んのように削ってみた。直線はタガネで割れるけど曲線は手間がかかる。この五つのレンガの両サイドにアングルが入り底面を支える事になる。
Shaved one of five bricks to isolate. Those five were the floor with the two l-angles on the side.
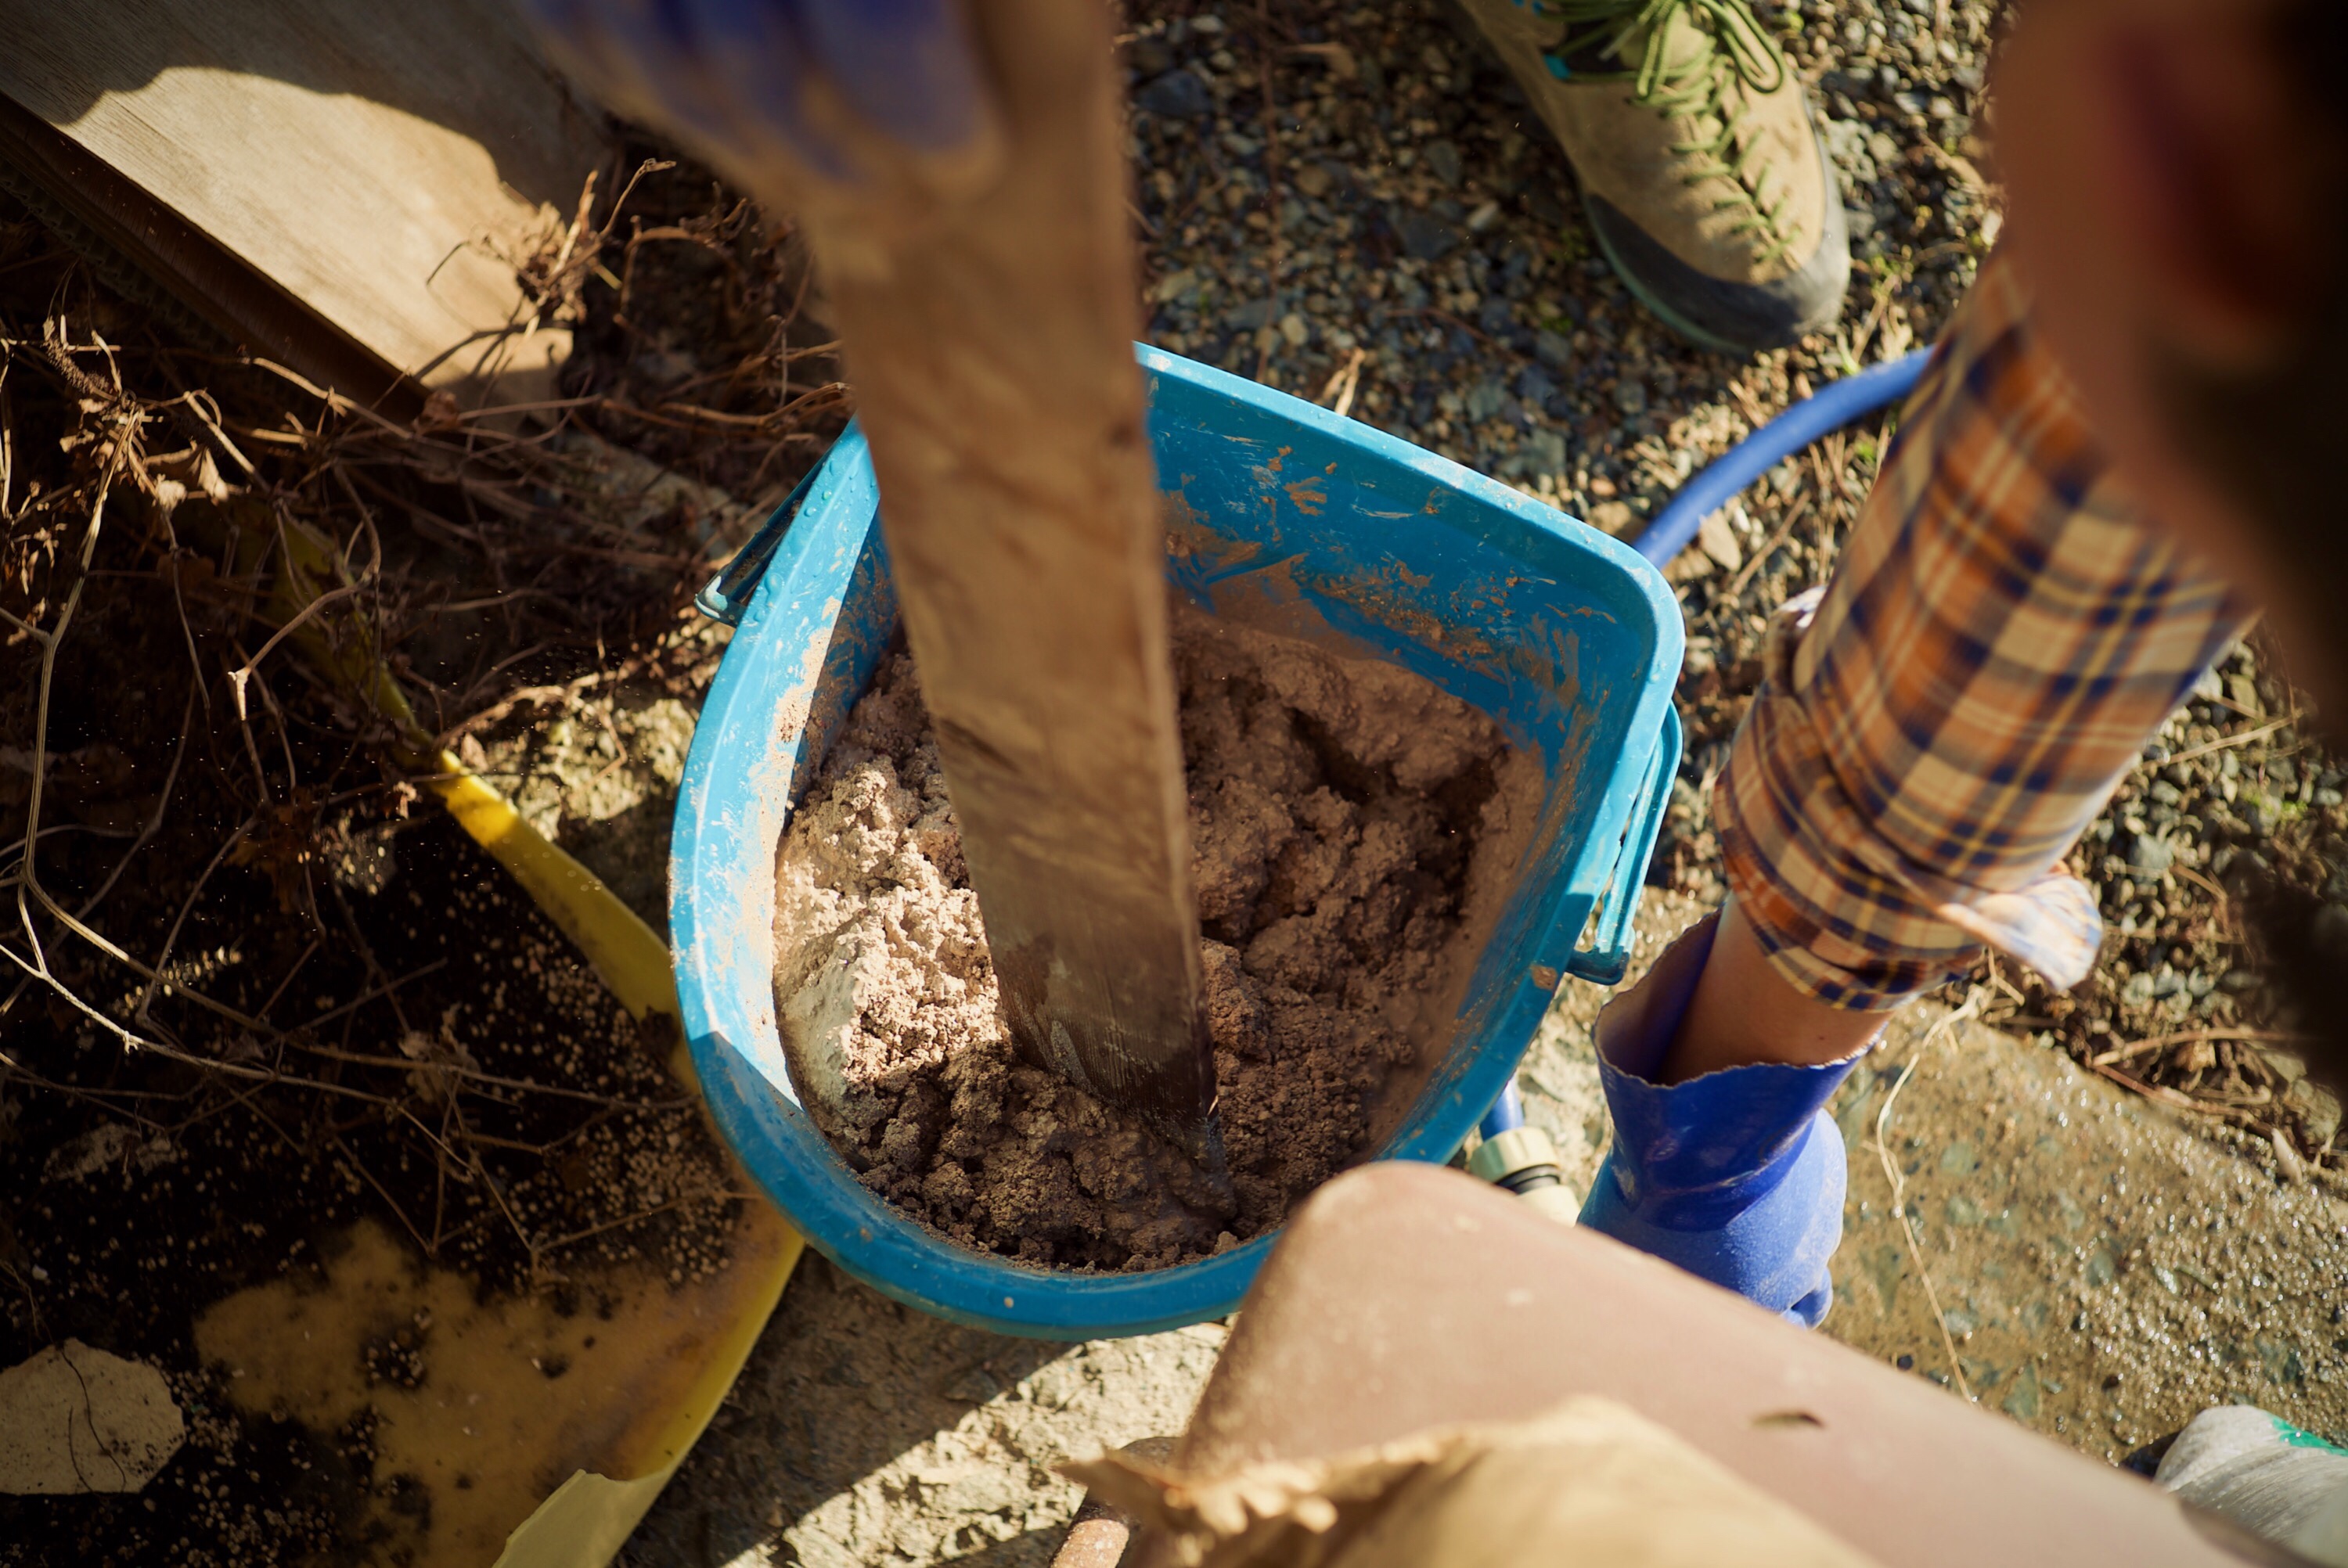
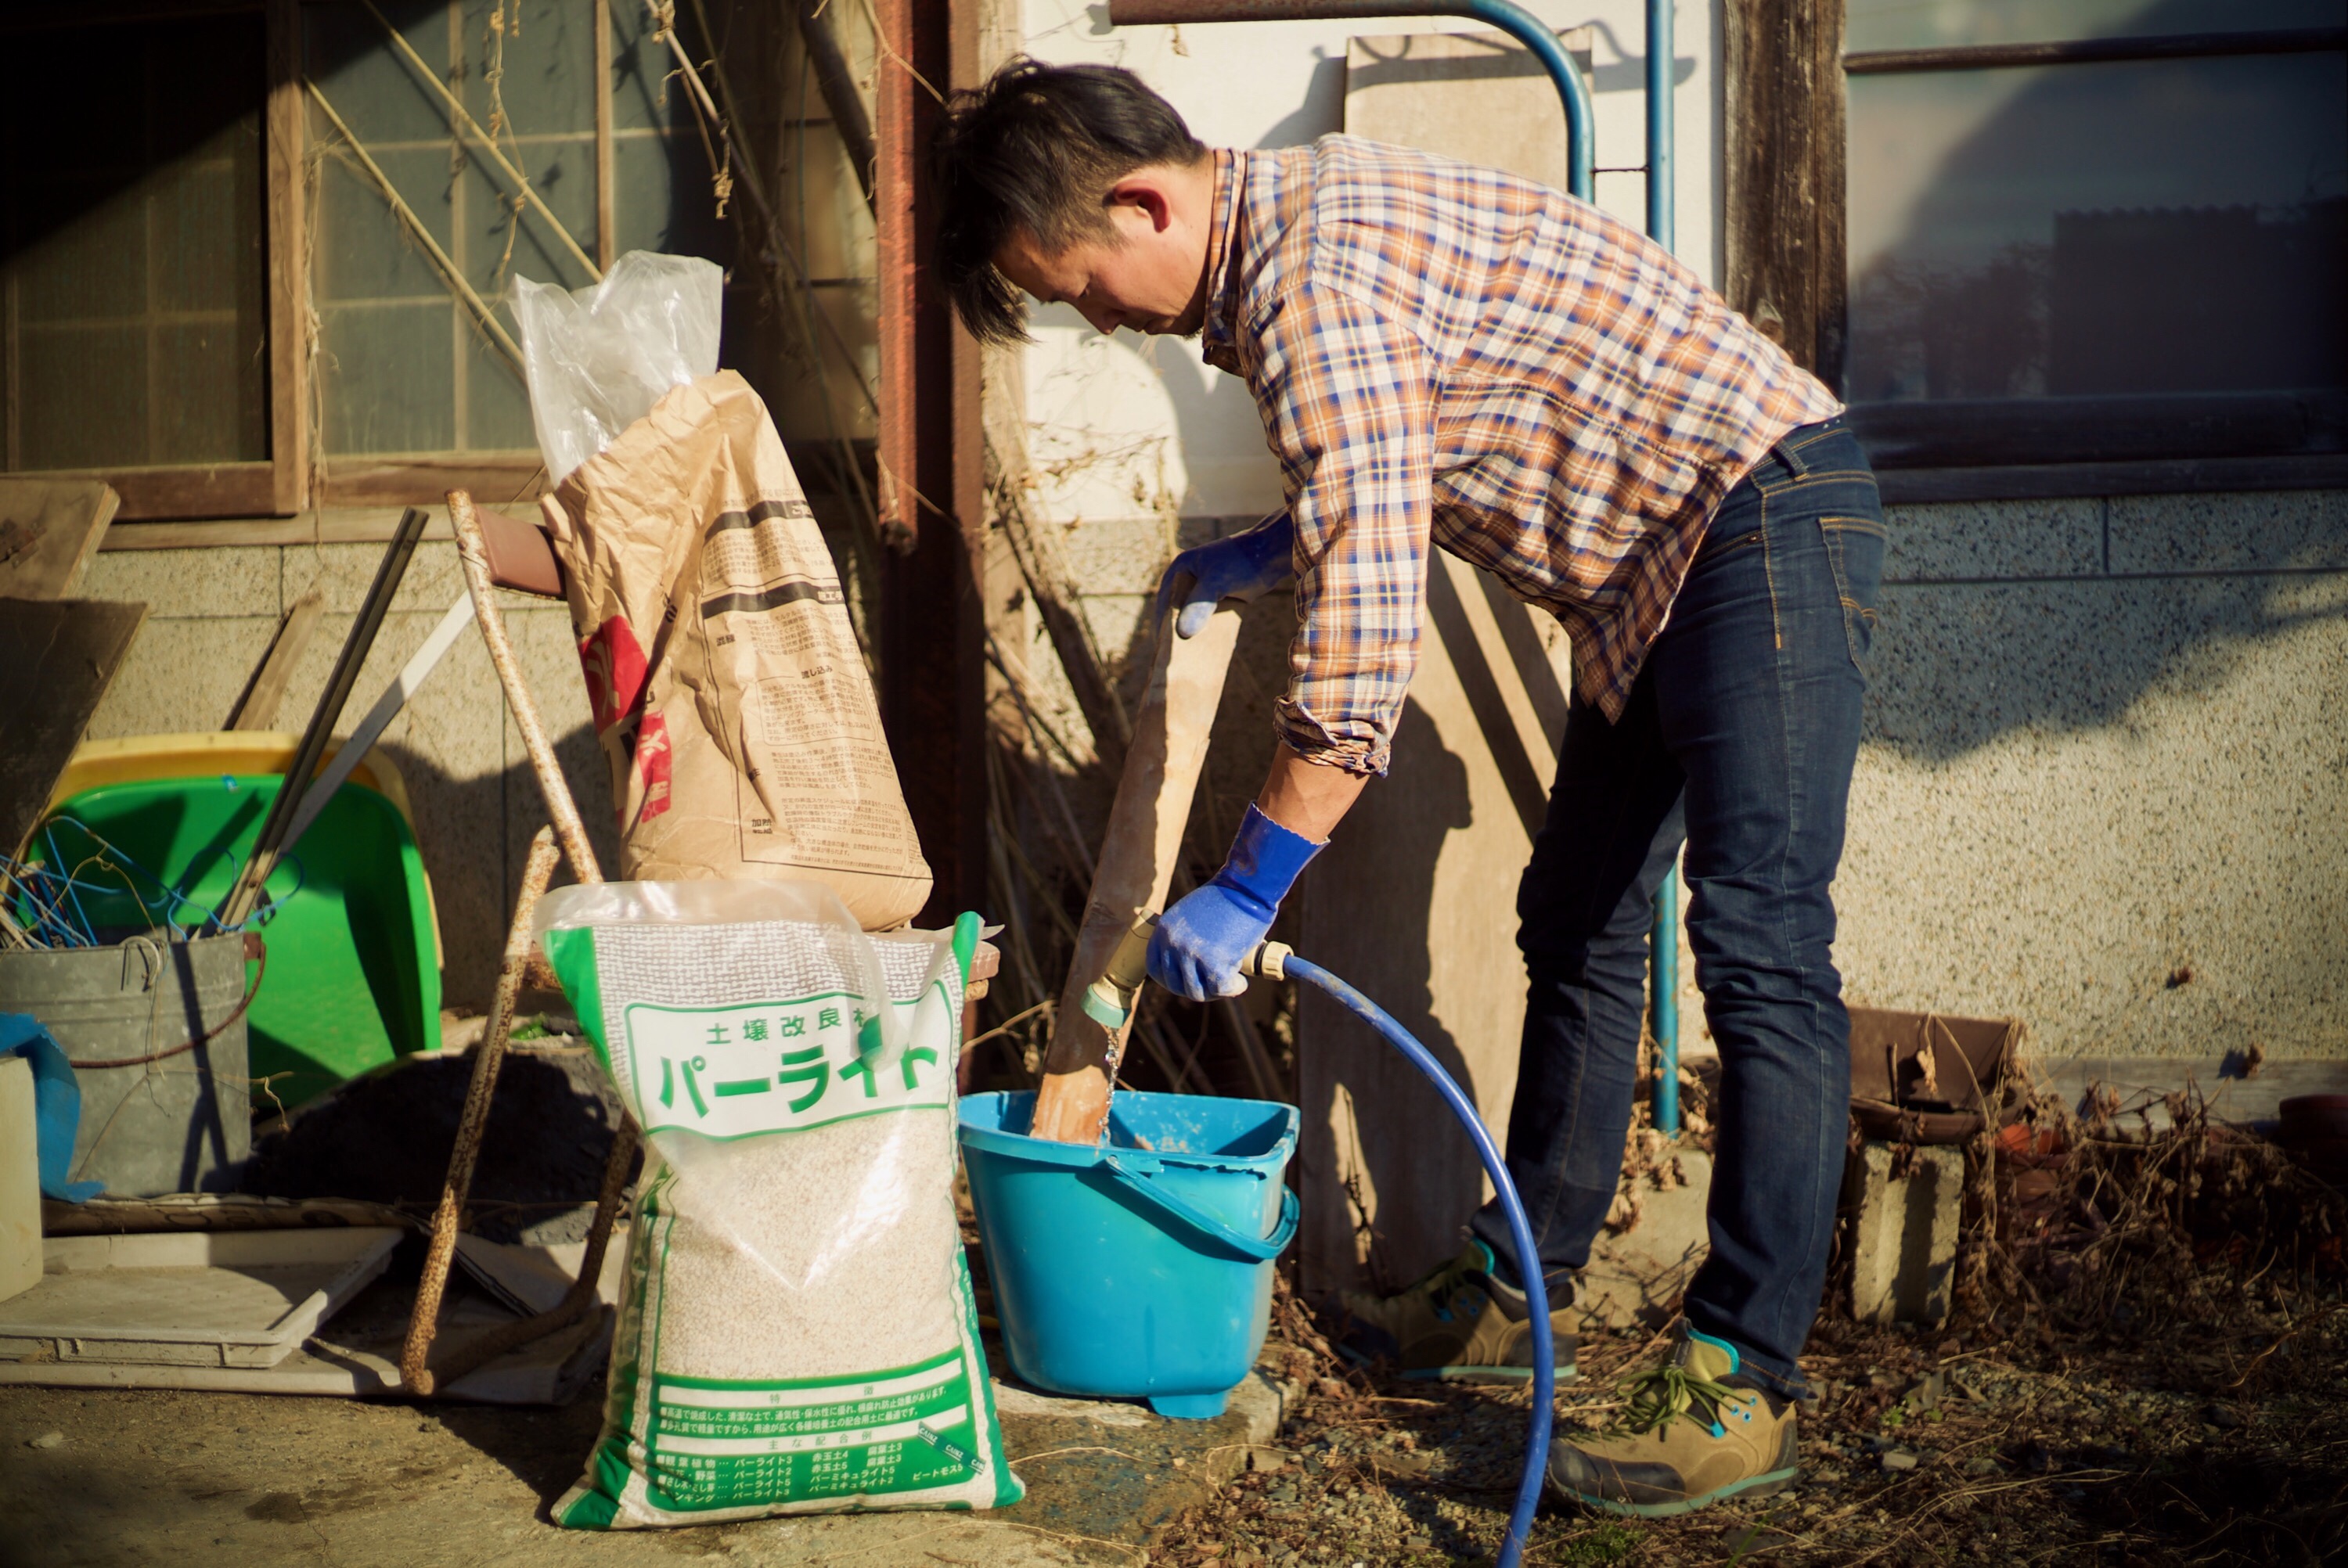
ヒートライザー用に耐火モルタルにパーライトを混ぜる。強度を考えるとパーライトはモルタルに対して1/4程度が良いらしいが、強度は無視して断熱性を上げるため同量を配合してみた。脆いが軽量に仕上がり、現在使用して四週間で問題は出ていない。
Next was mixing mortar and perlite. It says you mix a quarter of perlite with mortar for strengthen it. But I put the same amount for more isolation. It’s weak but lighter and no prob by now.
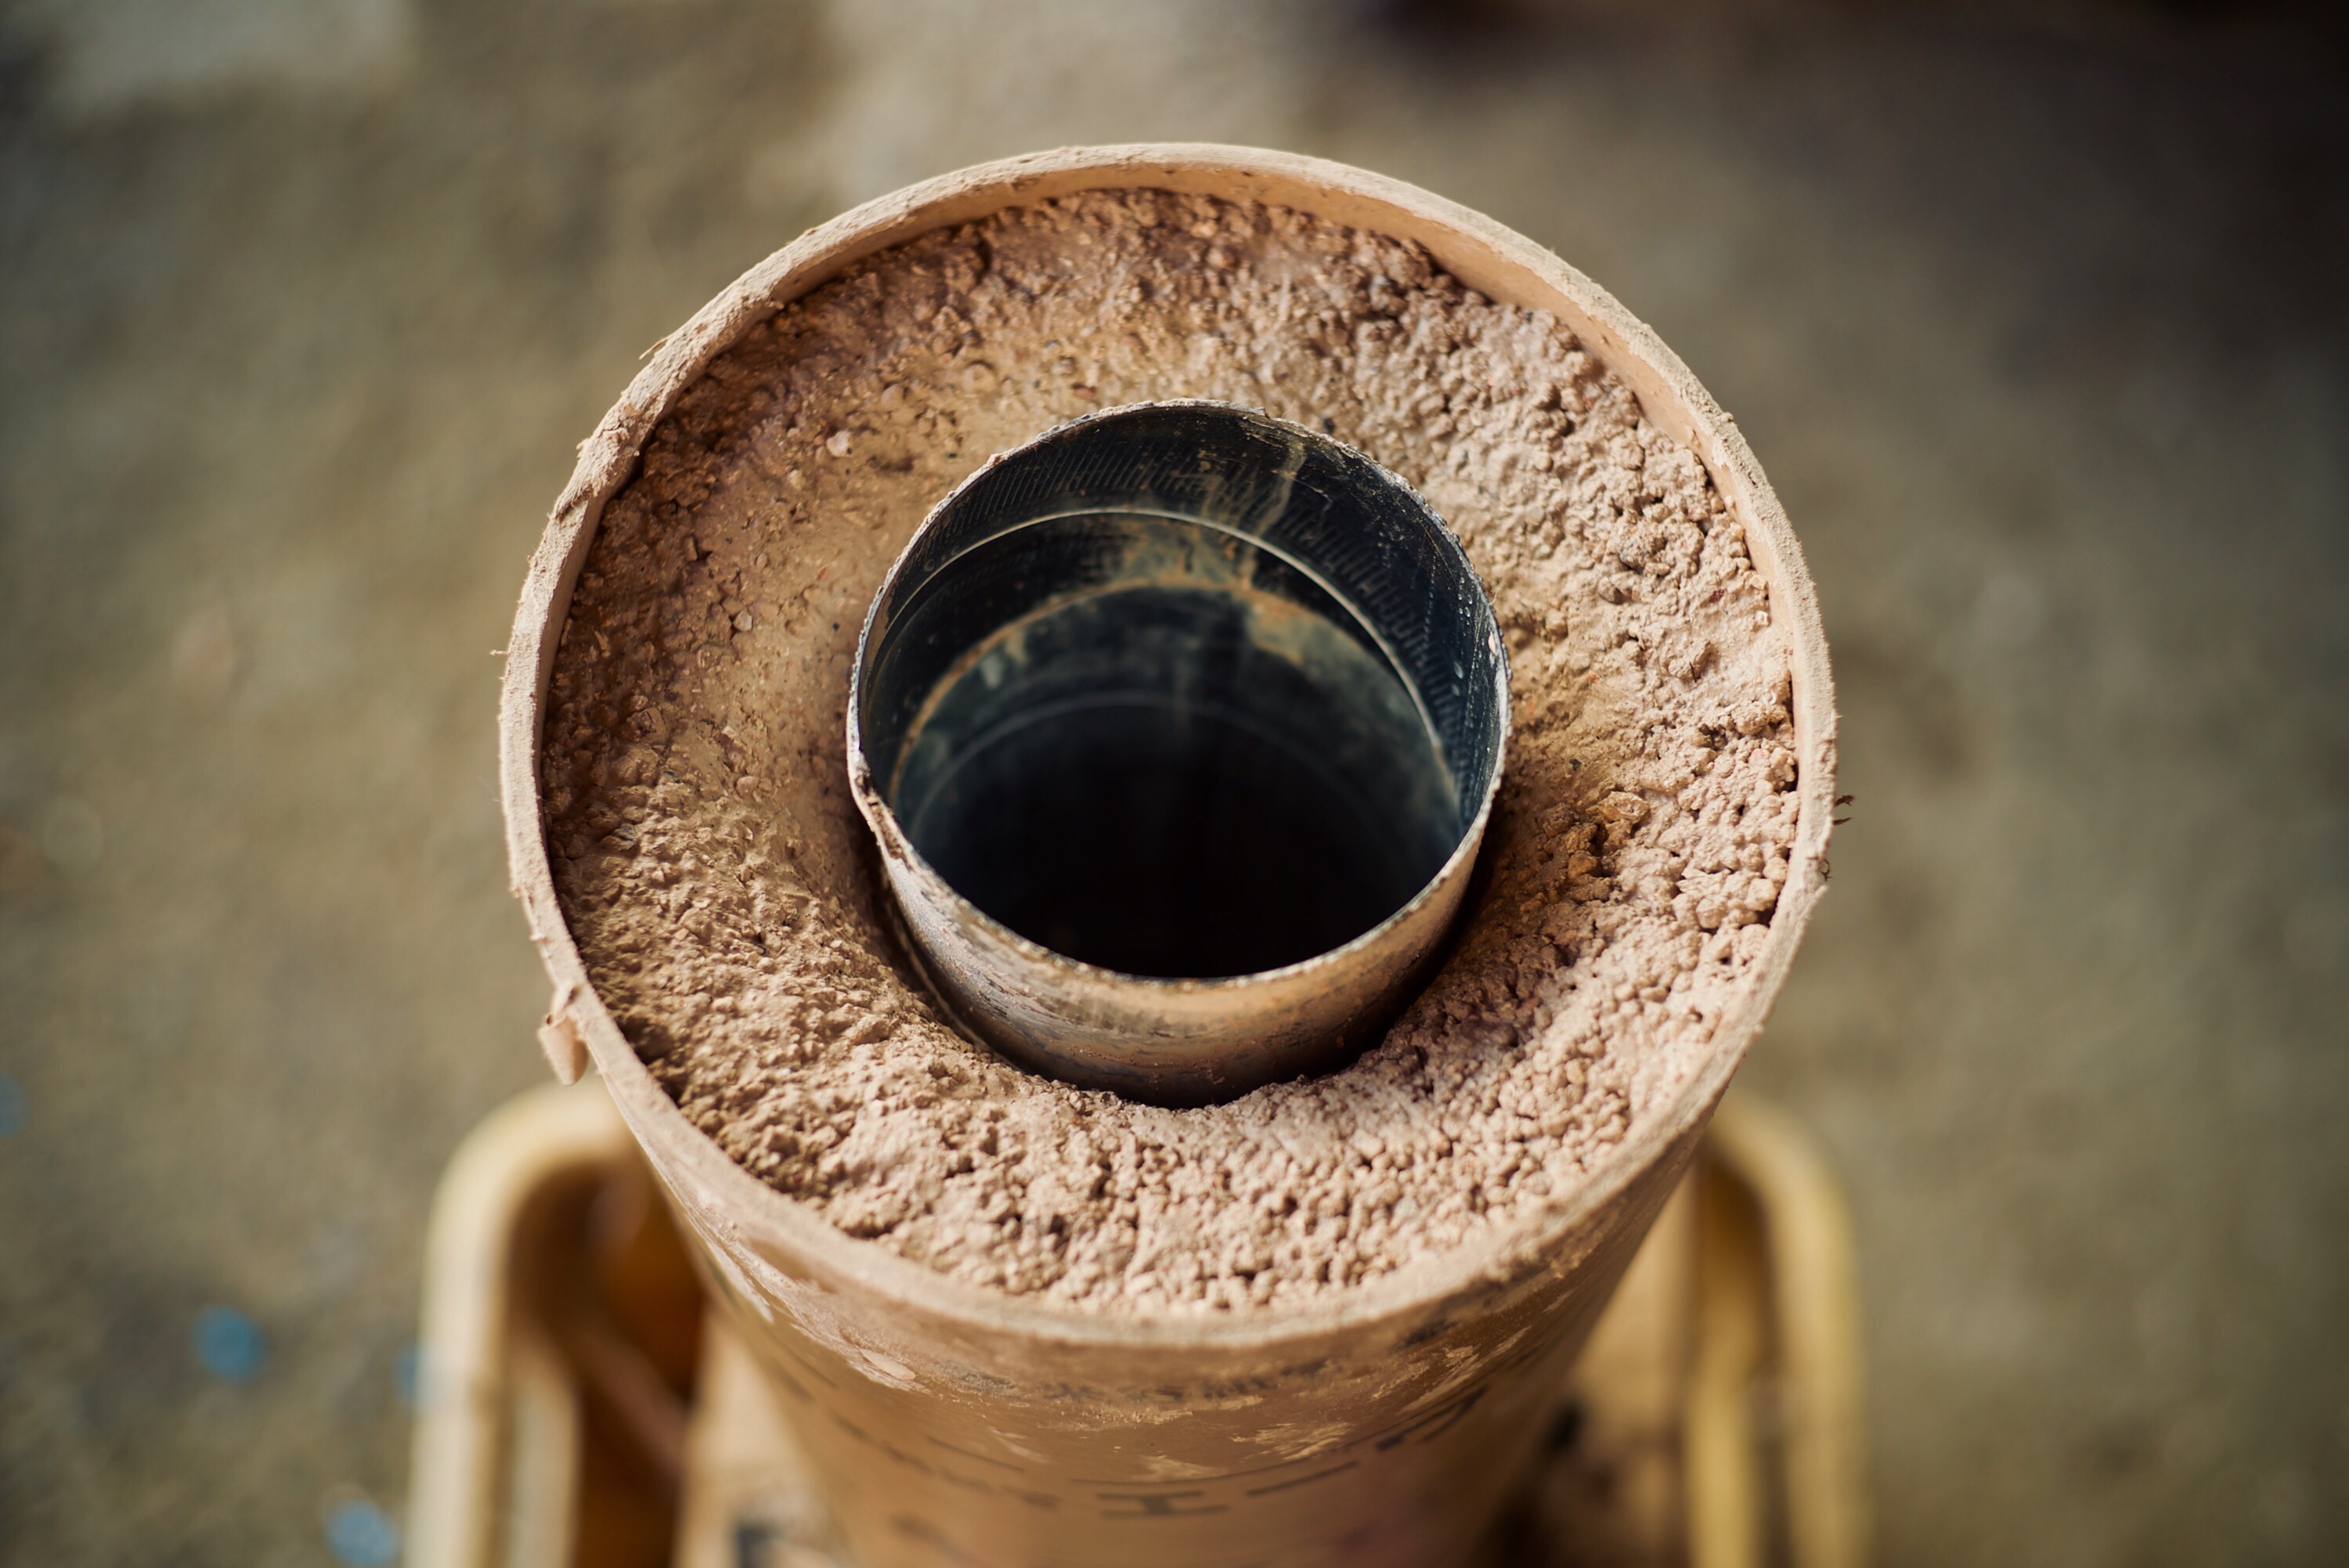
ヒートライザーは200mmのボイド管を型枠にして100mmのスパイラルダクトを内側に。専門用語ばっかりだけど、簡単に言うと金属の管と極厚紙の外枠にセメントを流し込むだけ。
Set a 200mm void tube and a spiral duct then putting mortar in between. There you get a heat-riser!
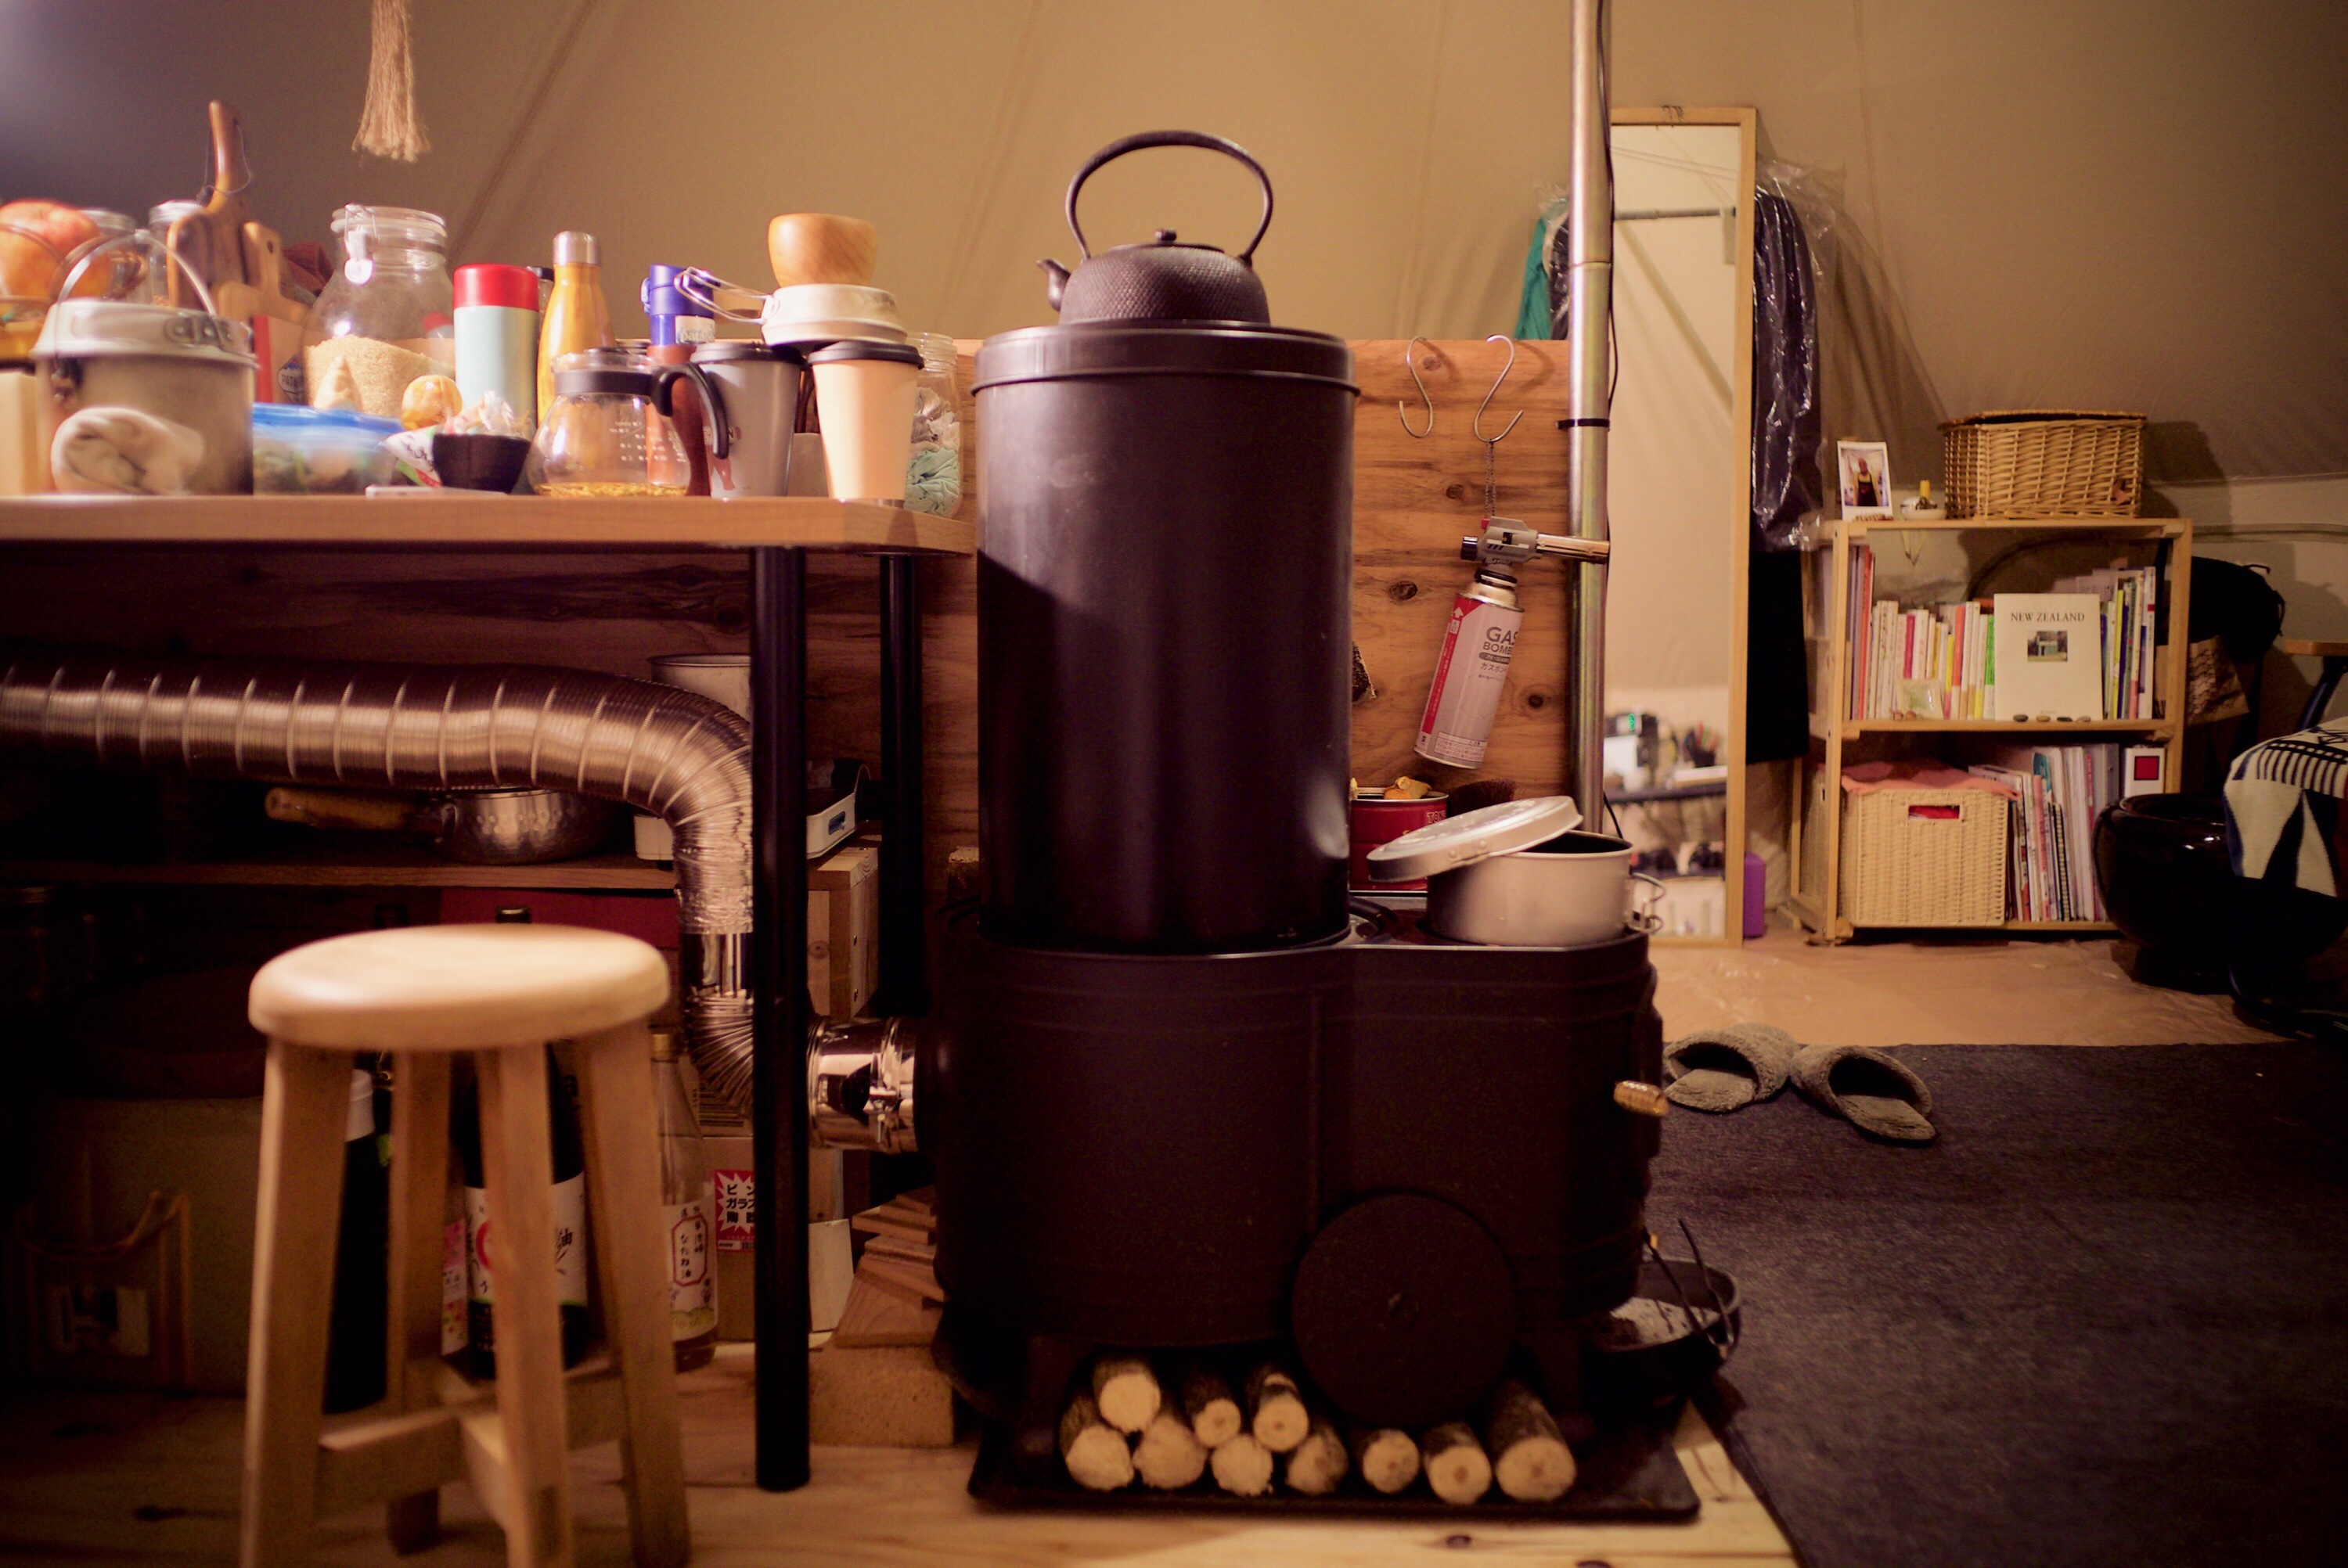
ヒートライザーは二次燃焼で炎が燃え上がるところ、ここを雑穀缶でカバーして燃え上がった空気を今度は下向きに押し出し、更に横引きした煙道から煙突へ。RMHのメリットは自作可能ってところ、燃焼効率良い薪ストーブは溶接とか出来ないと自作は難しいのに対して、こちらは簡単で自作の楽しみがあるし費用もさほど掛からない。
さて次回はテントに設置した様子をどうぞ!
The heat-riser is where the second burn happens. So covering it with the rice-can make the heated air downwards then pushing it sideways. Finally it goes into a chimney. By then the air is so cooled down you can touch.
The merit of RMH is certainly you can DIY with a little effort. Also very cheap to make.
Next we moved the RMH to the tent!

コメントを残す